


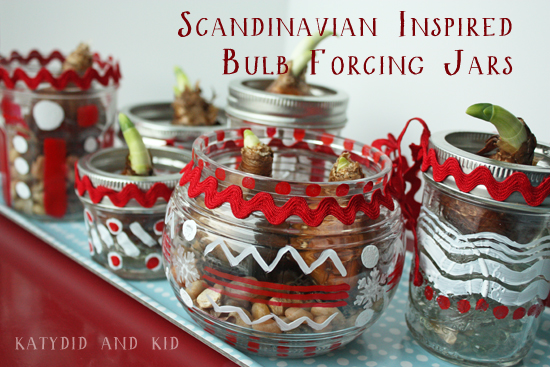
I love giving the gift of living things, specifically plants. Poinsettias, Christmas cactus, Amaryllis, and Paperwhites make festive and uplifting presents. I decided to pick up some paperwhite bulbs at a local garden store to turn into gifts. Their smell is so intoxicating when in bloom, and they can be used over and over, if you take care of them properly once they finish blooming.
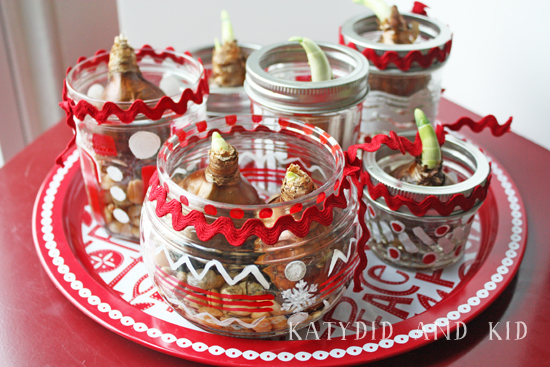
Rather than just put the bulb in a nondescript container, I recycled some glass jars into containers and embellished them with Martha Stewart Paints.
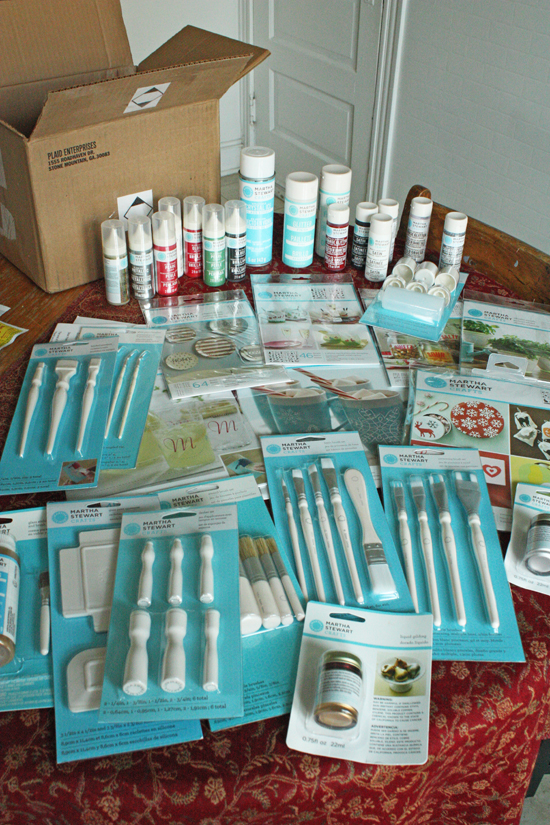
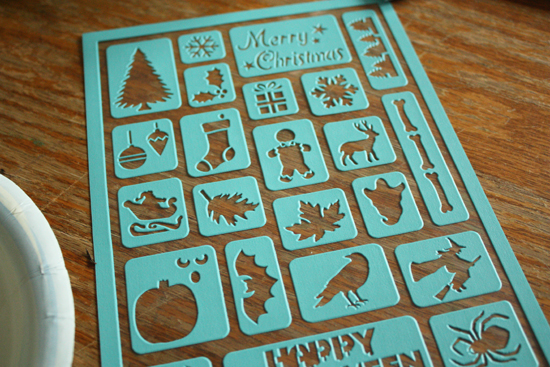
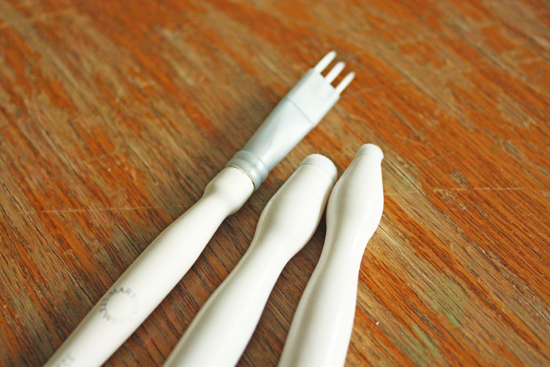
With such an assortment of products, I wasn't sure where to begin. I knew I'd definitely want to use the glass paints, but probably not the glitter. I stuck with the paint brushes, a few adhesive stencils (they work great on rounded objects) and the daubers.
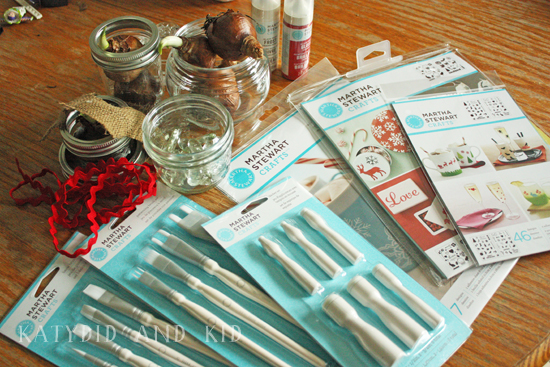
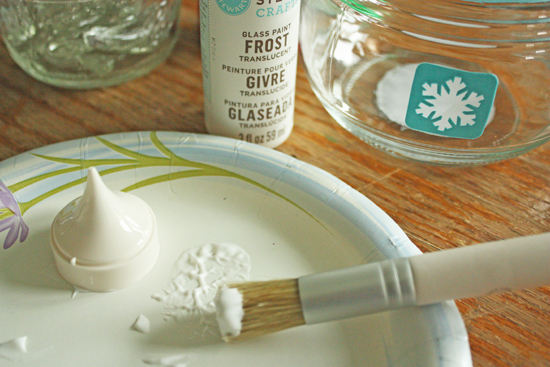
Martha Stewart glass paint in red and white * Martha Stewart frosted glass paint in white *Martha Stewart stencils * Martha Stewart glass painting brushes, patterning brush set and daubers * Martha Stewart adhesive holiday stencils * clean glass jars (Mason jars work well) * Narcissus bulbs * red rick rack trim * glass stones for inside the jars
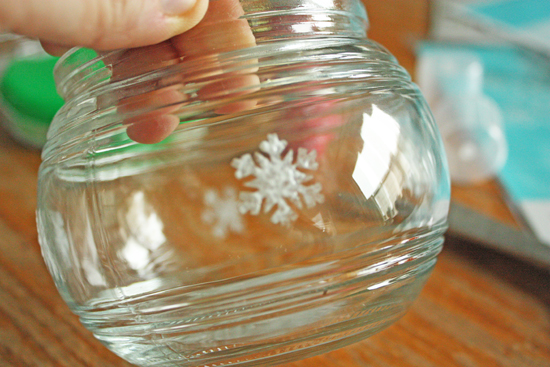
STEP ONE
If choosing to use an adhesive stencil, apply it to your glass item, making sure to adhere it well to the glass so paint can't get underneath.
STEP TWO
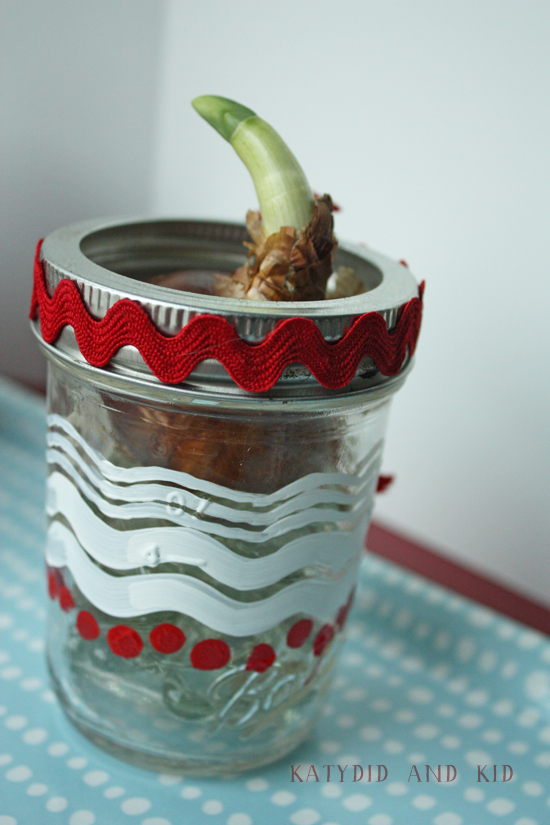
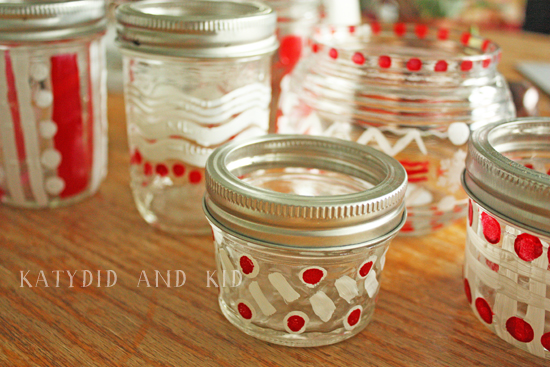
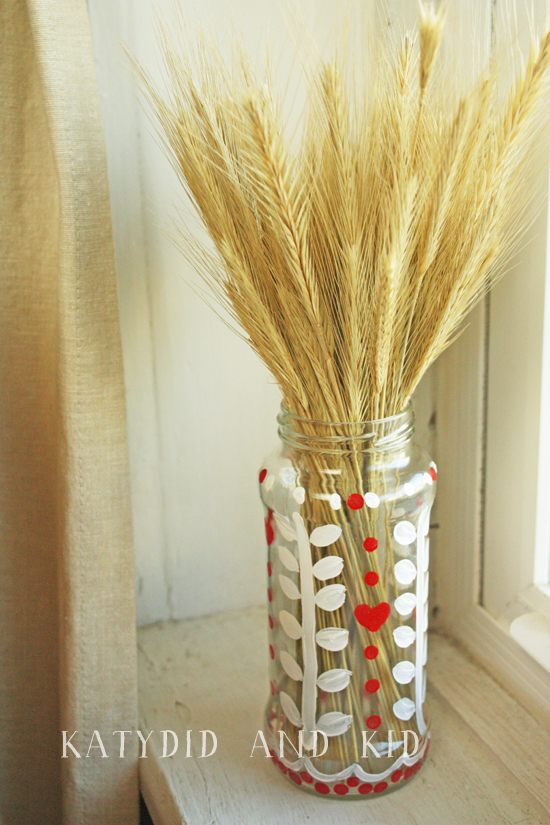
I wanted to do more free-form painting on my glass, so I chose to use the glass painting brushes and daubers.
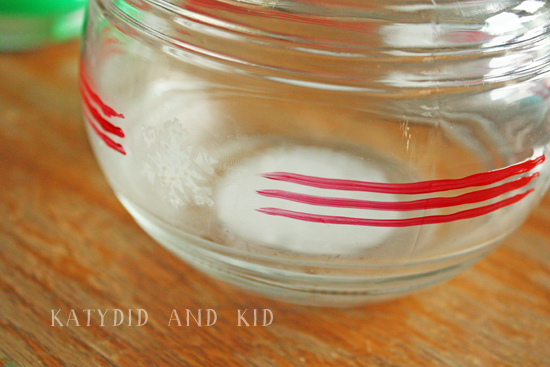
I spent some time embellishing the jars with the brushes as well as adding plenty of dots using red and white paint.
STEP THREE
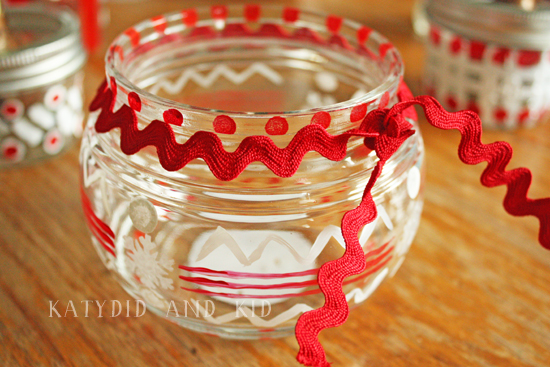
When the paint was dry, I tied some red rick rack to the tops of the jars, just to add a different texture to the craft. Alternately, you could use ribbon or just skip this all together.
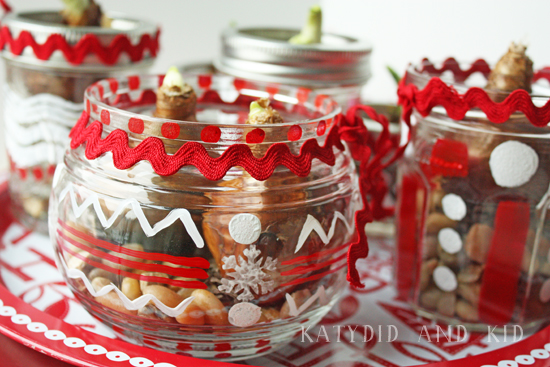
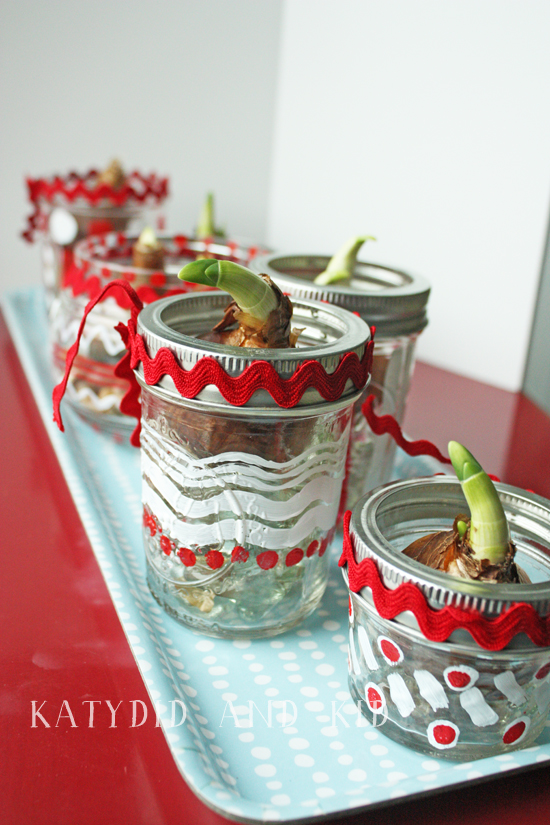
I plopped a bulb in each one, and added enough water to just cover the stones. You don't want your bulb submerged in water or it will rot. But do make sure to check that the water hasn't dried up in a day or so. Refill if necessary.
The bulbs themselves should take a few weeks to grow in a sunny window, so now's the time to start forcing them indoors in these jars.
Now you're all ready to display them in your house for the holidays or give them as gifts.
Many other craft bloggers have created their own projects using Martha Stewart Paints. You can visit their tutorials via the links below or by following the hashtag #MarthaHolidayPaint on Twitter.
You can find more inspiration and information about Martha Stewart Paints via the Plaid Facebook page, @PlaidCrafts, and on Pinterest.
Disclosure: I wrote this post as part of a paid campaign with Plaid/Martha Stewart Paints and The Blueprint Social. All opinions are my own.


WOW! I love this! Such an original idea, and you made them look beautiful!
ReplyDeleteThis is so cute and happy!
ReplyDeleteLove these. We used the stencils last year when we did homemade ornaments and just loved how they turned out!
ReplyDeleteThese are so cute - I love anything Scandinavian inspired!
ReplyDelete