While browsing my archives, I stumbled upon this post from a few years ago and thought it would be nice to re-share it. Enjoy!
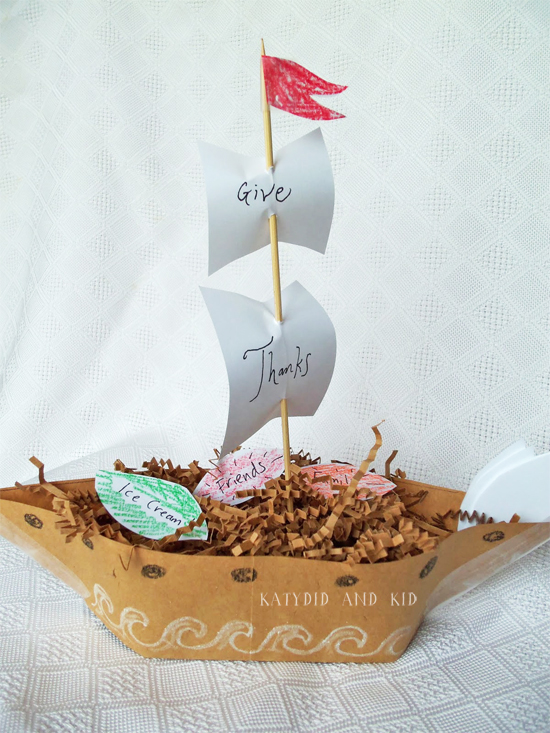
November is such an odd month for decorating, after the Halloween let-down. While I love scattering natural elements throughout the house, like mini gourds, pumpkins, acorns and leaves, sometimes I just feel like making something. With the theme of "thanks" that permeates this season, I decided to create a Gratitude boat based on the Mayflower.
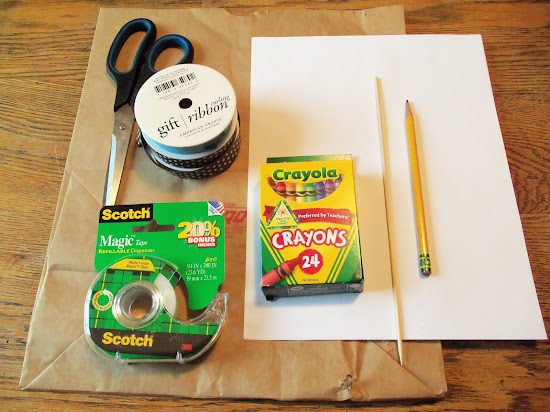
This is a great craft to do with kids, and it doesn't require much in way of materials, just a paper grocery bag, tape, copier paper, scissors, a skewer and crayons.
STEP ONE
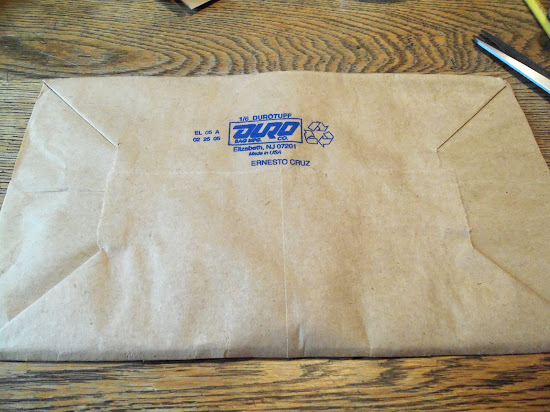
Cut the bottom off of your paper bag. Save the rest of the bag for using later.
STEP TWO
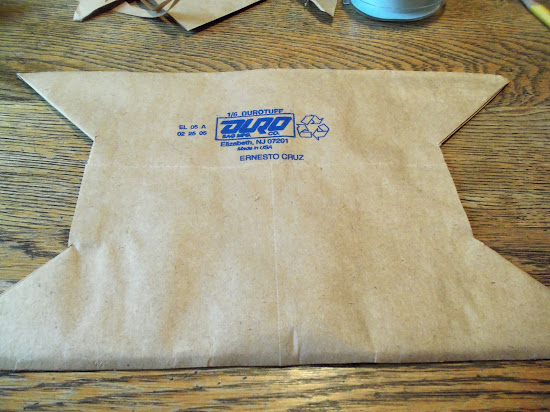
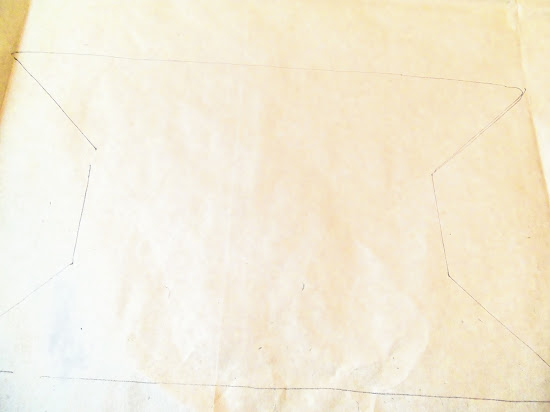
You will now cut along the seams along the bottom of the bag, which will make the template for your boat. It should look like this:
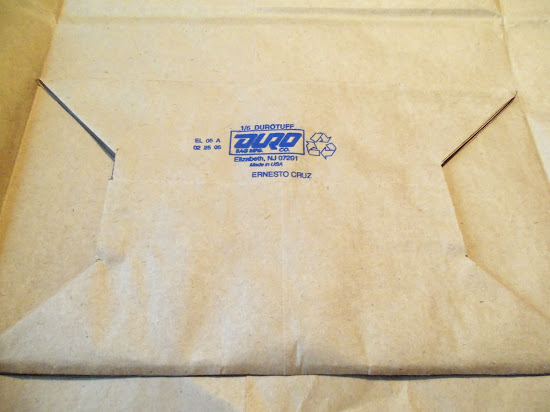
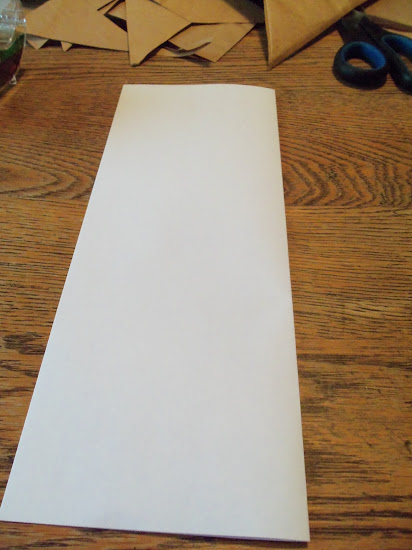
Since you don't want to see that label on the side of your boat (unless you want to paint it, then don't bother with the next step), you'll use this piece to trace this same shape onto a logo-free area on some other part of the bag.
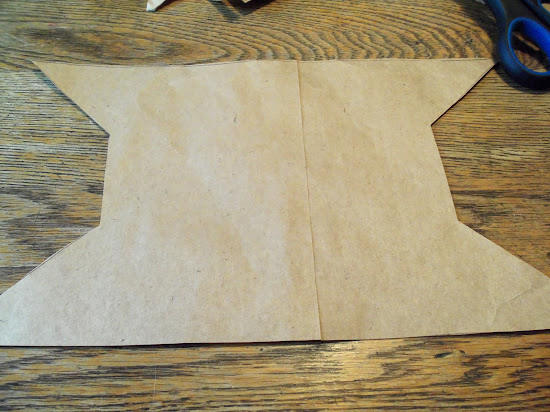
Trace and cut it out. If you'd like to make more than one boat, you can trace more out of the bag.
Time to fold the boat! Begin by folding it in half
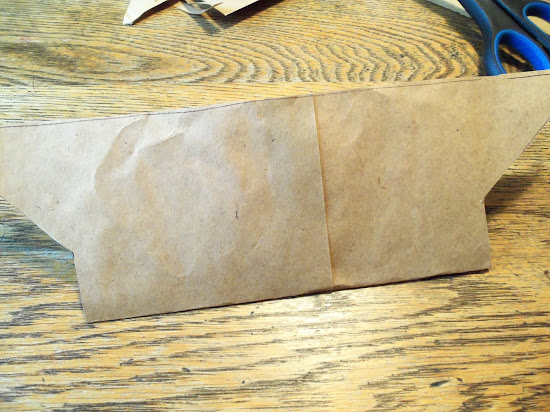
Then fold the sides in, following the line where the angle meets the rectangle in the center.
Do the same on the other side so it looks like this:
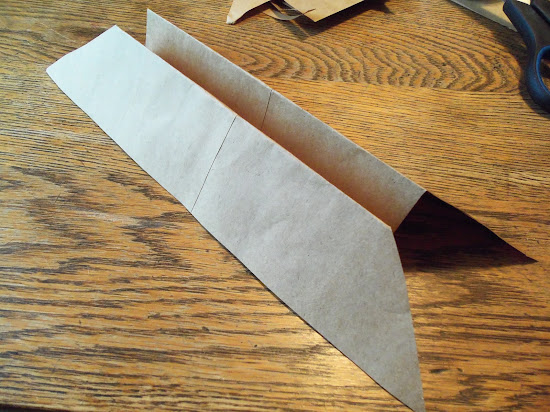
STEP FOUR
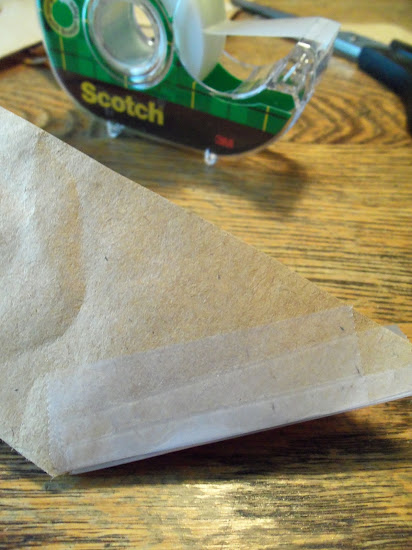
Tape the edges closed. Kids love this part, at least in my experience as an art teacher, they went crazy for tape and staplers.
Layer a few pieces, reinforcing the sides of the boat. This would work equally well with Double-Sided tape too.
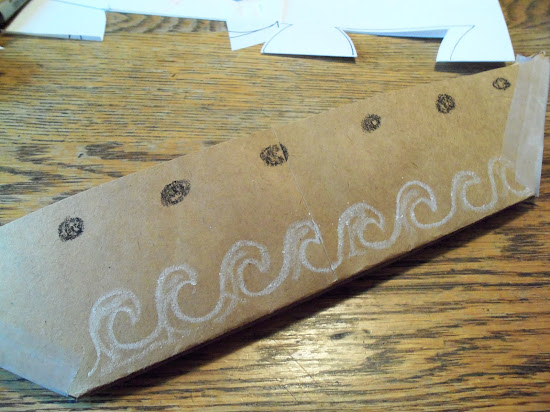
This would be the time to decorate the boat with crayons, if you wish. It's better to color it when flat.
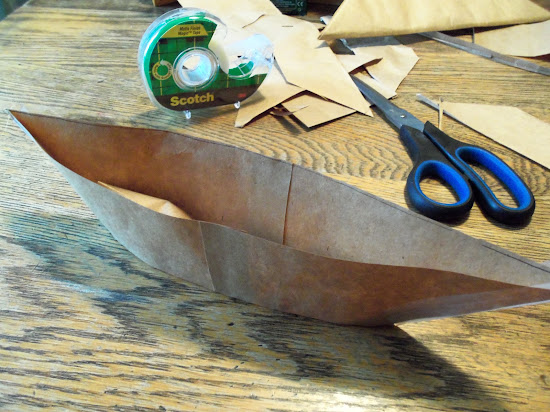
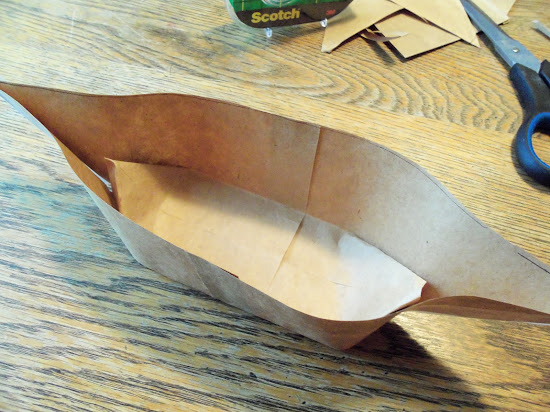
Next, open up the boat. On the inside of it, flatten out the floor a bit. You might need to fold the inner ends, just to keep it open.
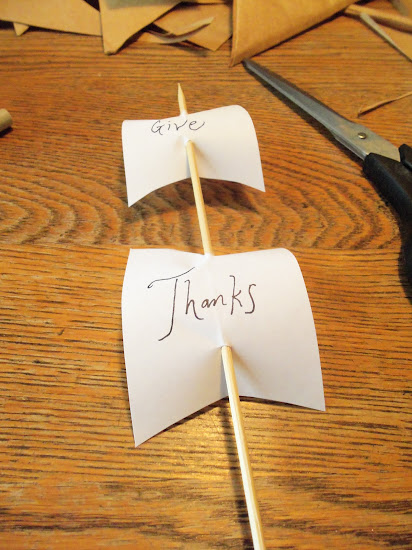
On to the sails. Fold your piece of copier paper in half,
and draw 2 half-sails, one small and one large. They should be sized appropriately to your skewer so both will fit. You can always trim them later to fit.
Cut out the sails
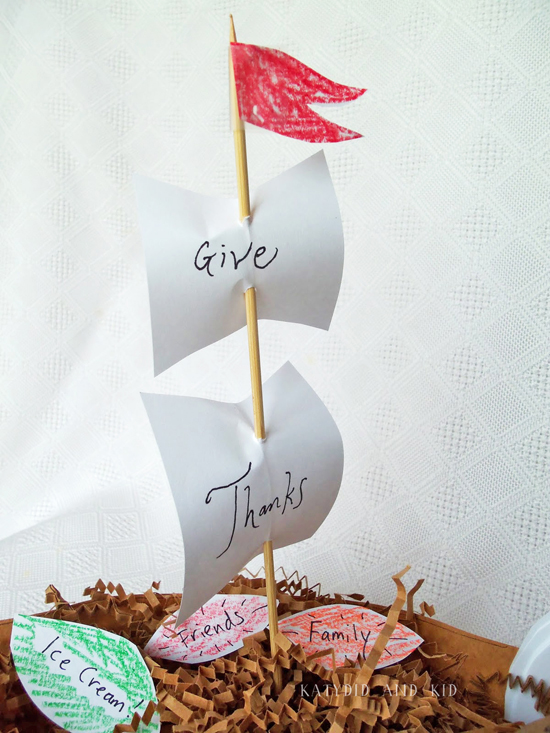
and write "Give" and "Thanks" on them. You could also use these as place cards and write guests' names on them instead.
Poke the skewer through the sails, and if you'd like, add a little colored flag on top.
STEP SIX
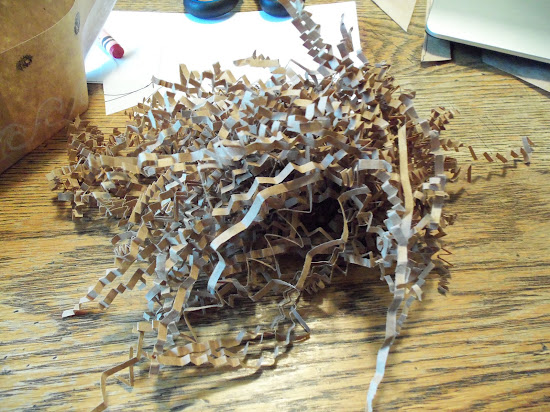
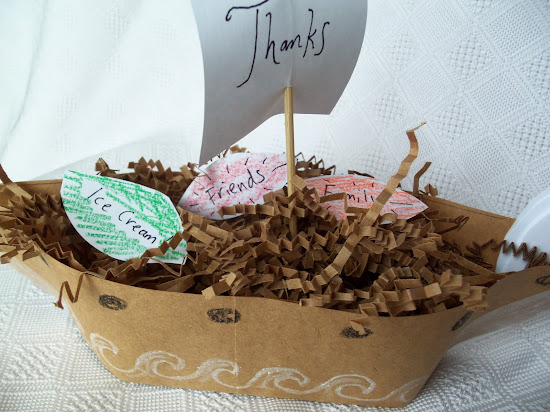
Assemble the boat. I filled mine with crinkly paper, but you could use cotton, reindeer moss, shredded paper, or even some kind of food like cereal or beans.
Stick the sail into the boat. For mine, the paper held it in place enough, but you may need to tape it to the bottom of the boat or stick it in a piece of play dough hidden beneath the filler.
I cut out some leaves from the extra paper and wrote some things I was thankful for on them.
This would be nice for kids to do on Thanksgiving, while waiting to eat. Just cut out a bunch, leave out some crayons and markers, and let them have fun.
Hope this craft cultivates thankfulness in your family.


I just made this and the mast keeps falling over...whats your tip for keeping it up
ReplyDeletewhoops!! see it now play dough! genius!
ReplyDeleteJasper drew the Mayflower today- we'll have to do this next week. I love the extra leaves!
ReplyDeleteThat's a really cute craft.
ReplyDeleteJust made this with my son today - very, very cute, and awesome repurposing of some of our stash of paper bags!
ReplyDelete