I love the start of the new year because it's a time to de-clutter and simplify. However, I do miss the cheer of the holiday decorations, especially when January is such a long, cold month.
Why not add some wintry-but-not-Christmasy adornments to your living space? It's a perfect time to decorate with white, since the color lightens up your home and also echoes the outdoors.
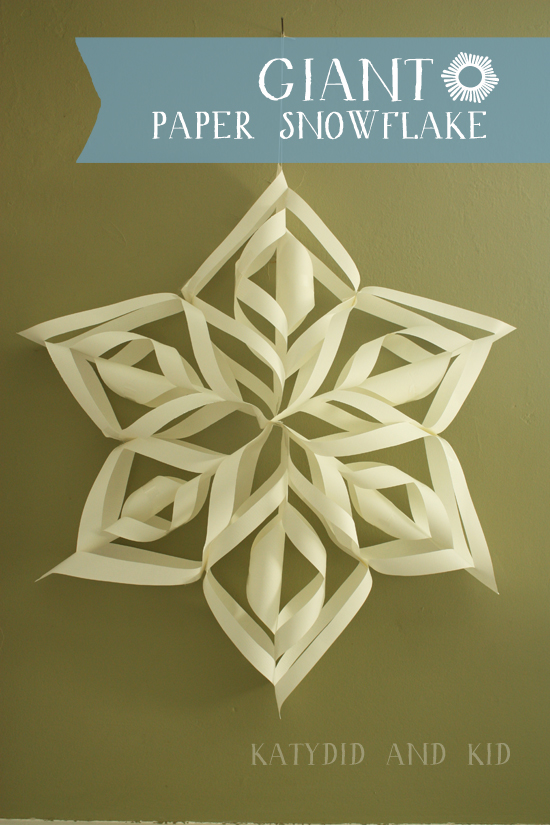
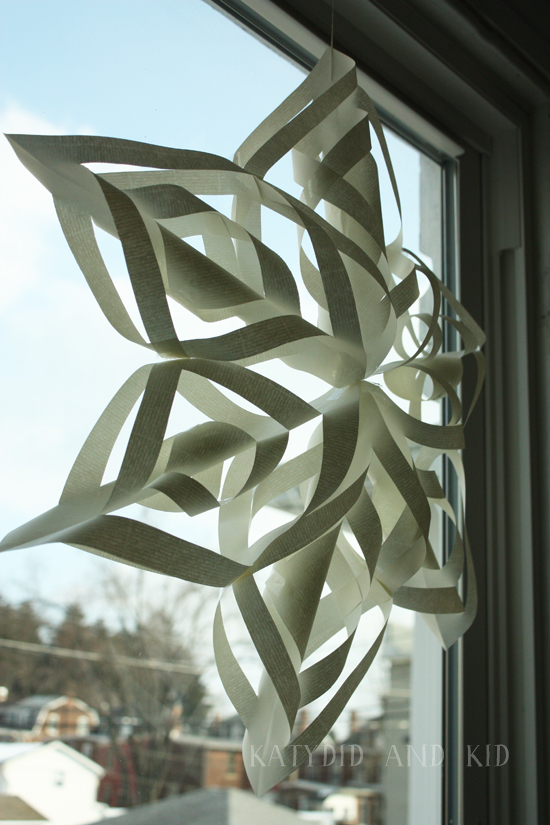
I came across some lovely and large paper snowflakes online, which reminded me of making them when I was a kid. They're simple and don't require any fancy materials. And they look elegant and showy in a window, on a wall or hanging from the ceiling (they're about 17" wide).
You only need a few materials, 6 sheets of white paper (8 1/2 x 11), invisible tape, scissors and a stapler.
STEP ONE
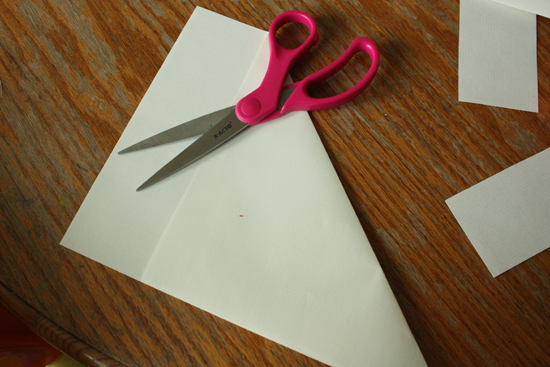
Turn your rectangular paper into a square by folding the short side into a triangle, lining the edges up.
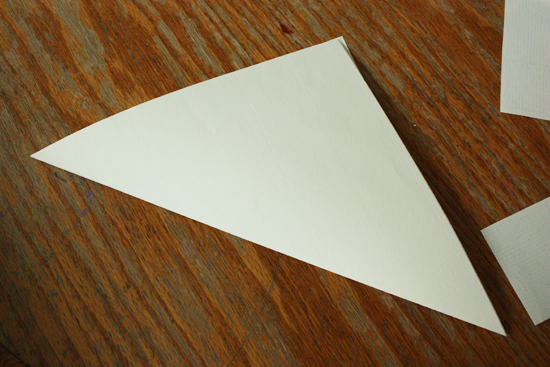
Cut off that extra flap of paper, leaving you with a right triangle (ultimately a square when you open up the folded paper).
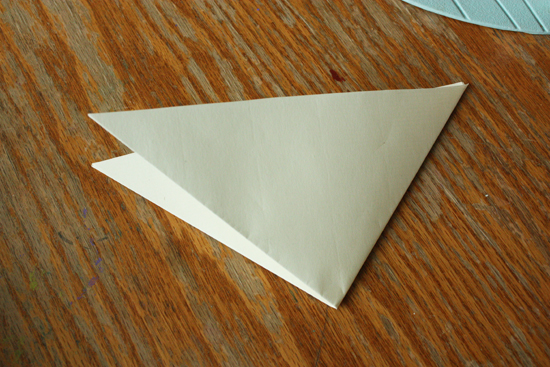
STEP TWO
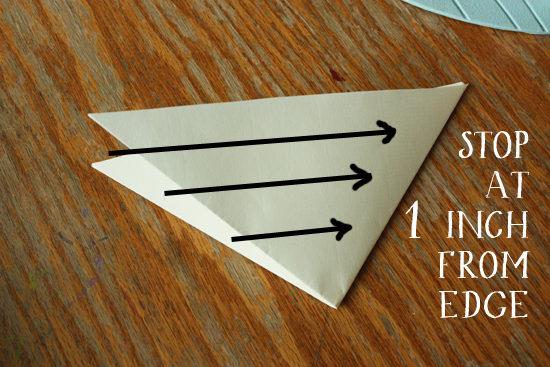
Fold this triangle in half again.
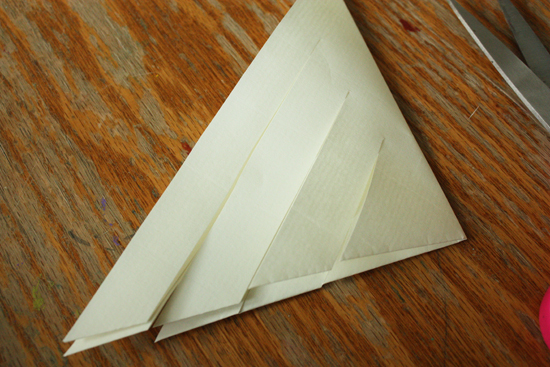
Then cut three parallel lines starting the longest edge, from the two open edges to the middle fold. Make sure to cut through all the layers of paper and DON'T cut all the way to the edge! Stop about an inch in, otherwise you'll just have a bunch of paper scraps.
It should look like this:
STEP THREE
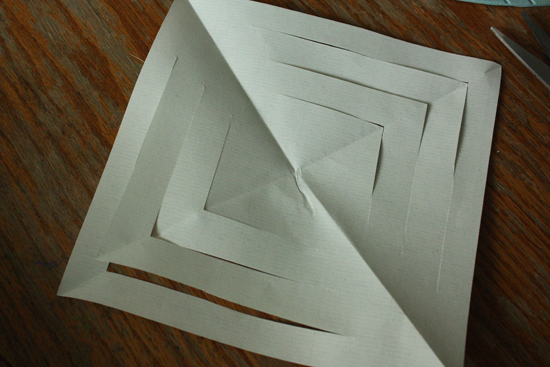
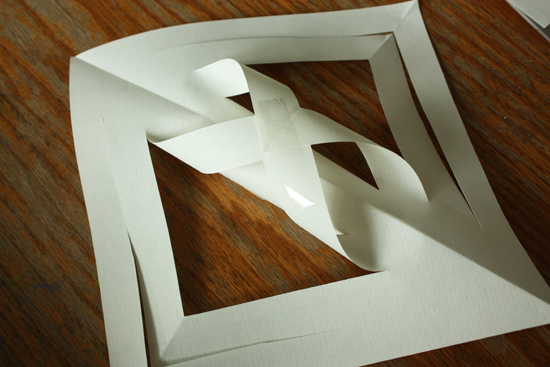
Open up your paper.
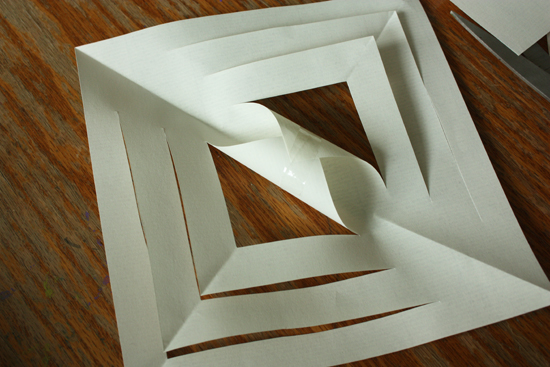
Take the edges of the center square and roll them into a tube. Tape it to secure in place.
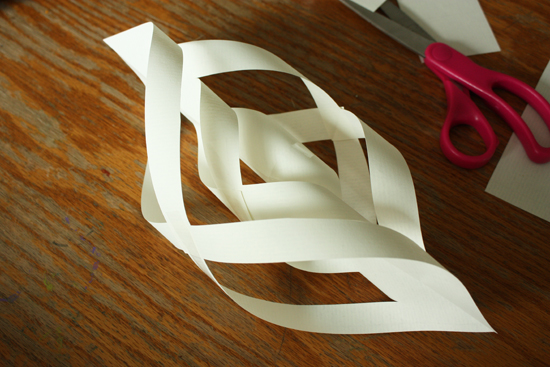
Flip it over, then take the next pair of points and tape them together in the same way.
And then flip over once more and tape the last points. You'll get something like this:
which is one point of your six-sided snowflake. Now go on and make 5 more of these before moving onto the next step.
STEP FOUR
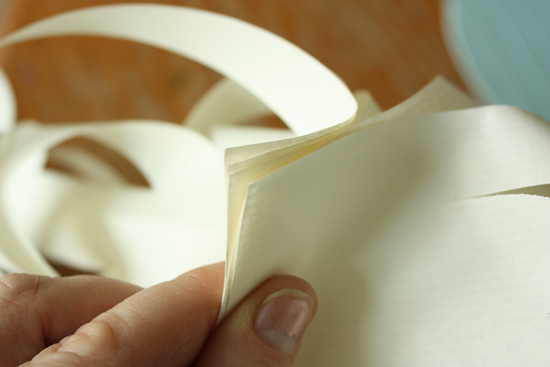
Gather your 6 papers and stack the points of one end on top of each other.
Grab your stapler and staple them together. Then staple each section together in the middle, where they would naturally touch.
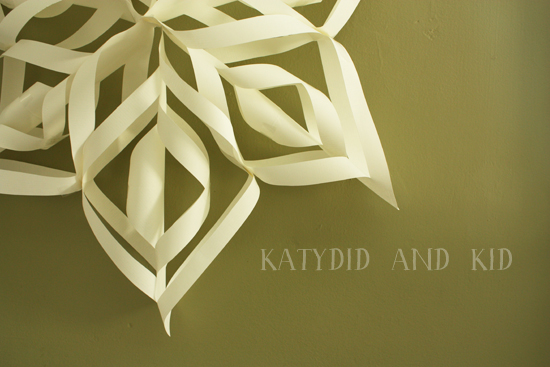
Then staple a string or ribbon to the top and hang.
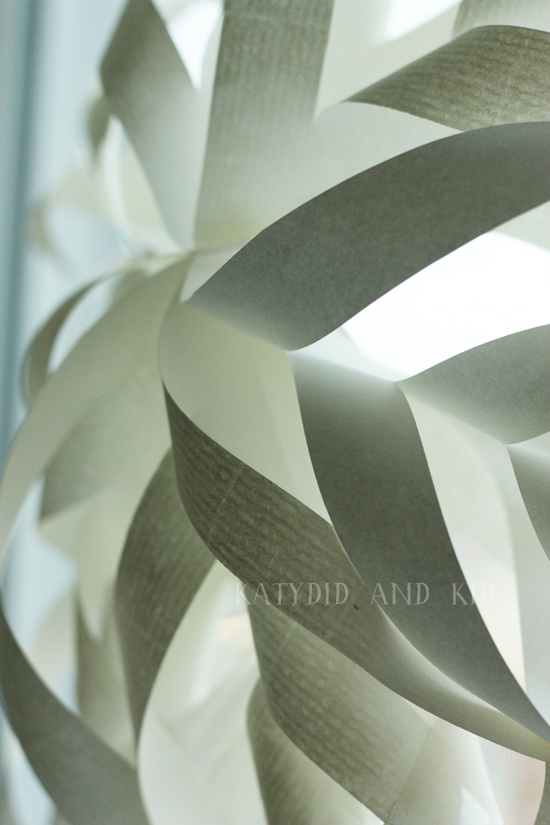
They're so lacy and light, and would perk up any bleak indoor landscape.
Enjoy!


I have to figure out where to hang mine. When I got home, I realized I have blinds on all of my windows. Now I'm thinking of getting rid of them! Another project, of course...
ReplyDeleteRoo will love this project!
ReplyDeleteI MUST try this!!
ReplyDeleteanother fun project from you! worked perfectly!
ReplyDelete