


He's still a little young to get the whole concept, and after taking him down the Valentine aisle at Target with little interest on his part in picking out cards, I decided it would be fun to make them with him.
I wanted to come up with something fun and unique to give to his classmates, no candy or junky little toys that get quickly get thrown out. Since S has been taking an interest in one of my passions--needlework--I thought it would be fun for the kids to have their own needle, yarn and plastic canvas for stitching.
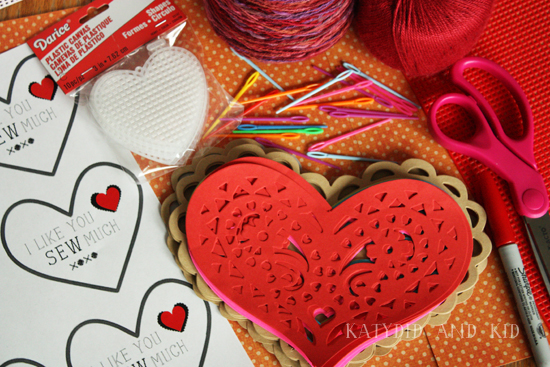
MATERIALS:
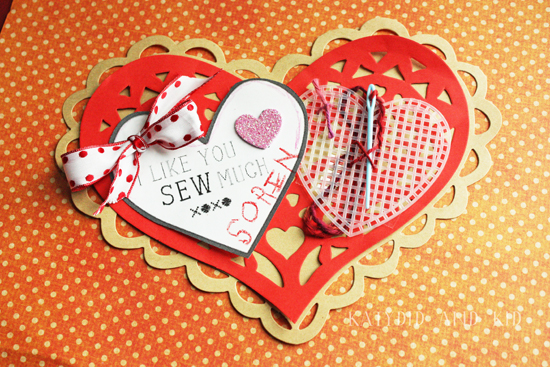
- Plastic Canvas (either heart shaped or sheets that can be cut into hearts. The heart ones I bought were $2 for a package of 10 at a craft store).
- Plastic yarn needles (purchased here as a pack of 40).
- Yarn
- Scissors
- Paper doilies, construction paper, or scrapbook paper
- Printable tags, if desired. I'm sharing the ones I designed HERE
- Clear Tape, pencil or markers for signing the cards
- Stickers, etc. for embellishment, if desired (we used some glittery foam hearts)
STEP ONE
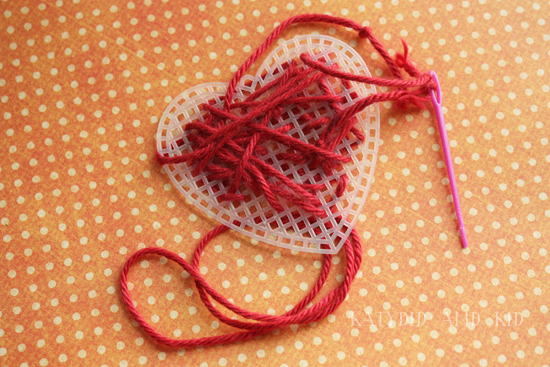
Cut a 12" length of yarn and tie to the needle so it doesn't slip off in transit.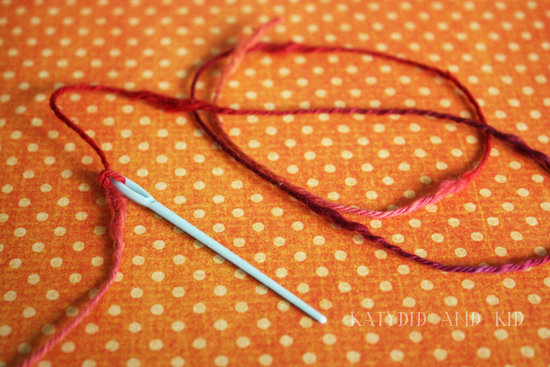
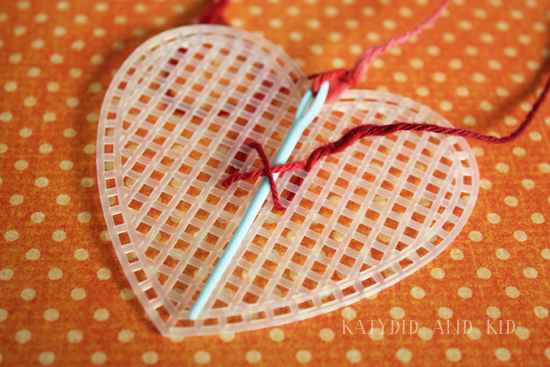
Then just tuck the needle into the "X" and fold the rest of the yarn nicely around the back and secure with a piece of tape.
STEP TWO
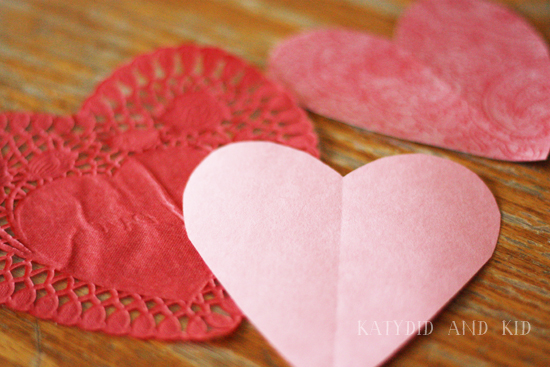
Create a backdrop for your heart out of paper hearts, either doilies, construction paper, or other paper. I picked up some paper doilies in a variety of colors at Target. It also came with two sized of doilies, which I layered on top of each other.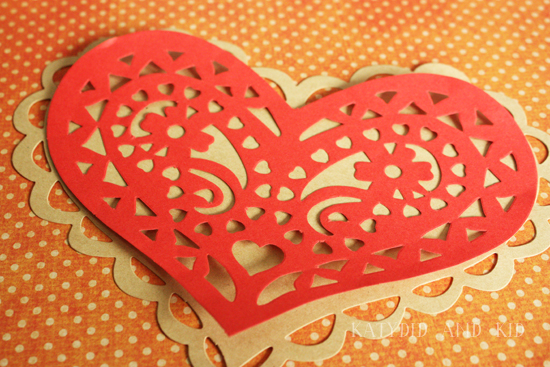

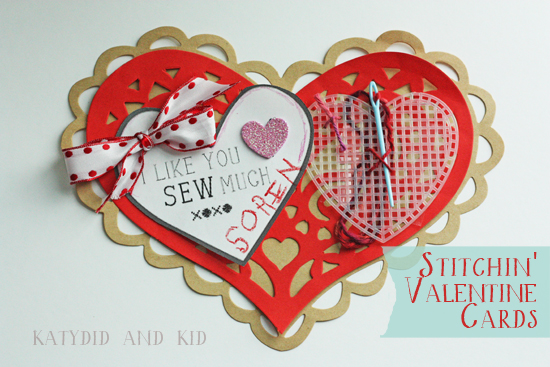
STEP THREE
Assemble your Valentines. Print and cut out the tags and have your child sign them and embellish them if they want.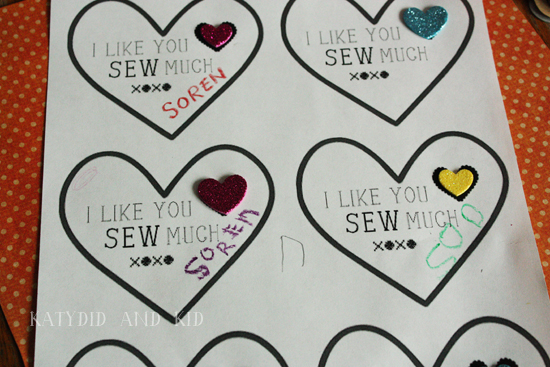

then tie in a bow or knot on top.

Again, if you'd like to use my printable tags, you can download them HERE. If you want to make your own tags, I found free stitching fonts called Kingthings Stitch and Stitches that I liked. Have fun creating!


You ALWAYS come up with the greatest things Kathleen! These Valentines are TOO adorable and so thoughtful :)
ReplyDeleteI love the way they're homemade, creative, and get the receiver involved in making something creative themselves.
That is totally adorable! I love it.
ReplyDeleteSo cute! I wish I could be in Soren's class!
ReplyDelete