I jumped on the no-knead, 5 minute bread bandwagon (yes, this wagon has boule-shaped wheels) last year and bought a copy of this book. It sat on my shelf, waiting to be used. It took so long because I was being cheap about sinking so much dough into a baking stone and pizza paddle. Thankfully, my brother gifted it to me for Christmas, giving me no more excuses for digging into the bread baking process.
I've baked at least a dozen loaves last month and I'm pleasantly impressed with the results of this method. It requires no kneading, no proofing yeast, no mess and very little work. While it's not the very best bread I've ever had, it's a huge improvement over what comes out of the bread machine or what I can purchase at the grocery store. And it makes the house smell delicious.
I'm going to share how make the Master Recipe, though I highly recommend buying the book, which contains so many more versions of the recipe, including how to make pastries, flatbreads, pizzas, bagels and other things.
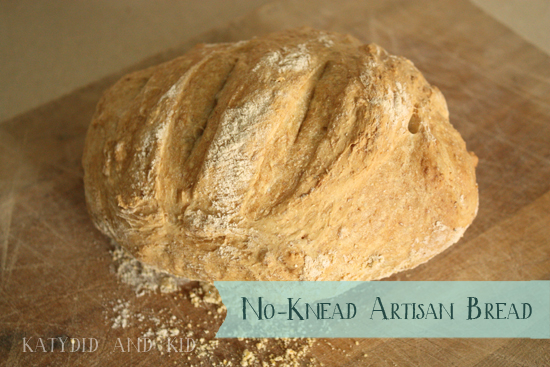
No-Knead Artisan Bread
(from Artisan Bread in Five Minutes a Day)Ingredients
6 1/2 cups of all purpose flour (I use 1 cup of whole wheat and 5 1/2 cups all-purpose)
3 cups lukewarm water (just slightly higher than body temp)
1 tbsp salt (the book calls for 1 1/2 tbsp but I found it too salty)
1 1/2 tbsp yeast
cornmeal for dusting the paddle
Tools
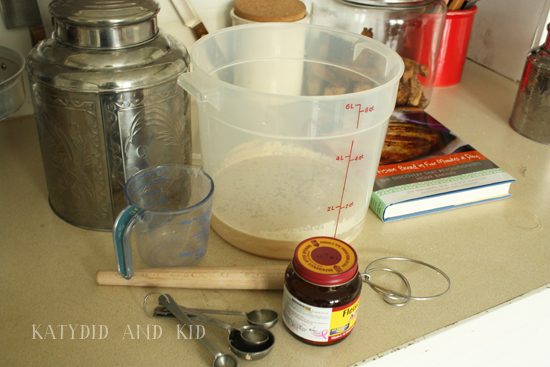
Large container (I use a 6 quart lidded food-grade bucket)
Mixing spoon or dough whisk
Measuring spoons and measuring cup
Pizza paddle
baking stone (or a cast iron dutch oven or high-heat proof pot)
shallow pan for adding water to the oven for steam
STEP ONE
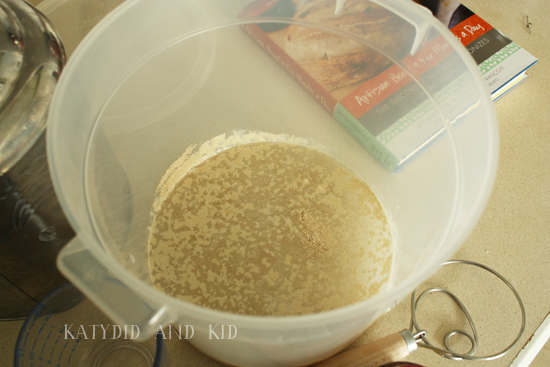
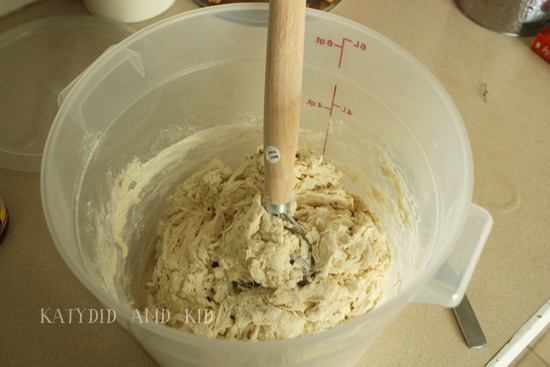
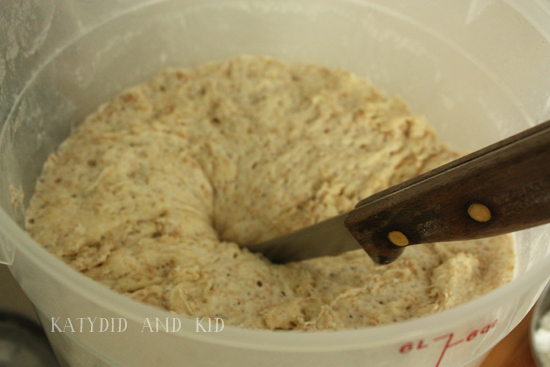
In a large container, pour the water and salt and swish around to combine. Sprinkle the yeast on top and allow to rest for 5 minutes.Next, measure and add the flour and mix until combined using the dough whisk or a large spoon. Don't worry about getting a smooth dough. Just make sure there aren't any dry spots.
STEP TWO
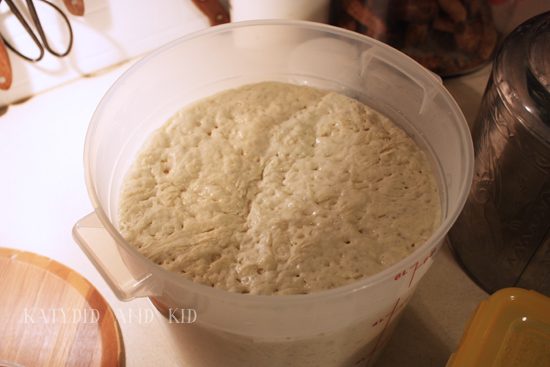
Cover with a damp cloth or loosely put on the lid (don't seal it). Set aside and allow to rise for 3-4 hours at the least. It should be doubled in size.STEP THREE
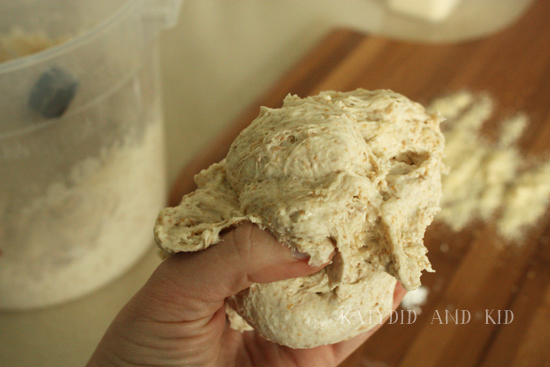
At this point, you can shape and bake the dough, or else stick it in the fridge to store for future use. To bake, cut off a grapefruit-sized ball with a knife,then dust with flour.
This next part is a little hard to describe (the book does a great job, with photos, which is hard for me to do while forming the dough), but you will make the dough into a ball by slightly stretching it over itself and tucking the ends underneath. The bottom will have a pinched look but the top should be smooth like a ball. This process should only take 30 seconds to a minute.
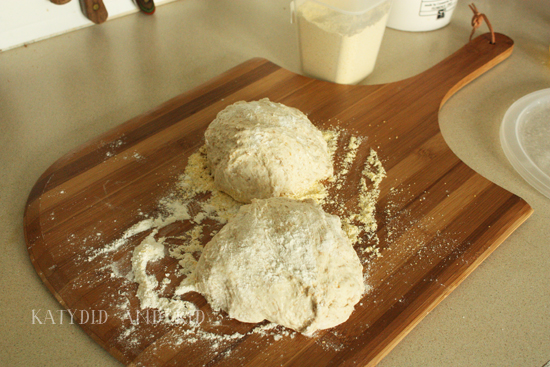
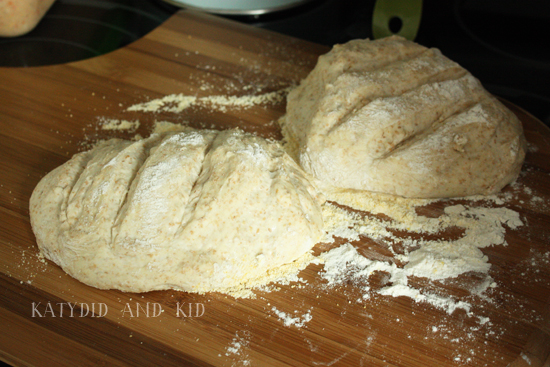
Sprinkle cornmeal on your pizza paddle, then sit the round ball on top. I made two loaves for today, hence the two balls below. It doesn't look like much, but it will make up for its looks in taste.
This is the part where people start getting anxious, knowing fresh bread is only about an hour away.
An alternative to the pizza paddle and baking stone is to bake this in a dutch oven. I haven't tried it yet, but if you do an online search for "no-knead bread in a dutch oven" you'll find more specific info.
STEP FOUR
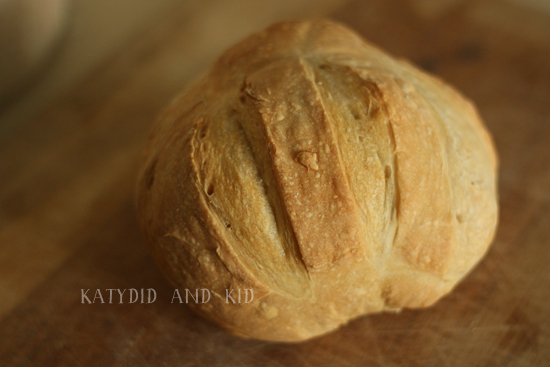
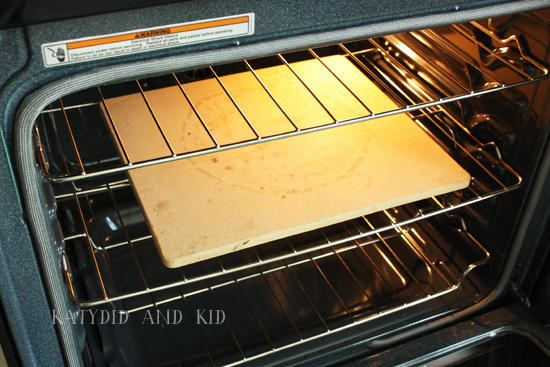
Allow to rise for at least another 45 minutes. About 20 minutes before you want to bake the bread, sit the baking stone on a rack in the center of your oven, put the shallow pan on a lower shelf, and preheat your oven for baking to 450 degrees F. Set aside one cup of water for the steam portion of the baking.When the oven has come to temperature, slice the top of the loaf either in an "x" pattern or with a few long slits to allow steam to escape.
The loaf might not rise much, but will do so more in the oven. If you're using dough from the refrigerator (like when you put the rest of the dough away for another day), you might barely see any rise at all, but don't fret. It will still come out tasty, though maybe not as large.
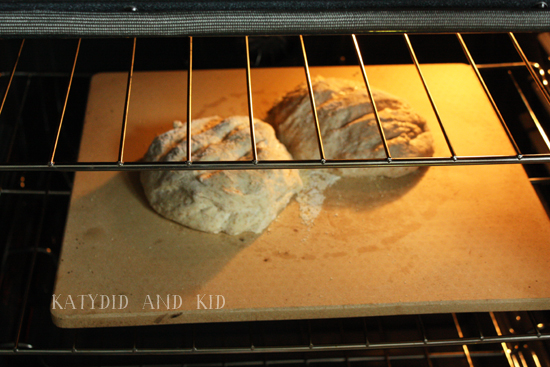
Slide the loaves into the oven. The cornmeal should allow them to slide off the paddle.
Then pour the cup of water into the lower pan, and quickly shut the oven to trap the steam. I'll admit, I've omitted this part sometimes, and the bread still comes out good.
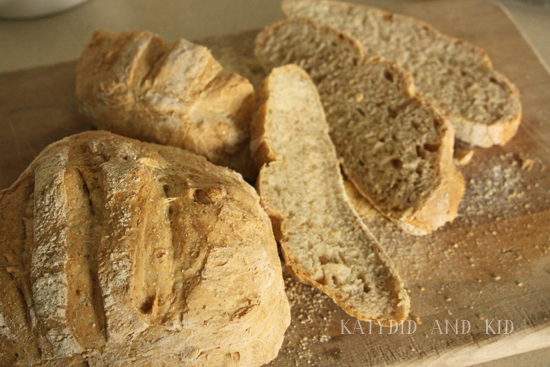
Allow to bake for 30 minutes, until browned. When done, the loaves should have a hollow sound if tapped on the bottom. Sometimes they "sing" when they come out of the oven, as the room temperature air hits them.
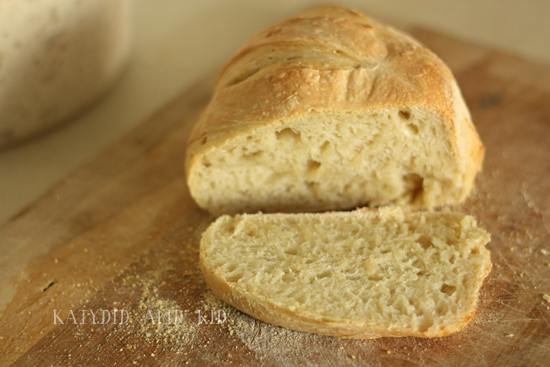
Cool before cutting, if you can resist. Usually I can't.
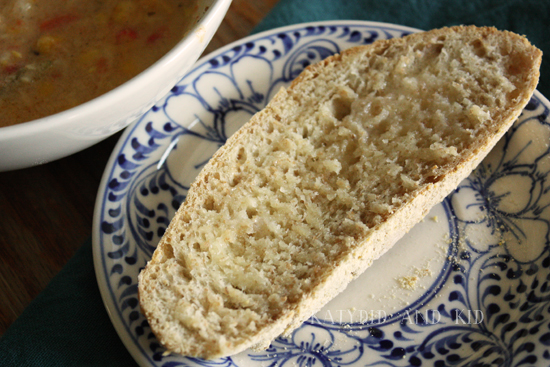
You'll get better slices if you can be patient. Since this bread has a high water content, sometimes the crust isn't so crisp after a day or so, but you can always pop it in the oven a bit to crunch it up. Good luck having a loaf that lasts more than a meal though.
The best part of this recipe is that you just pop the dough in the fridge once it's risen the first time, then just pull off a chunk to use for dinner. You do need to set aside about an hour and 10 minutes before you want to eat it (to shape it, then let it rise for 40 minutes, then bake for 30 minutes), but it's so easy. And the more let the dough sit and the more you add to the dough bucket (I don't rinse mine out), the better it tastes. It takes on a sourdough quality.
I'm eager to try more of the recipes in the book, like the cinnamon buns. I definitely recommend picking up a copy for yourself. Happy baking!






That looks delicious! We gave my mom a cast iron dutch oven for Christmas and she wants to try baking bread in it so I am going to direct her to this post.
ReplyDeleteThat looks amazing!
ReplyDelete