


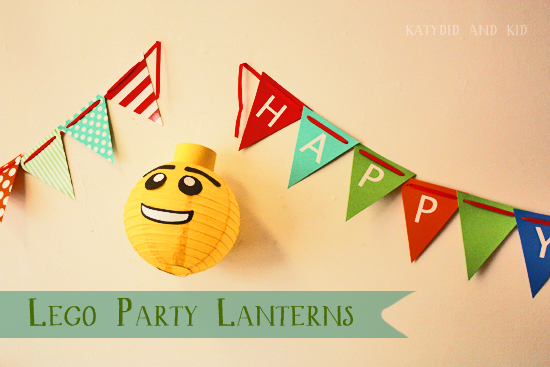
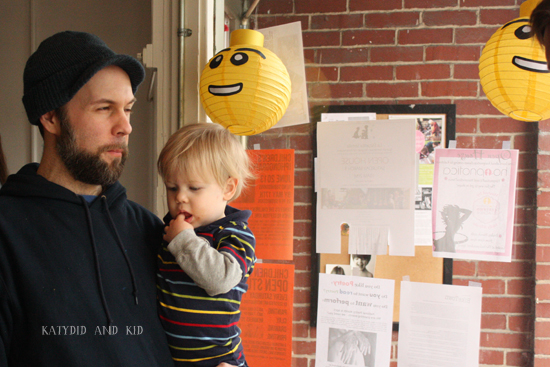
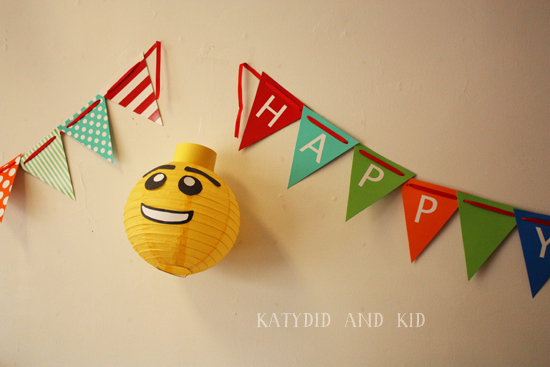
These lanterns are a festive way to bring minifigure-yellow into your party decor. Assuming they're not destroyed by wayward children at the party, you can reuse them in your child's bedroom or playroom afterwards.
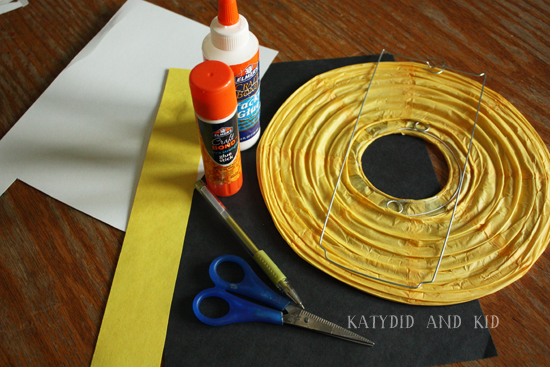
For this project, you'll need:
- Yellow paper lanterns (I found them at a party store)
- Black, yellow and white construction paper
- Glue stick and tacky glue
- Scissors
- Pencil
- Clear tape
STEP ONE
Find an example of a Lego minifigure face, either online or in your child's stash.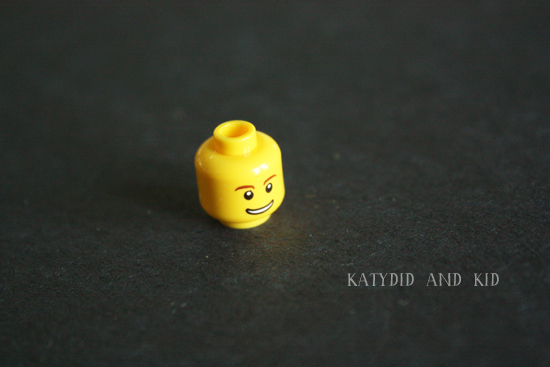
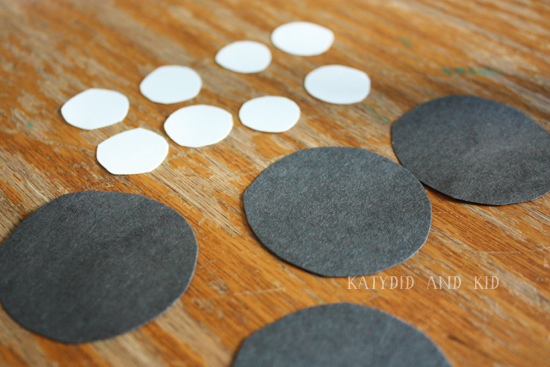
For my lantern, I first drew and cut out the eyes from black paper. I simply traced a small juice glass for the template.
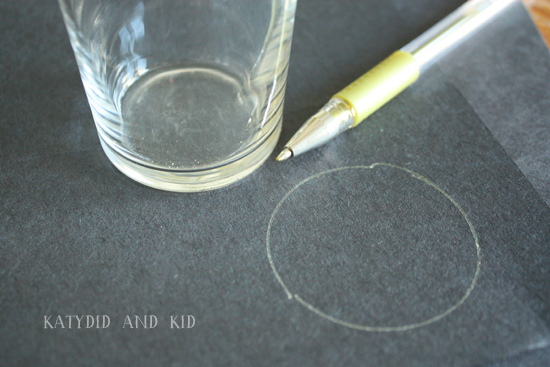
For the whites of the eyes, I cut out smaller circles from the white paper. I drew these freehand, but you could trace something small like a thread spool.
STEP TWO
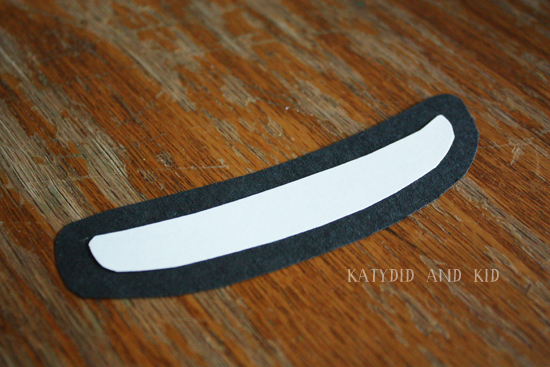
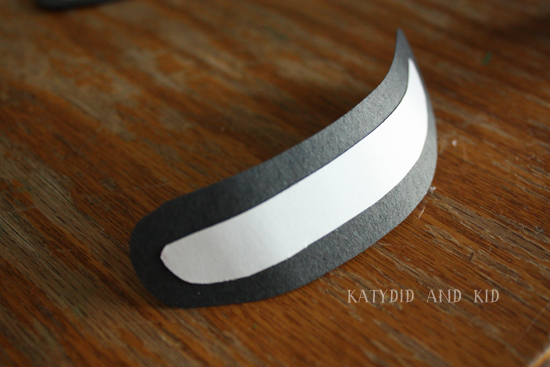
Make the mouth. Fold a black paper rectangle in half (I estimated a 4" rectangle for the mouth) and cut a rounded shape that resembles the Lego minifigure mouth. Folding it in half helps to get an evenly-shaped mouth. I did the same with the white paper, except I made the shape slightly smaller.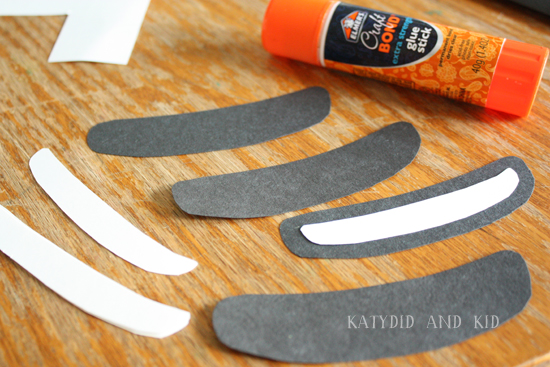
STEP THREE
Time to adhere the paper face to the lantern. I used tacky glue so because it holds better than glue stick.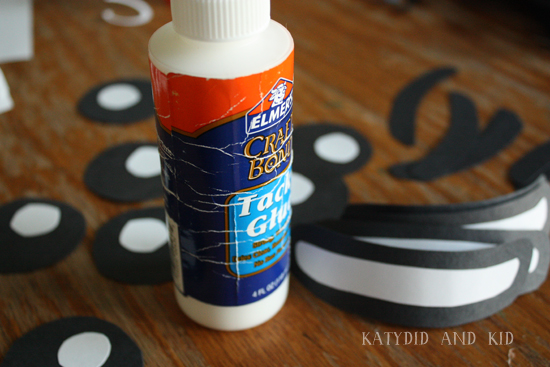

STEP FOUR
To make the little nub at the top of the minifigure head, I cut a strip of yellow construction paper about 10" long and 2" wide.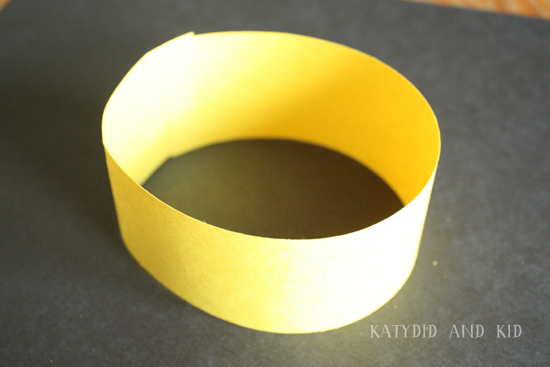
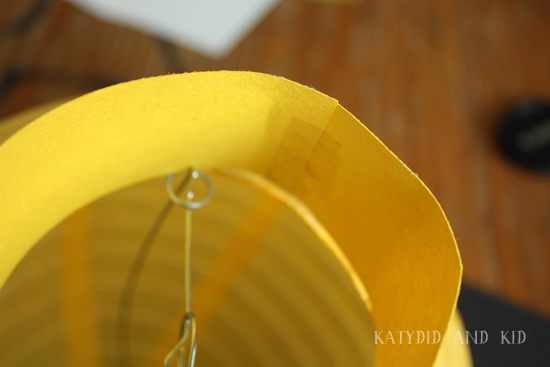
This party is probably the trickiest of the project: you need to tape/adhere it to the lantern.
These decorations were probably my favorite decorations from the party.


Those turned out great!! Pinned it :)
ReplyDeleteTotally brilliant!!!
ReplyDelete