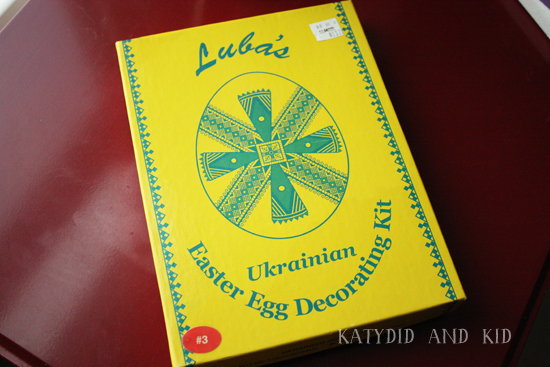
For years, I've admired and wanted to create beautiful Pysanky eggs at Eastertime. I'm assuming it's my Eastern European DNA (Polish though, not Ukranian) that inspires my admiration of this traditional art form. I've had this kit sitting around for years, and I just might get around to trying it this year.
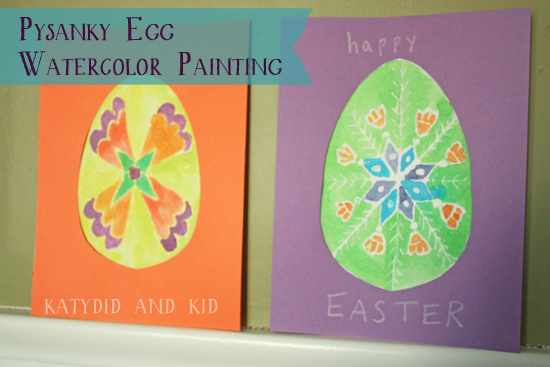
In the meantime, I created some Pysanky-inspired artworks using crayon resist and watercolor. It's a fun, non-frustrating project for kids and adults alike, and they finished result would look festive in your home during Easter gatherings.
You probably have all the materials you need already, especially if you have kids and an art supply stash.
Materials
- Construction paper
- White cardstock (copier paper would be fine too)
- Watercolor paints and brushes
- Crayons
- Scissors
- Pencil
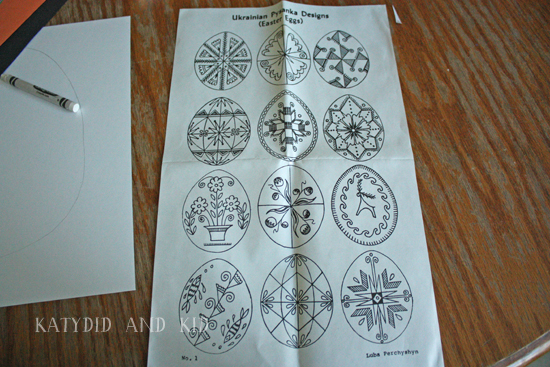
- Pysanky designs (LearnPysanky.com is a great resource). My sheet of designs came from my kit, found at a local craft store
- Glue stick
STEP ONE
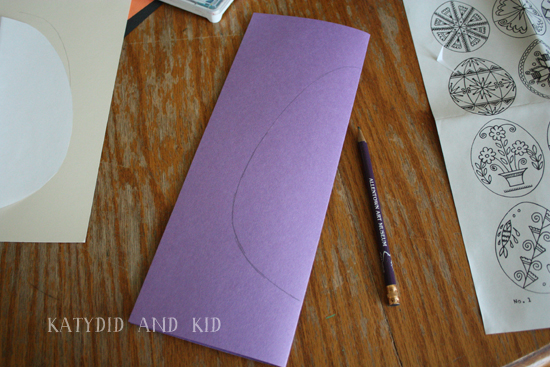
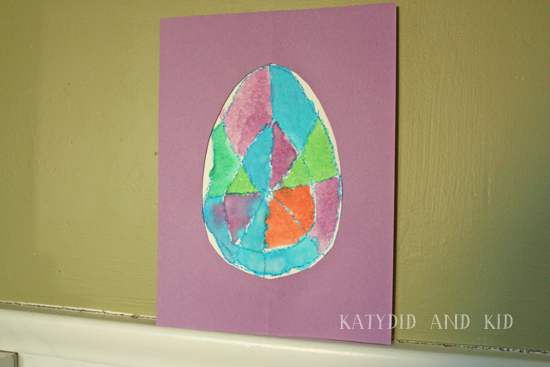
Choose a color for your painting's mat (the paper that "frames" your painting). I chose purple, as seen below. Fold the paper in half lengthwise and lightly draw half of an egg shape with the fold in the middle.
Cut this out and open it up. Place your white paper underneath and trace the egg shape onto the white paper using either pencil or crayon.
Set the purple paper aside.
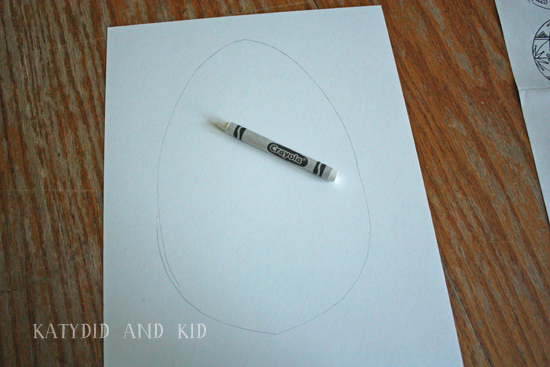
STEP TWO
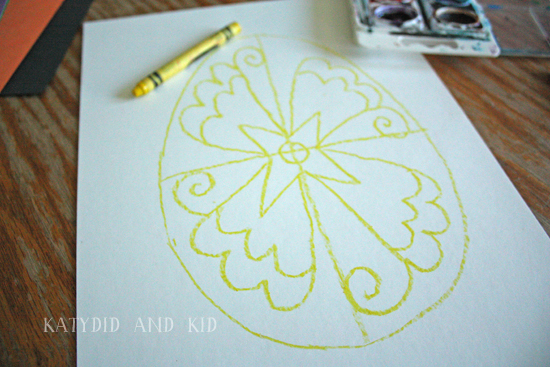
Draw your Pysanky design onto the paper using a crayon. I used white for my first example, to be more traditional, but it's hard to see so I recommend yellow or another light color.
Symmetrical designs, spring motifs and swirls all work well. You can find lots of examples in an online search, but for kids, the simpler the better.
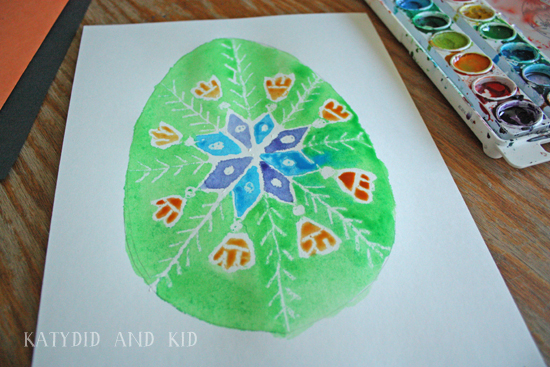
Here's my finished design on my yellow version. Be sure to connect all the lines (no gaps) so that the crayon provides a resist for the watercolor paints (meaning they won't bleed into each other).
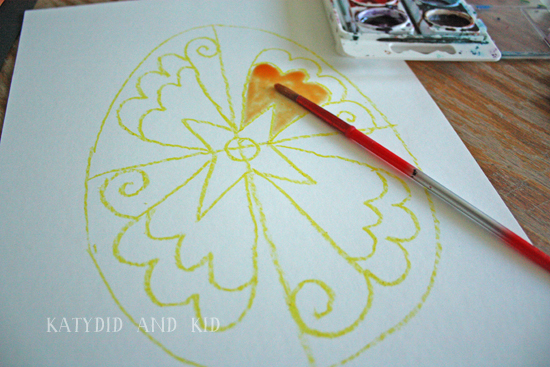
STEP THREE
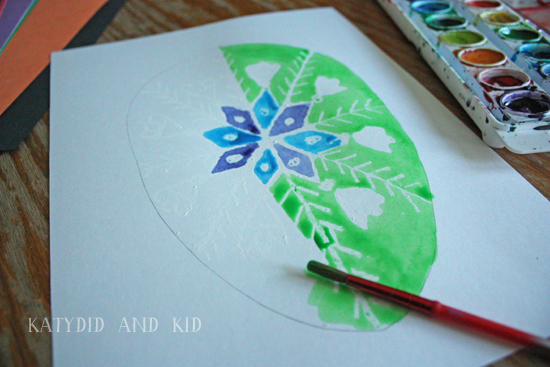
Paint! Add color to different areas of your design. The areas where the crayon is will prevent watercolor from covering those areas. It's a magical process for little kids to witness.
You can work with different colors even as other areas are drying. Just be careful not to cross the crayon lines with your brush.
These would make thoughtful Easter greeting cards to send to friends and loved ones. Or if you make a dozen of them in a smaller size, you could string them together in a garland.
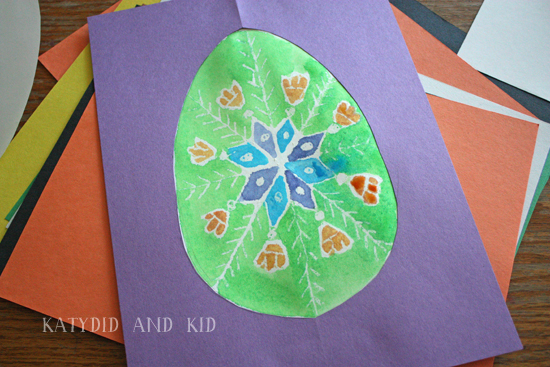
STEP FOUR
Allow your painting to dry, then with the piece of construction paper that you originally cut an egg shape out of, create a mat for your painting. Attach it with glue stick or tape to the front of the painting.
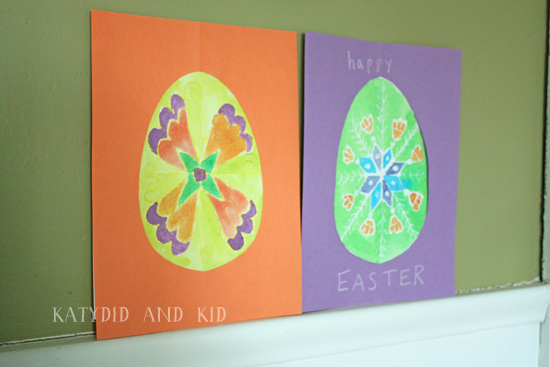
Then display as you'd like. You could even add decorations or words to the frame with crayons.
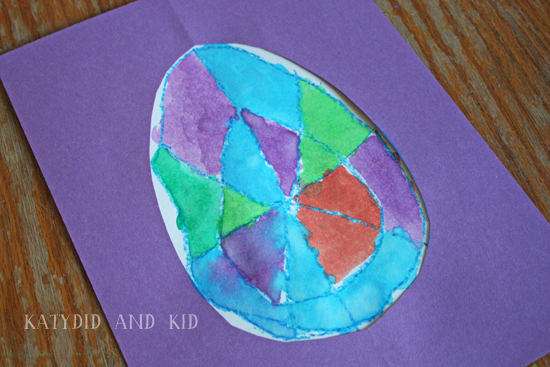
Here is the one my four-year-old created.
Hopefully this craft will inspire a love of Pysanky art in your family. Enjoy!


I love this. The Polish version runs in my family, too, lol. Our two projects for this Easter will be this one, and glue-covered colored crochet yarn wrapped all around small egg-shaped balloons (then you pop the balloons and pull them out of the "egg" - I think I like these even more than my kids do.
ReplyDeleteThose turned out so pretty! I can picture those designs as a faux stained glass decoration :)
ReplyDeleteSo cool. I like the little wax dipper things used for the resist methods although I imagine melted wax and toddlers is a terrible idea... We're going to have to try this!
ReplyDelete