


A friend gave me some crocheted coasters, which I've used at times, but they always seem to be tossed like frisbees around the living room by my boys. I think one of them is still under our sofa.
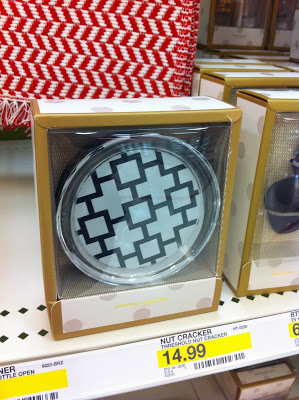
I thought maybe some less-inviting ones might be worth a shot. I saw these swakny glass ones at Target the other day, but of course glass+boys=second thoughts.
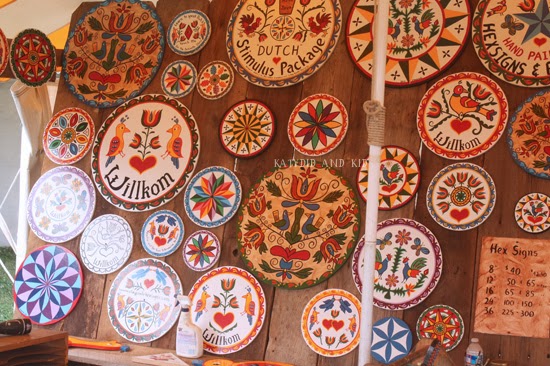
I have a book on Pennsylvania Dutch designs that proved helpful, but you can search online for hex sign designs and find plenty of options.
It was a very inexpensive project, considering I only had to buy the coasters since I had the rest on hand. Here's what I used:
- Cork coasters
- Acrylic paints or a paint marker
- brushes
- pencil
- Mod Podge (for sealing the paint onto the coaster)
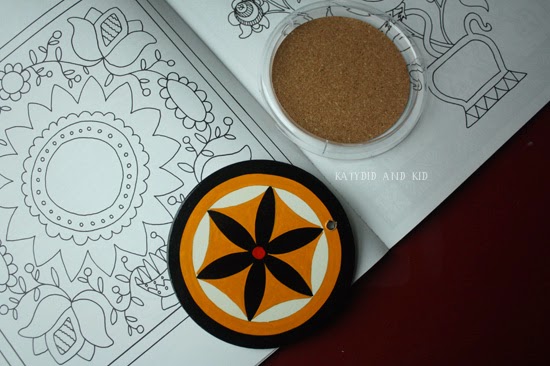
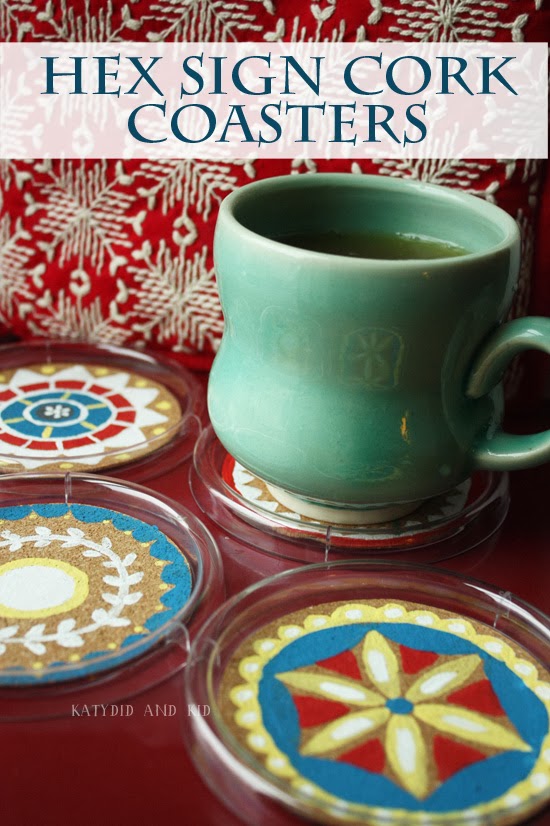
Next, I painted the design. You could make it all one color, like white, or use a lot. I went with primary colors and white, and I made sure that some of the cork was visible underneath. I like the contrast of the natural brown color and the brighter hues.
Once the paint dried, I added a thin layer of Mod Podge to protect the paint.
They're not perfectly painted (I was lazy and didn't meticulously measure my designs), but I like the handmade look.
So far they haven't been whipped across the room, but if/when they are, I'm not worried about them shattering into pieces or clunking someone on the head.
I definitely see more sets of these in my future; they would make great Christmas gifts. If you're not so artistically inclined, you could always use or make a stencil to add a monogram to the coaster.


yours are MUCH cuter!
ReplyDelete