March 29, 2023

Quick Craft: Easter Egg Snowflakes

Despite its paradoxical name, Easter Egg Snowflake, this craft is quite appropriate for this winter/spring here in the Northeast.  We're still freezing, stuck indoors most days.  But that hasn't stopped us from keeping busy with supplies from the craft cabinet.
To make these super-simple Easter silhouettes, you just need two things: scissors and paper.
It requires a bit of folding, just like snowflakes you'd make out of paper.  First fold the paper in half lengthwise.
Then cut out half of an egg shape.
Then fold in half again, and again so you have a wedge-shaped folded piece.
Don't worry about the edges not lining up.

Next, cut out some shapes on the sides, cutting through all the layers.
Open it up, flatten out the creases,
and hang up.  They look really pretty in windows.  Happy Easter!

March 27, 2023

A Lego Birthday Party

The key to a successful birthday party in my opinion are three things: balloons, cake, and a bounce house.  We had all of those at S's fifth birthday party on Sunday and the kids couldn't have been happier.
But do you think someone as obsessed with crafts and decorating as I am would leave it at that?  Of course not, so I did spend some time planning and creating some party stuff with a Lego theme, which was requested by my son.

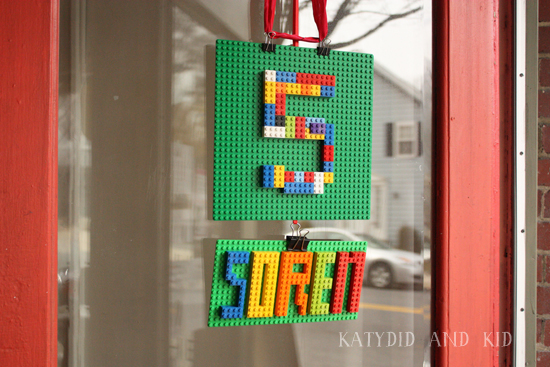
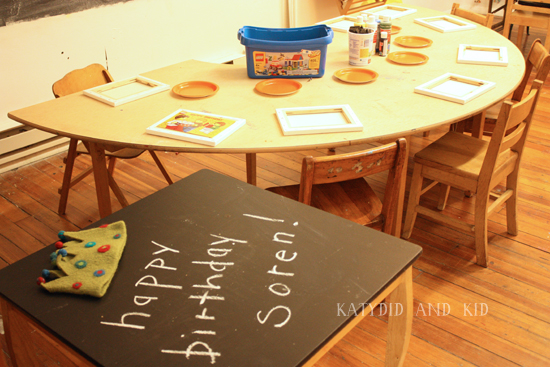
Pinterest is naturally a great place to harvest ideas.  From this Lego sign I made for the front door of the party space
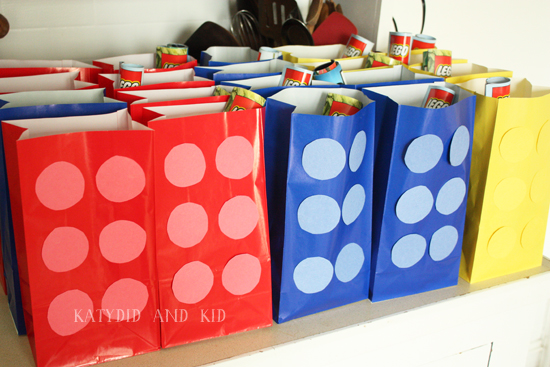
to the party bags themselves, it proved to be a helpful resource.
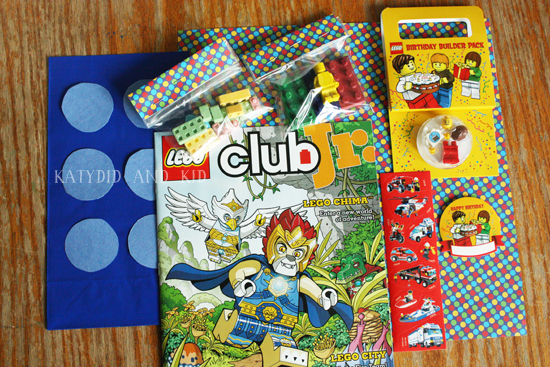
Speaking of party bags, I filled them with a few Lego-related items.
I picked up the Lego party kit on clearance at the Lego store, and while there, the sales clerk kindly offered us copies of their Lego Club magazine for the goodie bags.  The stickers I picked up for cheap at a local party store.

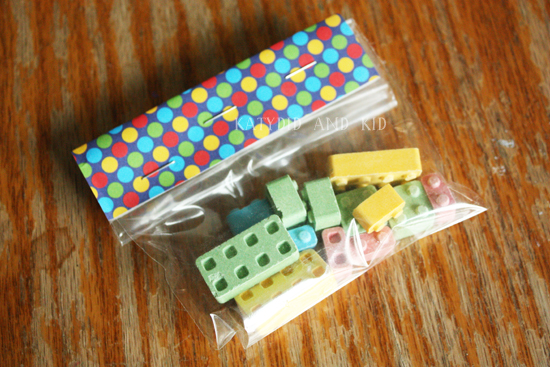
I bought some block candy from Amazon.com and added them to some leftover candy bags I had on hand, then stapled folded scrapbook paper on the tops to keep them closed.
and I made the Lego crayons using silicon molds and using up our stash of broken crayons.
Despite their apparent ease of cleaning, the crayons ruined the silicon molds, so I'd advise you to get another set for food items if you wish to reuse them for chocolates or other edibles.
I also added some pretzels and chocolates (my mom was trying to get rid of a big stash from Christmas) to the bags.  Hopefully the parents weren't too annoyed about the treats.

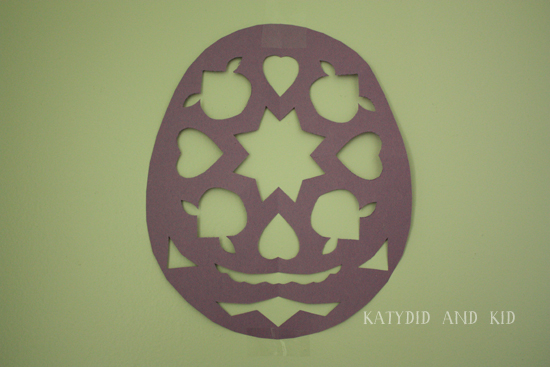
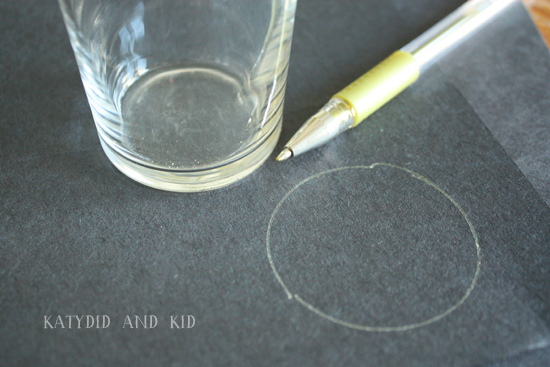
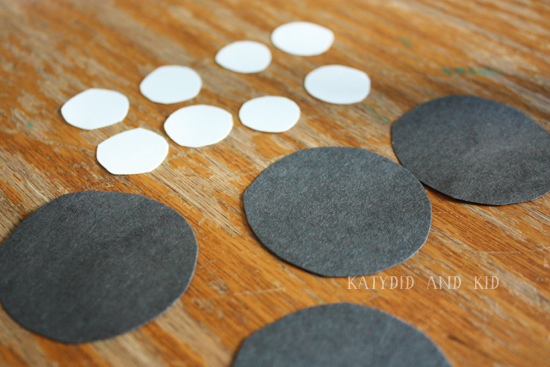
The bags were done using primary-colored paper lunch sacks, with construction paper circles glued onto the fronts to look like Lego bricks.
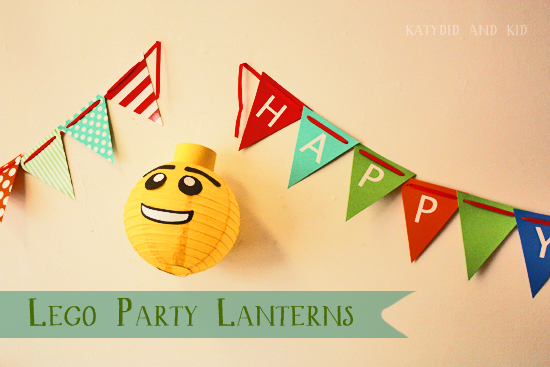
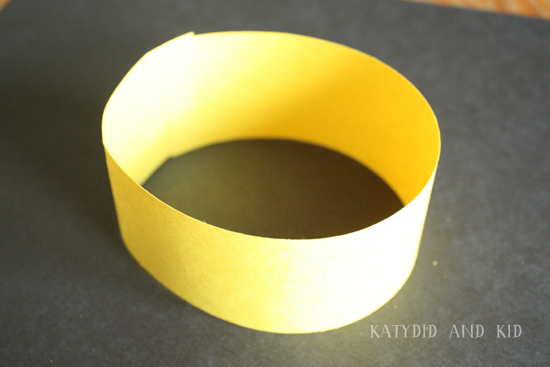
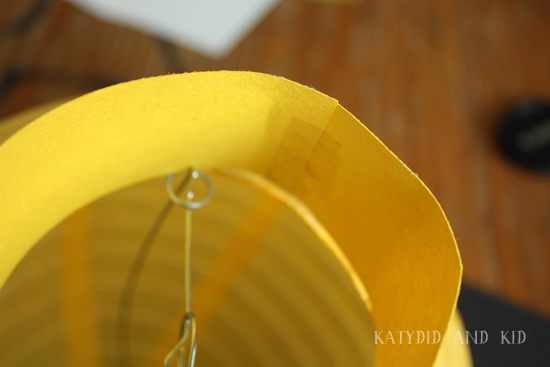
You may have seen the 
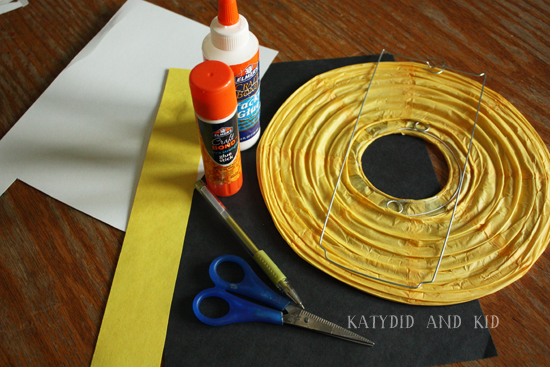
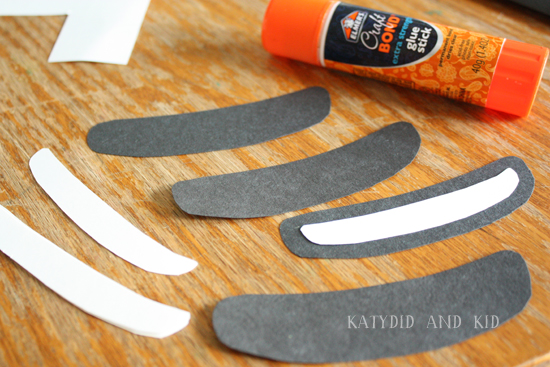
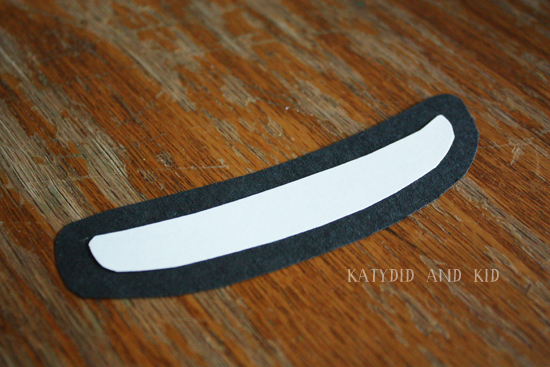
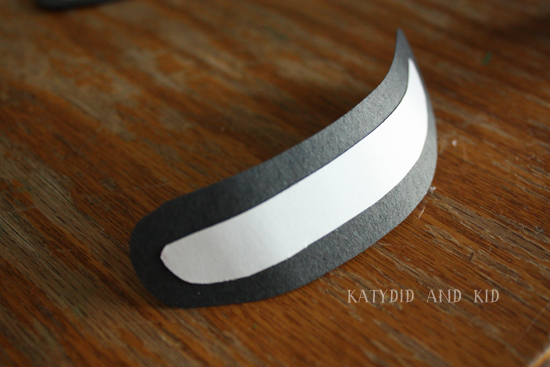
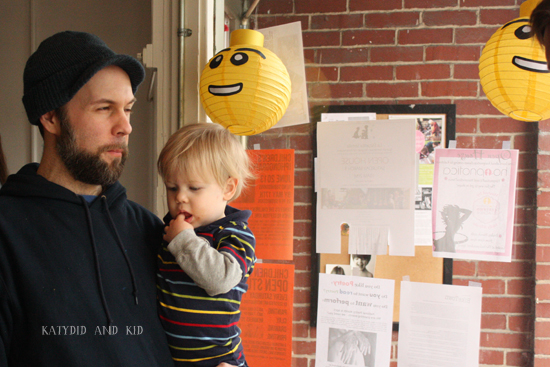
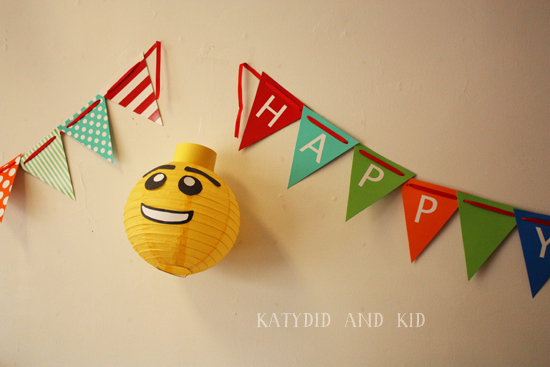
Lego party lantern tutorial I posted about yesterday.  These were my favorite decorations at the party, and pretty easy to make.
I would have liked to have given them a more prominent place in the room, but it was a rush trying to get the party set up after the yoga class beforehand ran late (we had this at a local gallery/community center).  I barely had time to get all the food out!
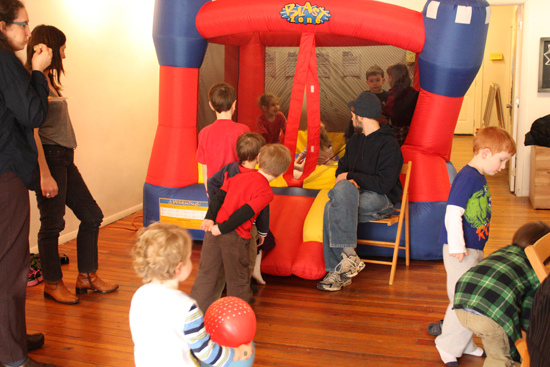
For activities, we just had a bounce house and balloons for the kids to kick around.
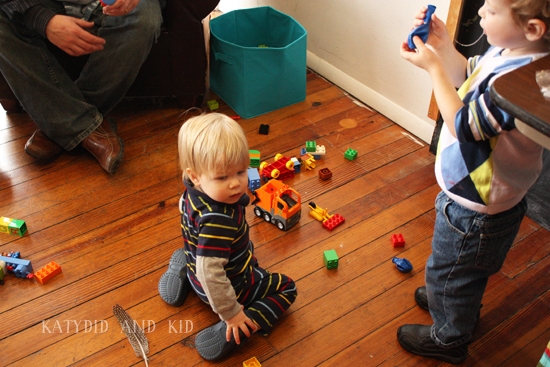
It's amazing how engaged they were just with those things. I was a bit concerned at first that I didn't plan any games, but I really didn't need to.  I did bring a bin of Duplo blocks, just in case any of the smaller kids needed a quieter activity.
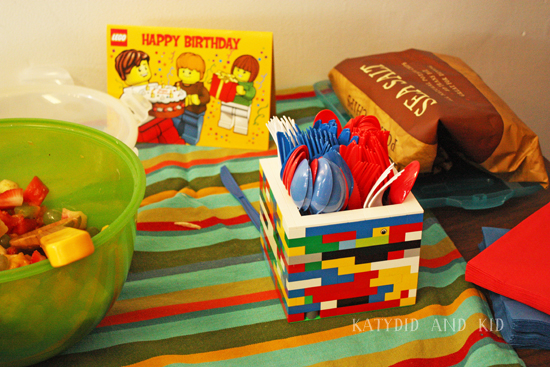
I also used some of those blocks to decorate the food tables, and had made a utensil holder with Legos at home.
The color scheme for the party was so simple--bright colors.  Thankfully, I have lots of tablecloths and banners that already fit that scheme, so I just brought them along from home.

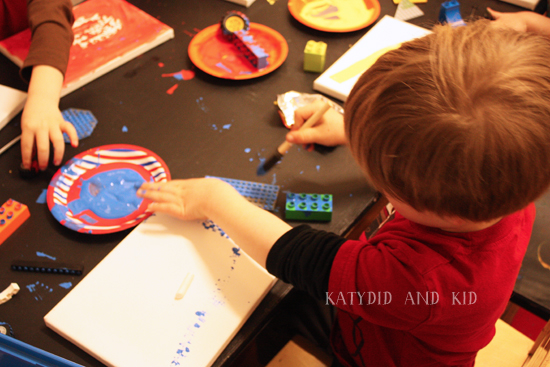
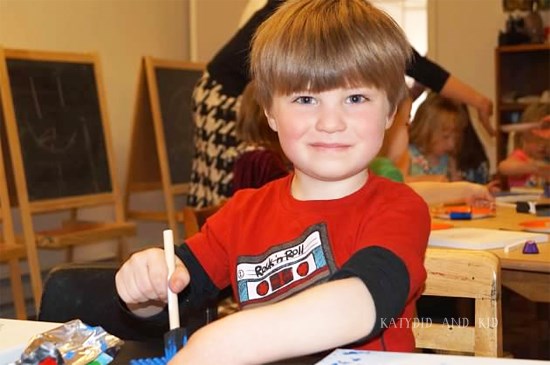
Since this space has an art room, it was obvious that I was going to use my rusty art teacher skills and do an art activity.  I thought the kids would enjoy using Legos to print onto canvases.
I gathered some uniquely-shaped Legos from home, as well as acrylic paints, foam brushes and 8x10" canvases (which were about $1 a piece when using a 40% off Michael's coupon for a 10 pack).
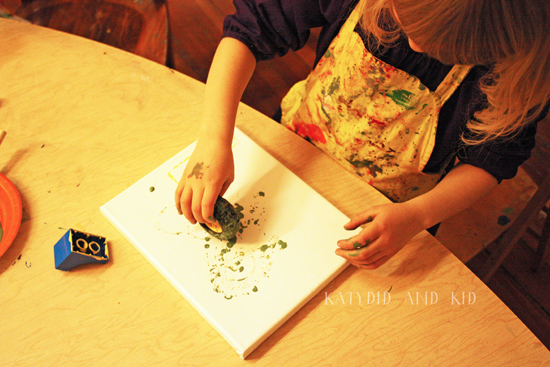
Paint was put on paper plates and kids were instructed to use the foam brushes to paint a thin layer onto the Lego, then press it onto the canvas.
The kids really seemed to enjoy the process and created some interesting art works.
After the art activity, we dug into the cakes (complete with block candles from Target) and ice cream.
While I'm typically pretty adamant about avoiding food coloring and dyes, I couldn't help but use it for these Lego cakes (the birthday boy requested purple, his current favorite color).  I just don't think they'd be the same with white and brown icing.   I modified this Betty Crocker building block cake tutorial, keeping the marshmallow pegs for the bricks, but not taking the cakes out of the pans.  It would have been too much trouble to transport to the venue.

For the chocolate cake, I used this recipe and for the vanilla, I made a Wacky cake which uses no eggs, dairy or soy (one of the guests was allergic to those things).  They both came out delicious, I must admit.
The food wasn't fancy, just take-out pizzas, a veggie tray, hummus, fruit salad and chips.  Everyone enjoyed it, despite its simplicity.

And I think the birthday boy had the best time of all.
Happy birthday S!

March 26, 2023

Lego Party Lanterns

As I mentioned, we just celebrated Soren's fifth birthday this weekend, and of course you probably have guessed we had a Lego theme.  So predictable for my Lego-obsessed boy.
It was a fun party to plan, from the primary colors color scheme to an easy Lego brick cake.  I'll post more about the party in the next few days.

These lanterns are a festive way to bring minifigure-yellow into your party decor.  Assuming they're not destroyed by wayward children at the party, you can reuse them in your child's bedroom or playroom afterwards.

For this project, you'll need:
  • Yellow paper lanterns (I found them at a party store)
  • Black, yellow and white construction paper
  • Glue stick and tacky glue
  • Scissors
  • Pencil
  • Clear tape

STEP ONE

Find an example of a Lego minifigure face, either online or in your child's stash.
This will help you with the design, proportions and placement.

For my lantern, I first drew and cut out the eyes from black paper.  I simply traced a small juice glass for the template.
You can cut out multiple eyes (I made 3 lanterns, each with faces on two sides of them) by folding your paper once or twice and cutting through a few layers.

For the whites of the eyes, I cut out smaller circles from the white paper.  I drew these freehand, but you could trace something small like a thread spool.
Next, glue the white circles onto your black circles with glue stick and set aside.

STEP TWO

Make the mouth.  Fold a black paper rectangle in half (I estimated a 4" rectangle for the mouth) and cut a rounded shape that resembles the Lego minifigure mouth.  Folding it in half helps to get an evenly-shaped mouth.  I did the same with the white paper, except I made the shape slightly smaller.
Then glue them together with a glue stick.  Set aside.
I then made the eyebrows in a similar way, cutting them out of black paper.

STEP THREE

Time to adhere the paper face to the lantern.  I used tacky glue so because it holds better than glue stick.
FIrst, bend the mouth a bit so that it will fit the curve of the lantern.
Arrange them on the lantern to make the face (again, I made faces on two sides) and stick them down.

STEP FOUR

To make the little nub at the top of the minifigure head, I cut a strip of yellow construction paper about 10" long and 2" wide.
Shape it into a circle and tape/glue it closed.

This party is probably the trickiest of the project: you need to tape/adhere it to the lantern.
I taped it to the inside of the lantern, and kind of sat the yellow ring on top.  It didn't fit the edges exactly, but you can't tell when the lantern is hanging up above eye level.

These decorations were probably my favorite decorations from the party. 
I hope you make some of your own!

March 25, 2023

FIVE

After what equally feels like an eternity and a heartbeat, there is now five years space between the birth of my first child and now.  This parenting thing really messes with your sense of time and memory.

I blinked and now Soren is just days shy of five years old. 
We had a party for him yesterday, and after the medical ordeal we went through this past fall, I couldn't help being extra happy and grateful to see him running around and having fun with his friends.
Thanks Uncle Paul and Aunt Ashley for sharing this photo with us
This boy has brought so much growth, excitement, energy and meaning to our lives; I can't imagine the kind of person I'd be if he hadn't arrived five years ago.  Probably still chugging along that same old, self-absorbed path.
Despite its challenges, I am so grateful to be your mother, Soren.
You have taught be true patience, true joy, and true forgiveness, mostly for myself.  I admire your exuberant, adventurous spirit and pray that I don't crush it too much.  I'm trying my best to let you be who you are, despite us being SO different, personality-wise.  I want you to shine and be true to yourself, no matter what others think.
I am looking forward to this next year with you, getting to know you more, laughing at your goofiness, and watching you grow and change, especially as you go to Kindergarten.  I love you more than you could know, my sweet boy.  Happy birthday.
Related Posts with Thumbnails