It's no secret that I'm a big fan of Halloween. I love to cover my house in pumpkins, skulls and all other things spooky. The fall tends to reignite my desire to craft, so naturally I make a few new things for Halloween each year.
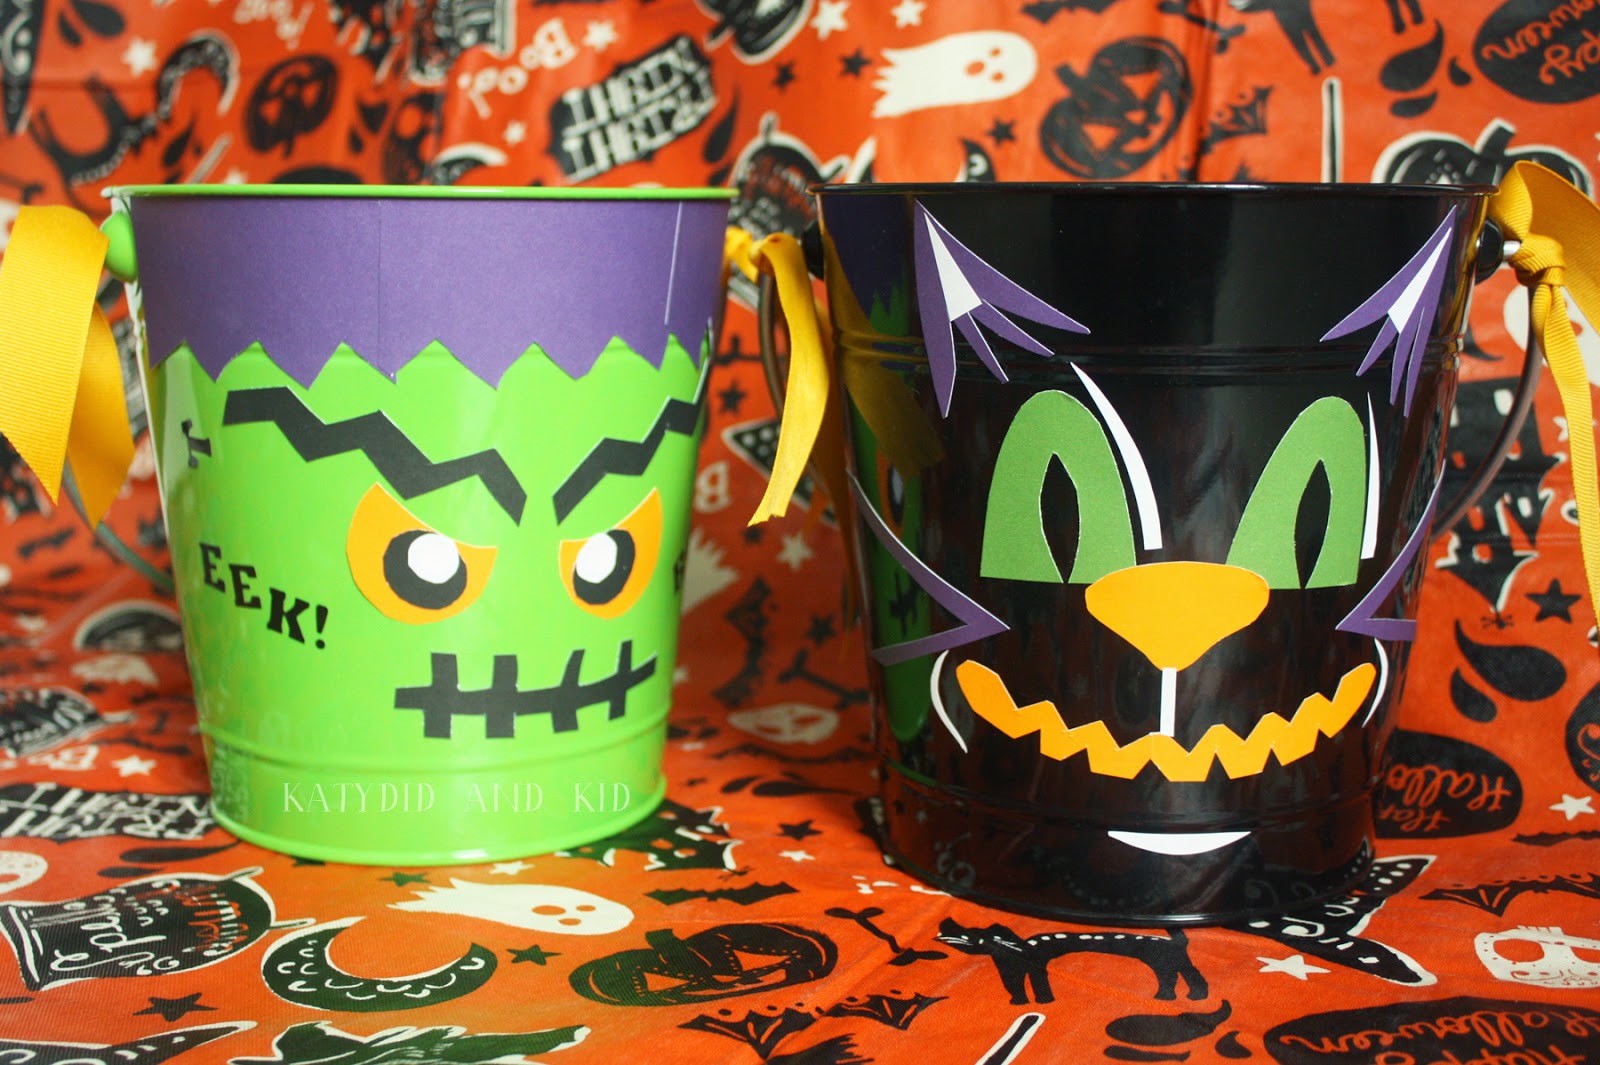
This weekend I decorated buckets for my sons for Halloween. Over the years, we've most used bags, but I love the look and durability of a bucket.
When Jam Paper contacted me recently about partnering with them on a fall-themed craft, I knew just what I wanted to make. Fortunately, they sell reasonably priced and beautiful colored buckets (along with a huge variety of paper supplies, of course) which are perfect not just for trick or treating, but for so many other things.
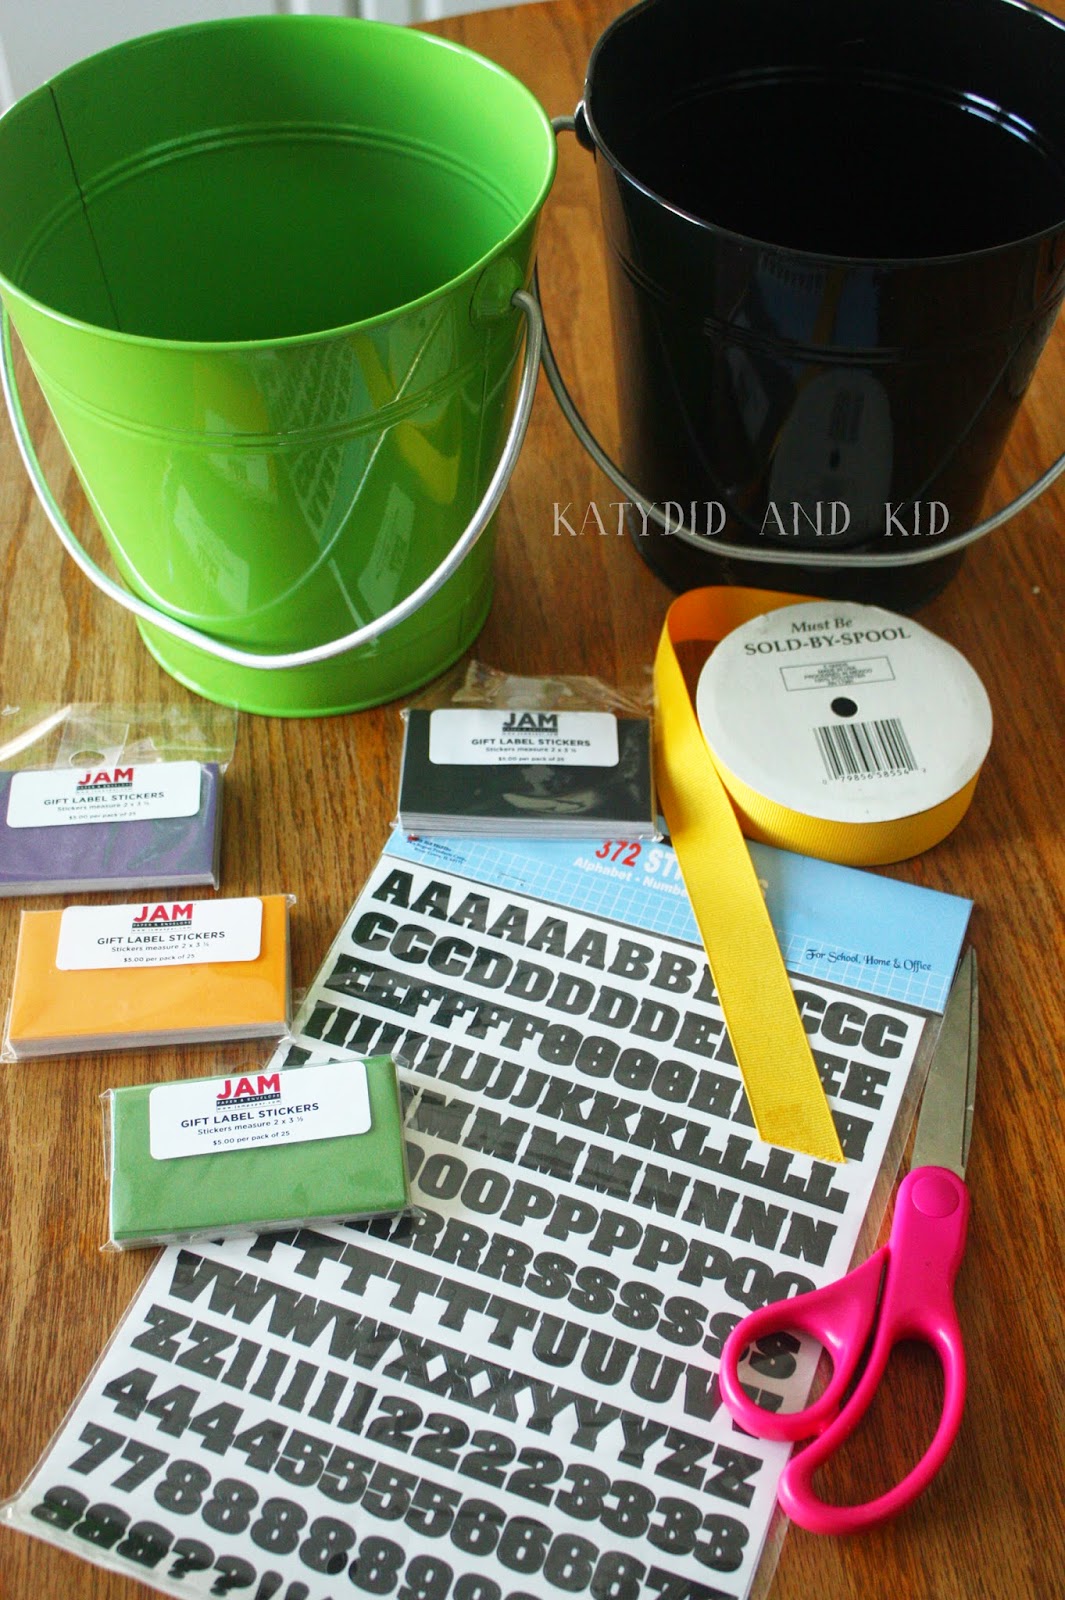
I started with two of their large colored buckets, one green, one black, as well as a few packages of colored gift label stickers. I also chose a sheet of letter stickers to personalize the buckets with my sons' names.
I needed a pair of scissors and some yellow grosgrain ribbon for extra decoration too.
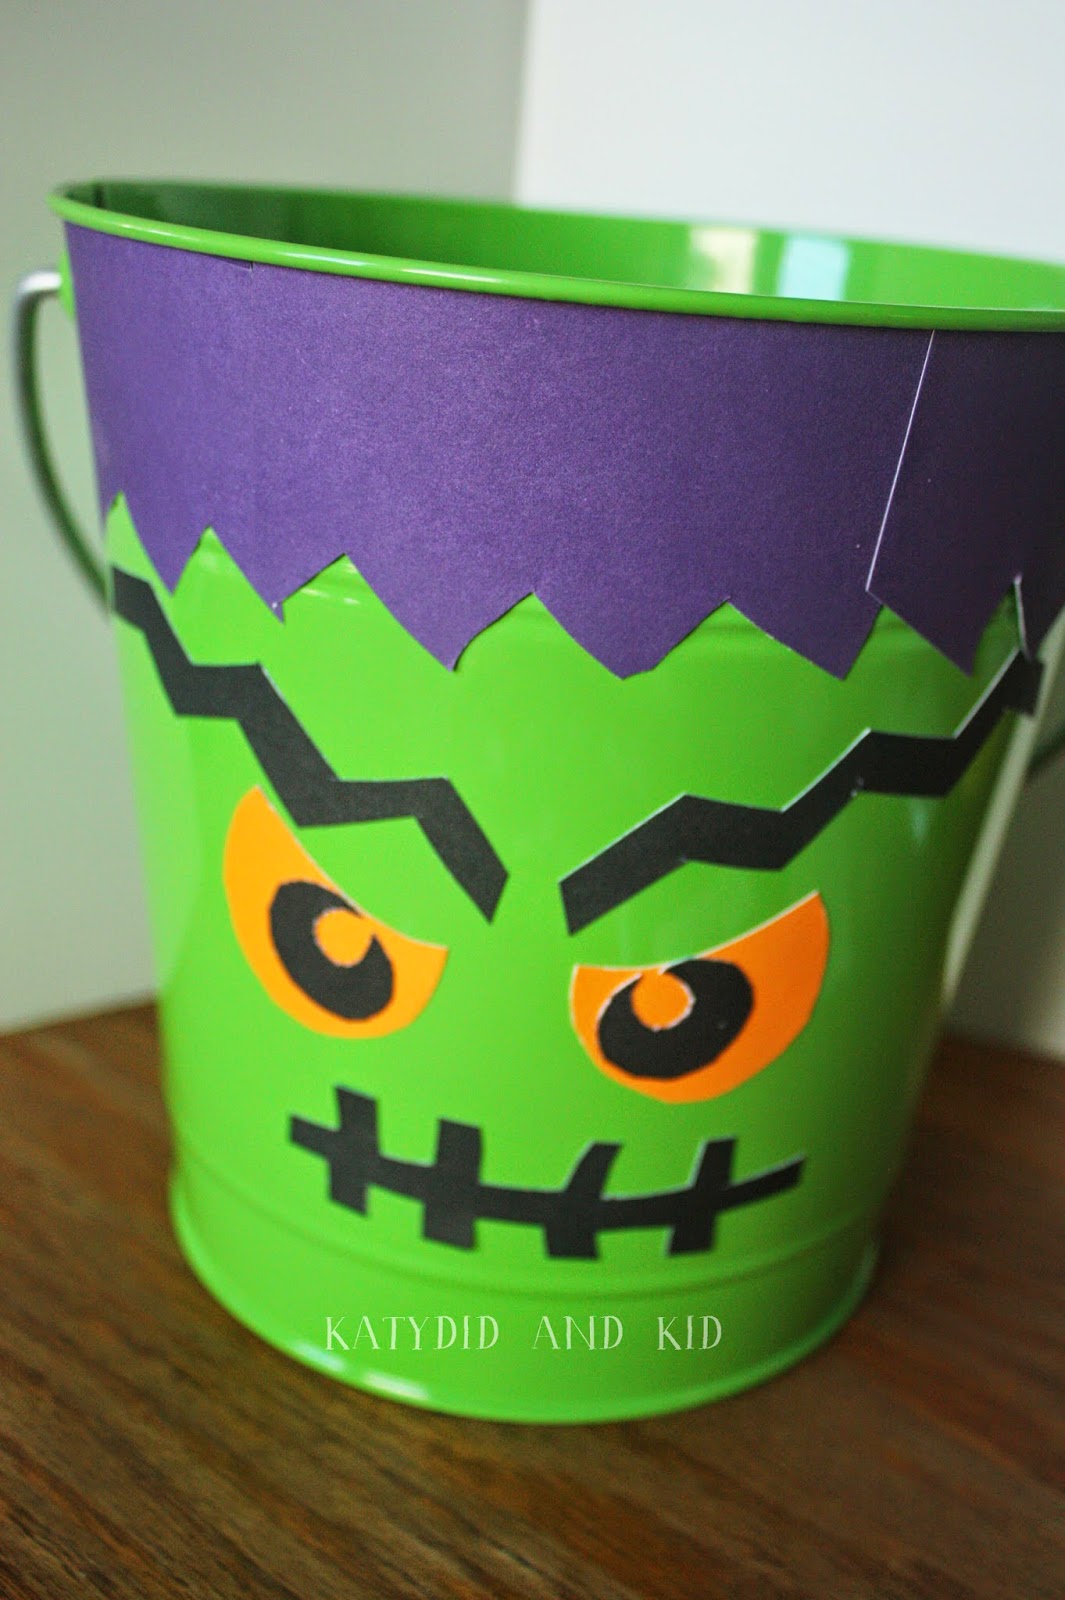
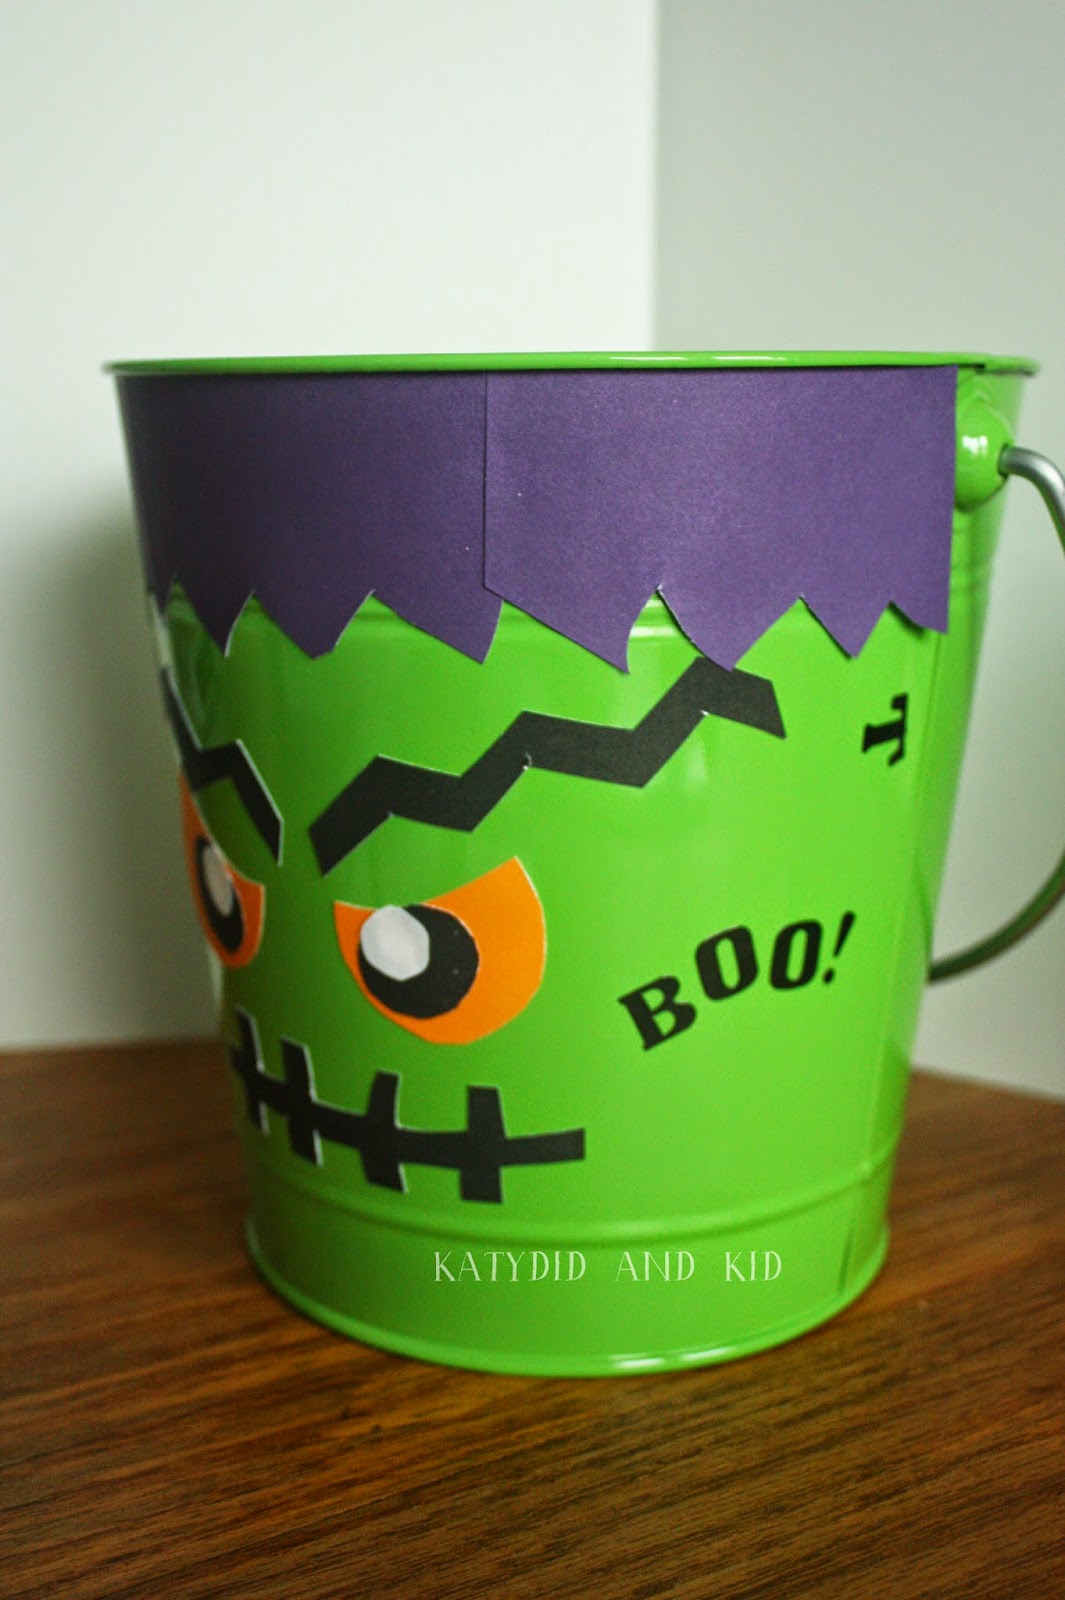
This was an easy craft to make, especially that you're essentially just creating a collage with the colored stickers. I started on the Frankenstein bucket and made some jagged purple hair for my monster using the purple Jam Gift Label Stickers.
I determined that I'd need 4 to go across the front of the bucket horizontally, and then I make a jagged "hair line" along the bottom edge of the stickers.
It was as simple as peeling off the back of the sticker and lining the stickers up along the bucket rim to create Frank's hair.
You actually don't notice the seam in person; it's just noticeable here due to where the light was hitting it.
Continue making Frankenstein's face in the same manner, cutting some zigzag black pieces for the eyebrows and mouth, maybe orange and black for the eyes.
Then I stuck on the face. In the case of this monster, I think the simpler the better when it comes to designing the face.
I did put a few spooky words like "boo!" and "eek!" along the sides of the head, and some letter "t's" made nice Frankenstein bolts.
I added my son's name on the back too, by cutting out a tombstone shaped sticker and adding RIP plus his name under it.
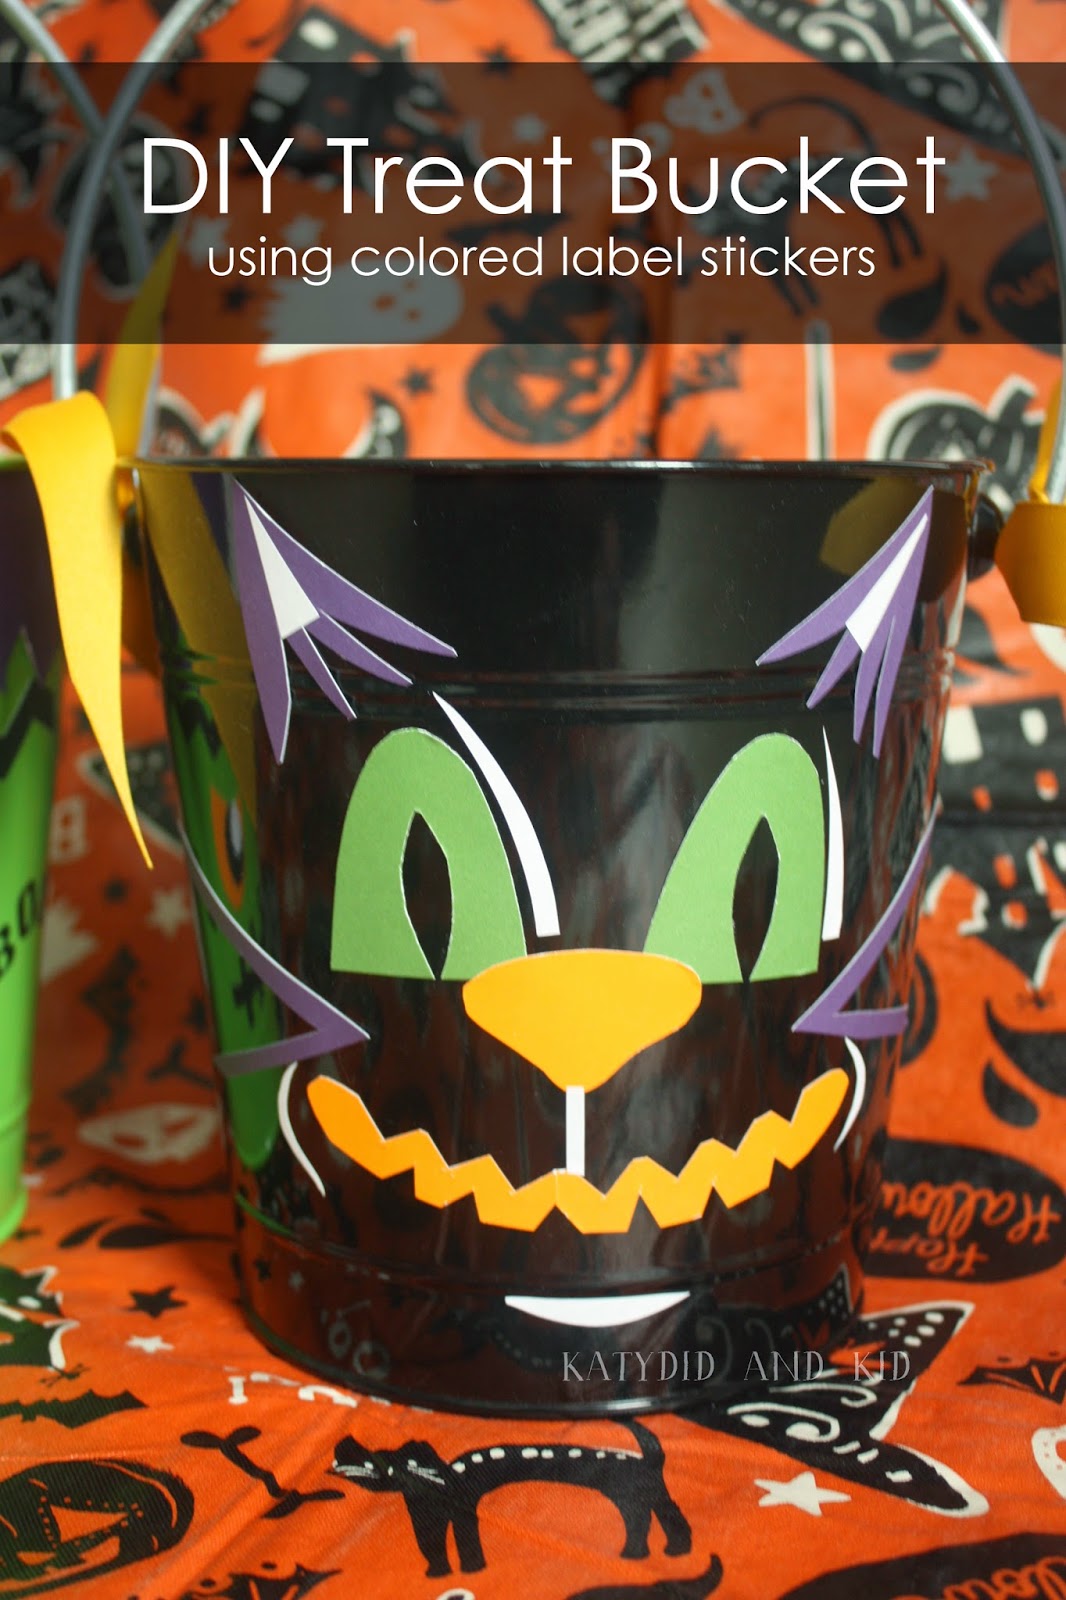
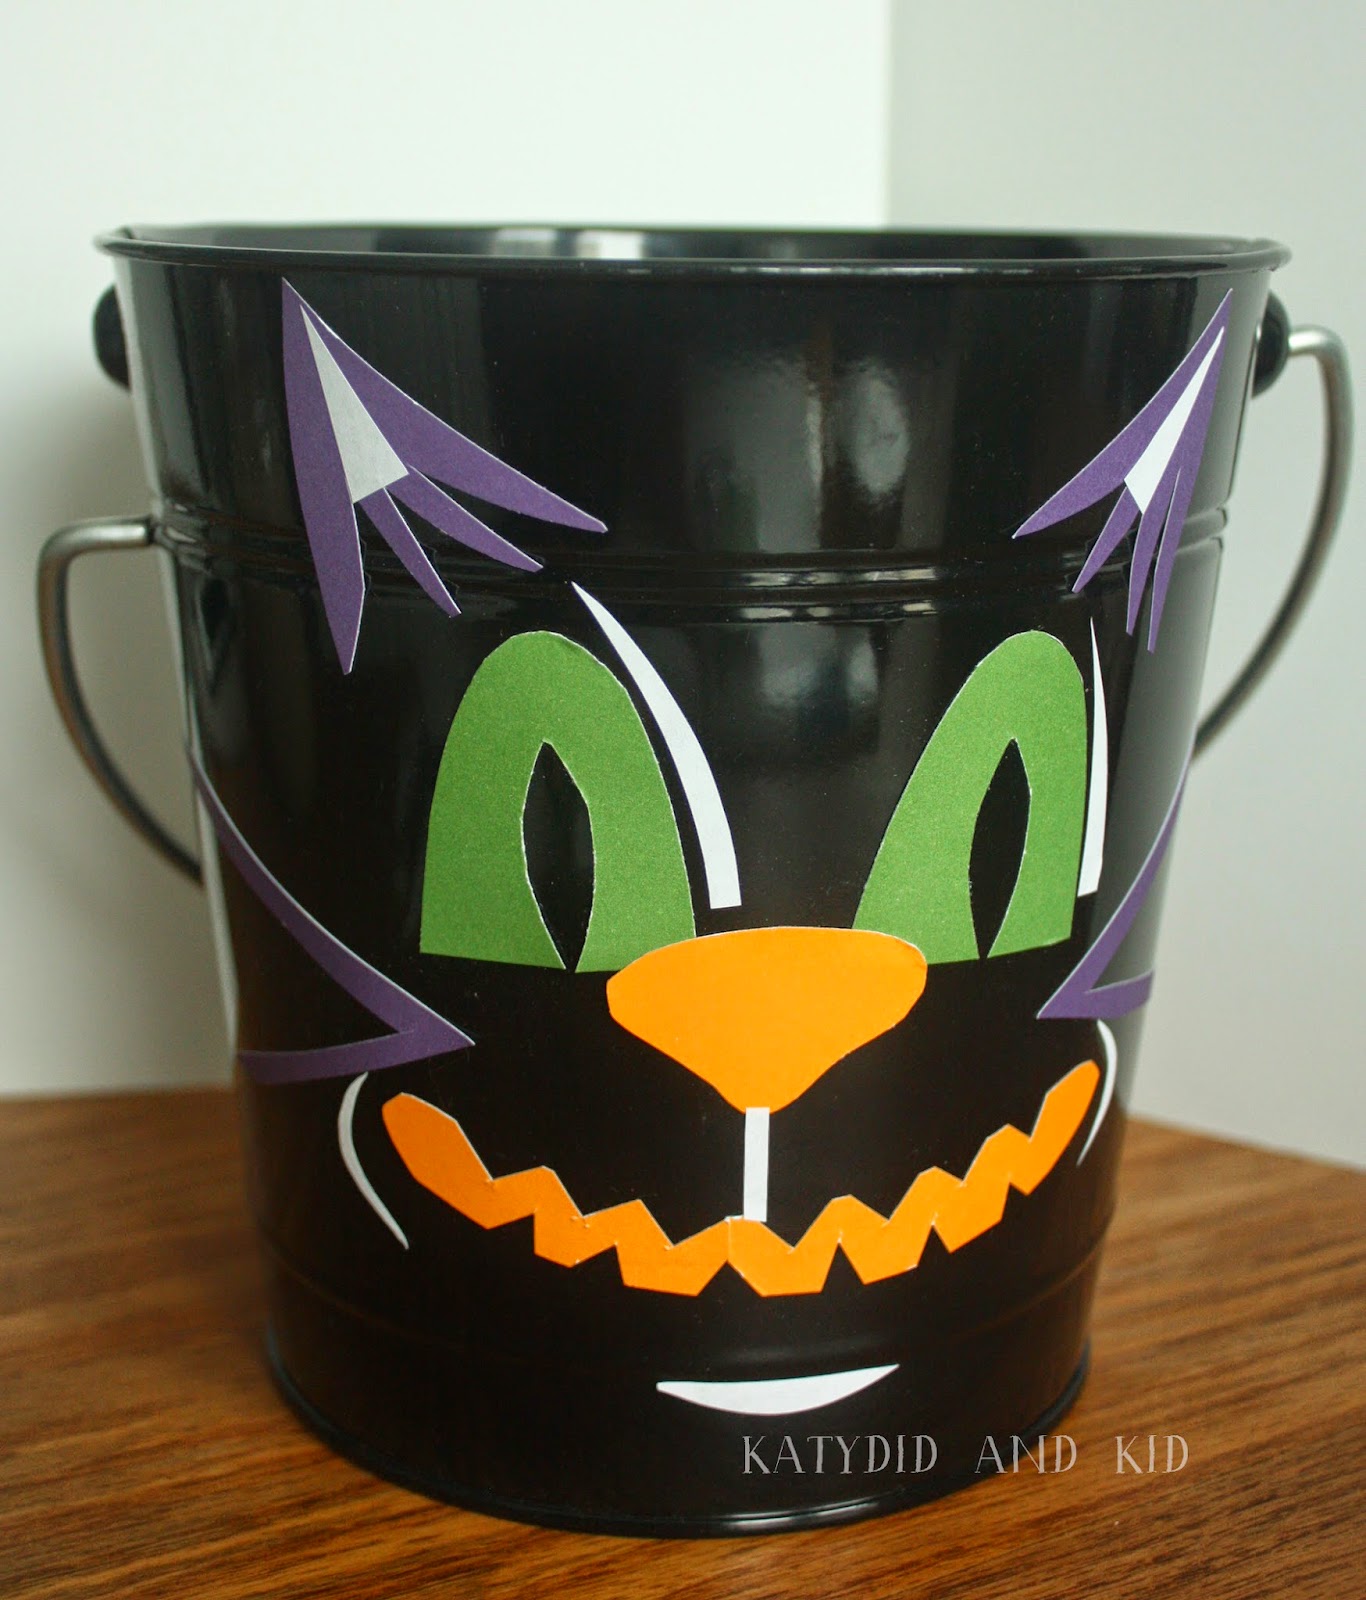
For the black bucket, I wanted to make it resemble one of those vintage black cat designs. I used the same technique of cutting out pieces to create a cat face.
Green eyes,
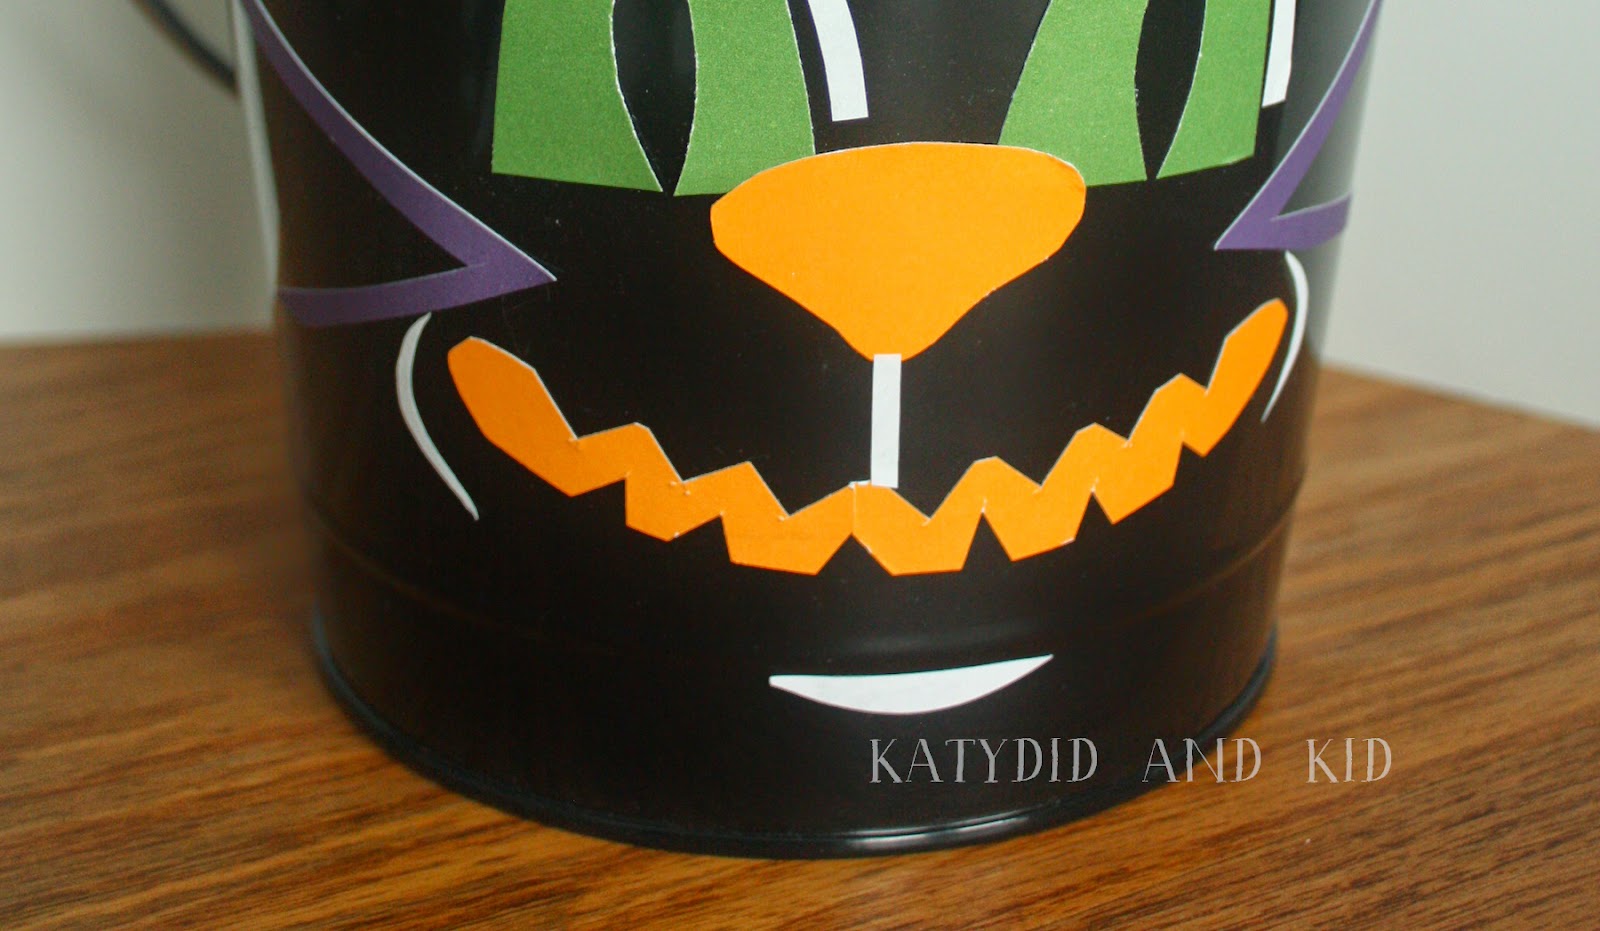
an orange nose and a jagged orange mouth (made from two long strips of sticker pieced together)
and some purple ears and whiskers. I added some white accents around the eyes, ears, and between the nose and mouth with white label stickers.
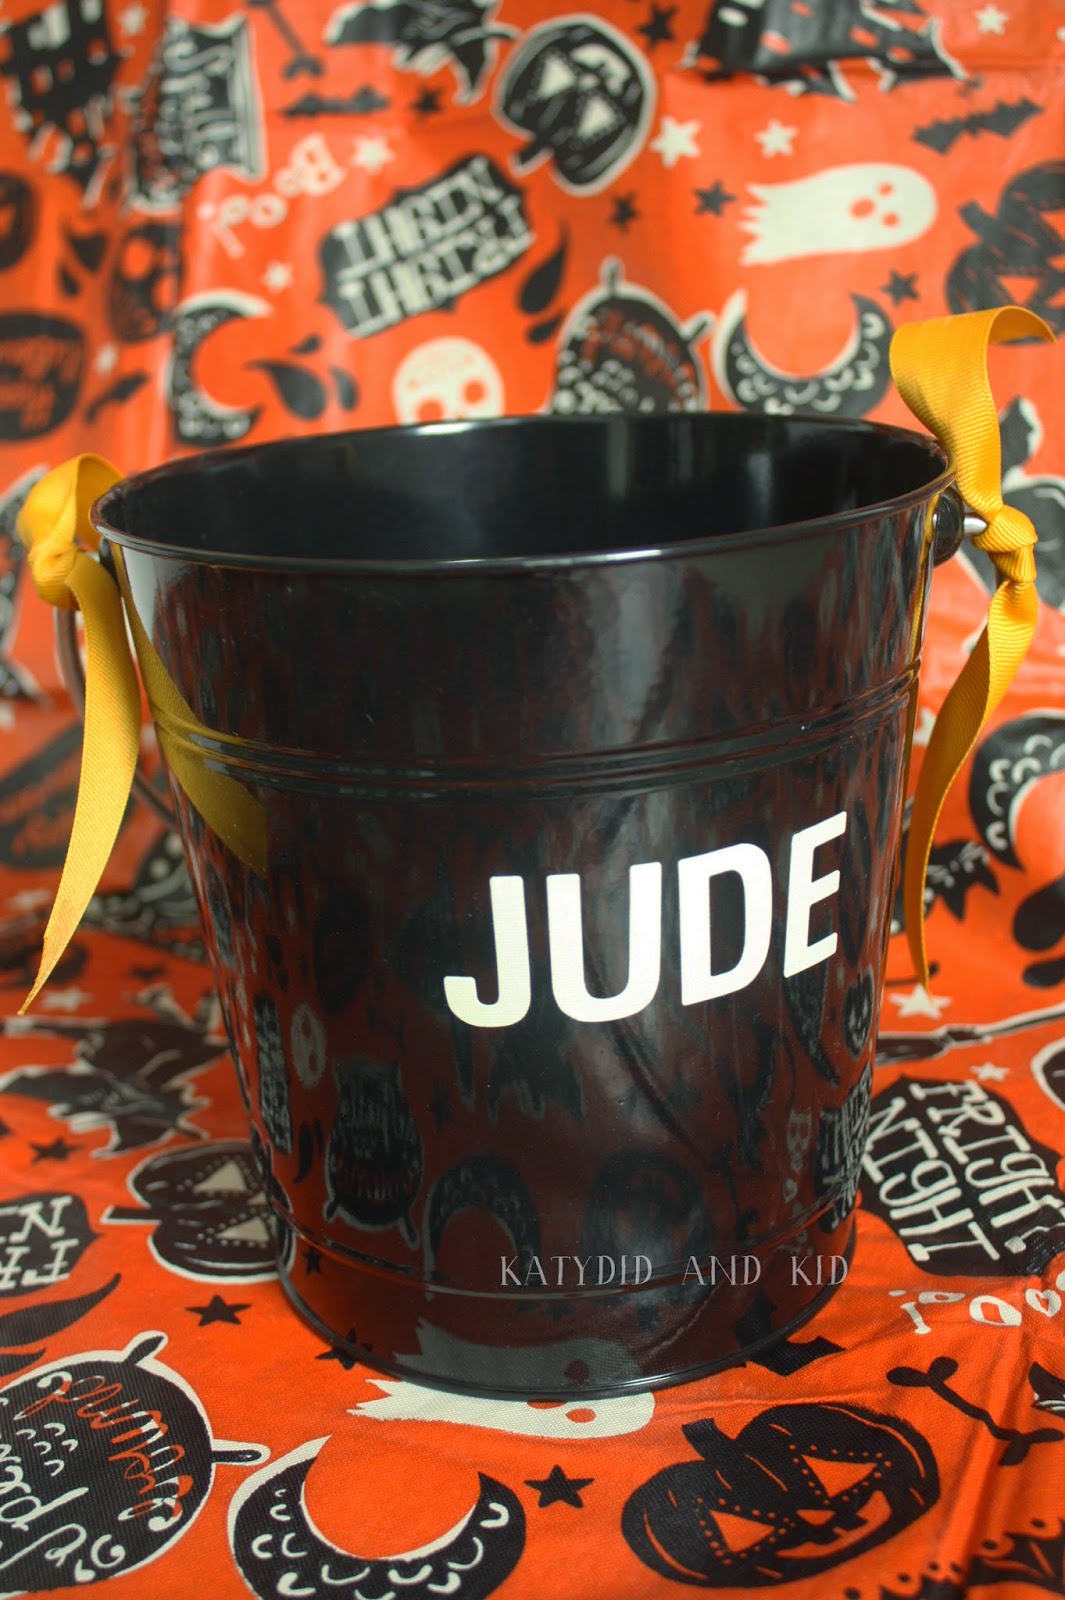
To add a bit more flair, I tied some strands of grosgrain ribbon on the bucket handles at each side.
I think they look adorable! They'll be a great way to hold treats on Halloween night.
I happened to have some extra large glow-in-the-dark stickers lying around, so I used them to add my younger son's name on the back of his bucket.
The possibilities are endless for decorating these buckets, and because you can peel/wash off the stickers (they're sturdy, but still are removable) you could use this bucket throughout the year or change out the design each Halloween.
You can find more craft ideas on Jam Paper's blog, as well as on their Facebook and Pinterest pages.
Disclosure: I received sample products from Jam Paper and Envelope to facilitate the making of this project. All opinions and ideas here are my own.
October 14, 2023
Subscribe to:
Post Comments (Atom)





These are so creative and cute. The black one even looks like the face was painted on. You'd think it would cost a fortune for such unique trick or treat buckets. I think any kid would be proud to carry this around the neighborhood. Thanks for sharing Kathleen!
ReplyDelete