It's no secret that I'm a big fan of Halloween. I love to cover my house in pumpkins, skulls and all other things spooky. The fall tends to reignite my desire to craft, so naturally I make a few new things for Halloween each year.
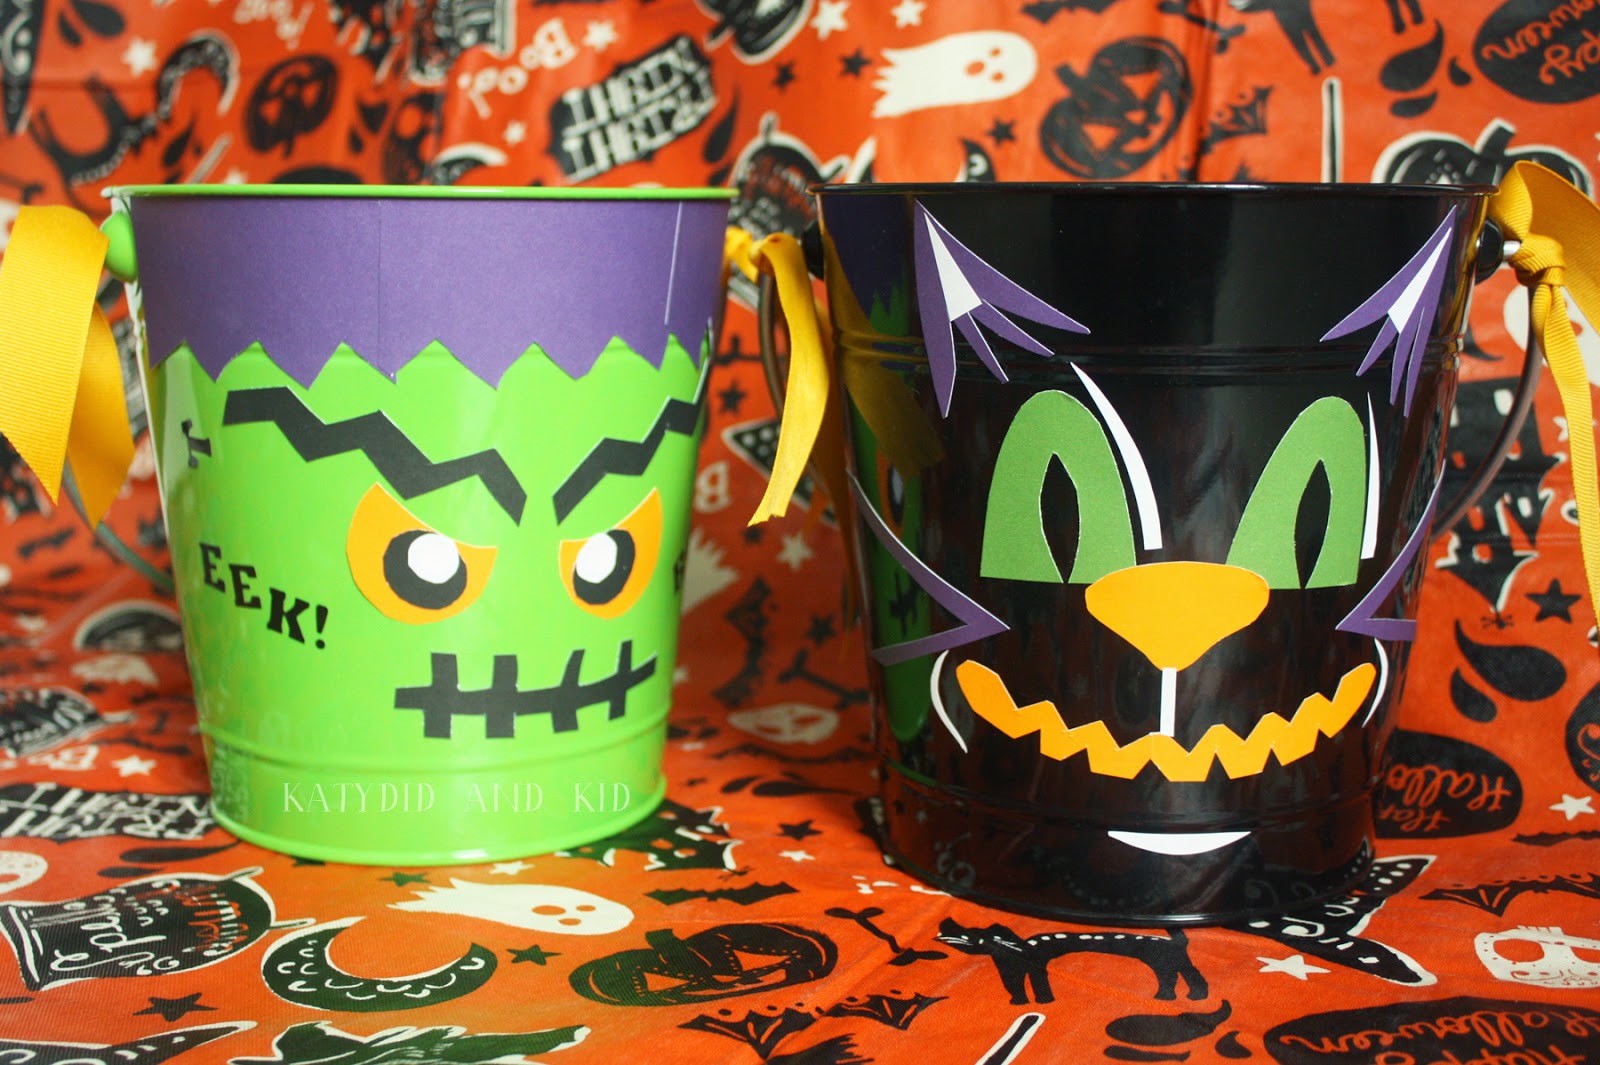
This weekend I decorated buckets for my sons for Halloween. Over the years, we've most used bags, but I love the look and durability of a bucket.
When Jam Paper contacted me recently about partnering with them on a fall-themed craft, I knew just what I wanted to make. Fortunately, they sell reasonably priced and beautiful colored buckets (along with a huge variety of paper supplies, of course) which are perfect not just for trick or treating, but for so many other things.
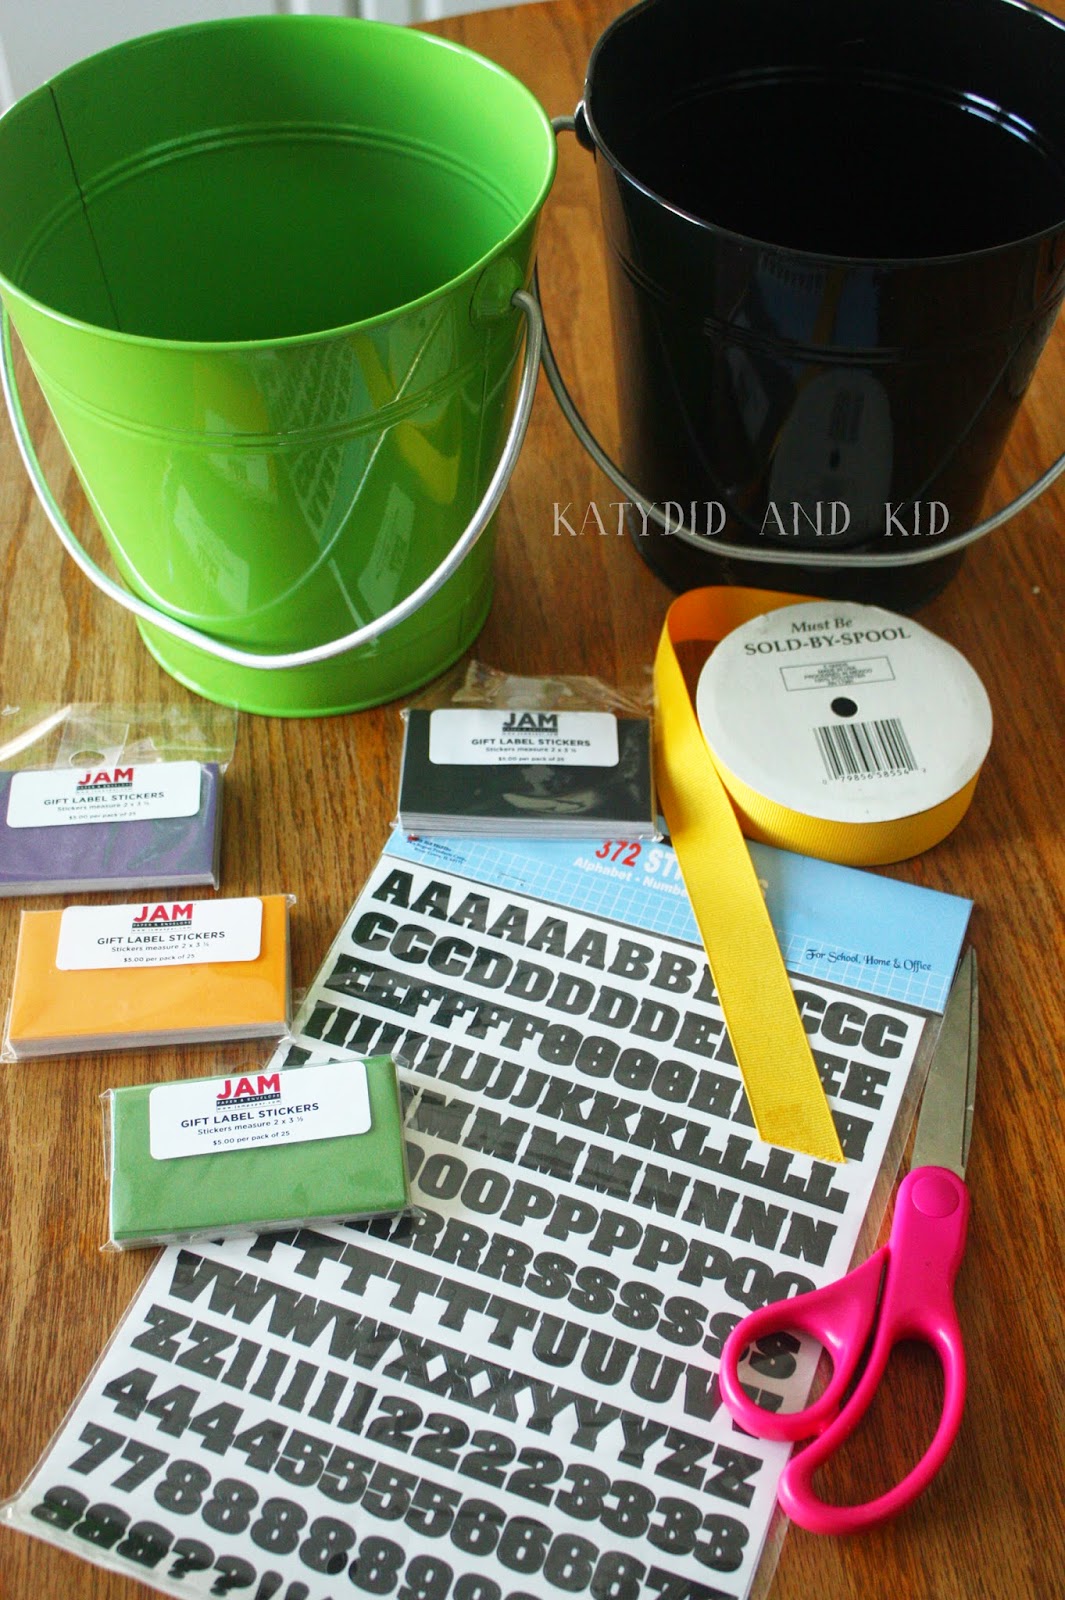
I started with two of their large colored buckets, one green, one black, as well as a few packages of colored gift label stickers. I also chose a sheet of letter stickers to personalize the buckets with my sons' names.
I needed a pair of scissors and some yellow grosgrain ribbon for extra decoration too.
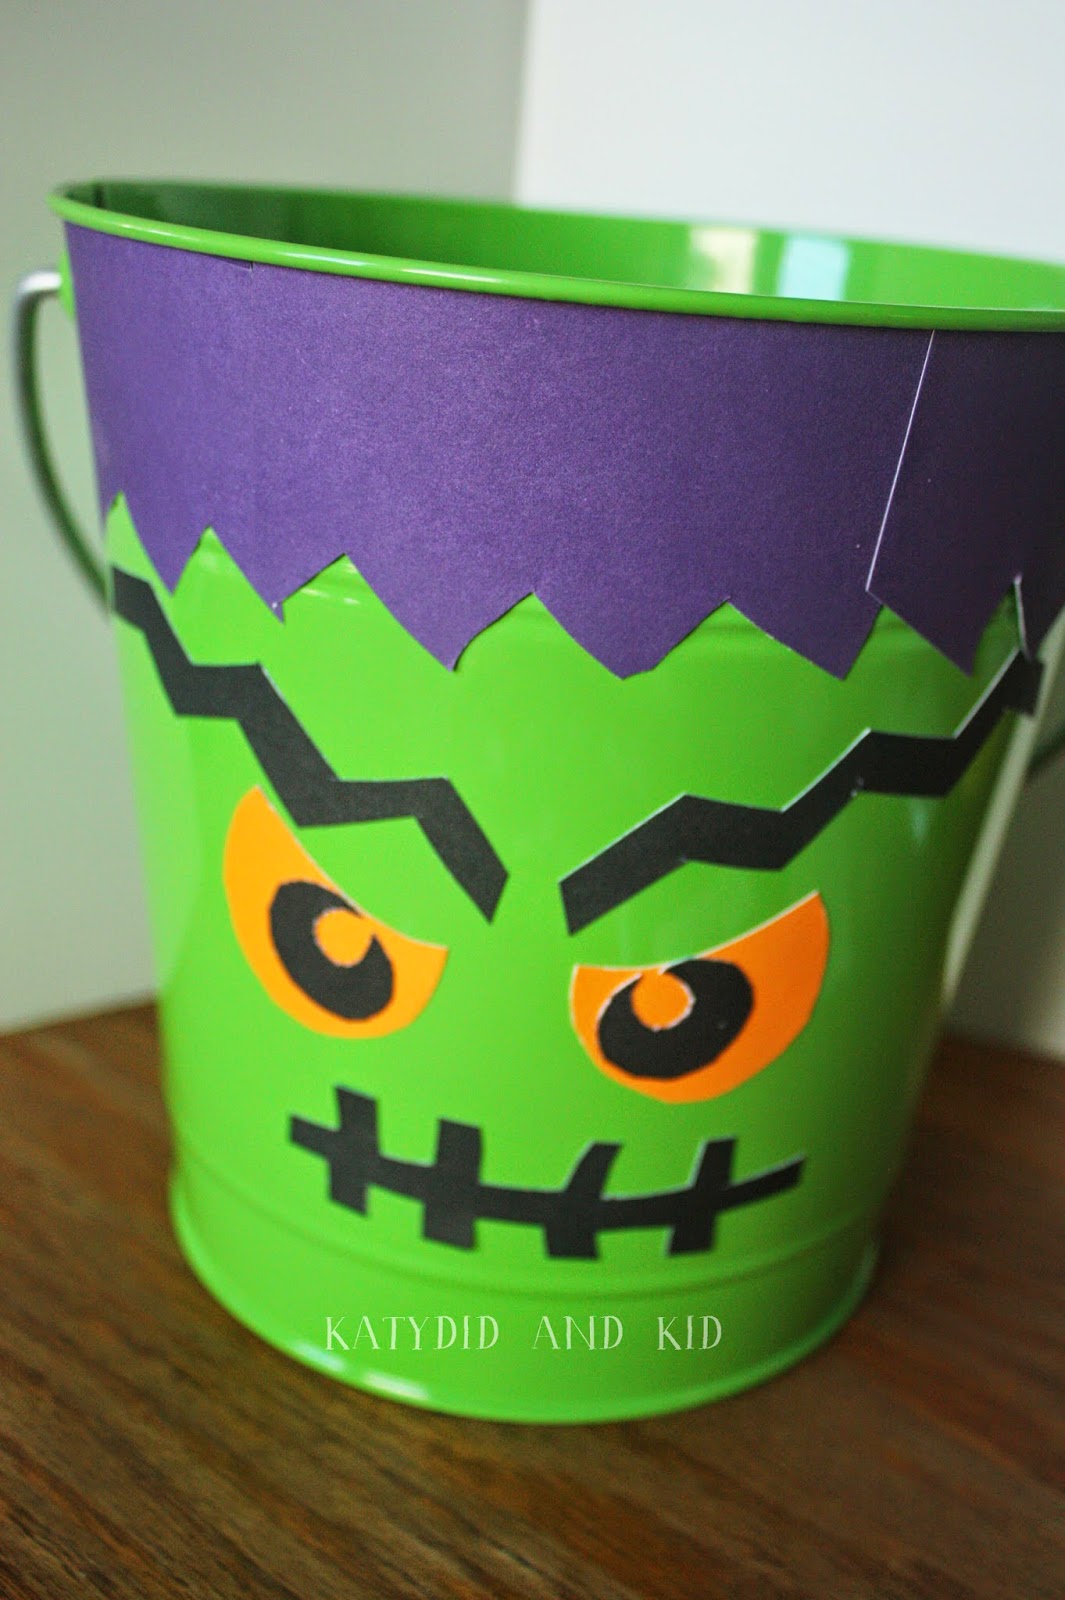
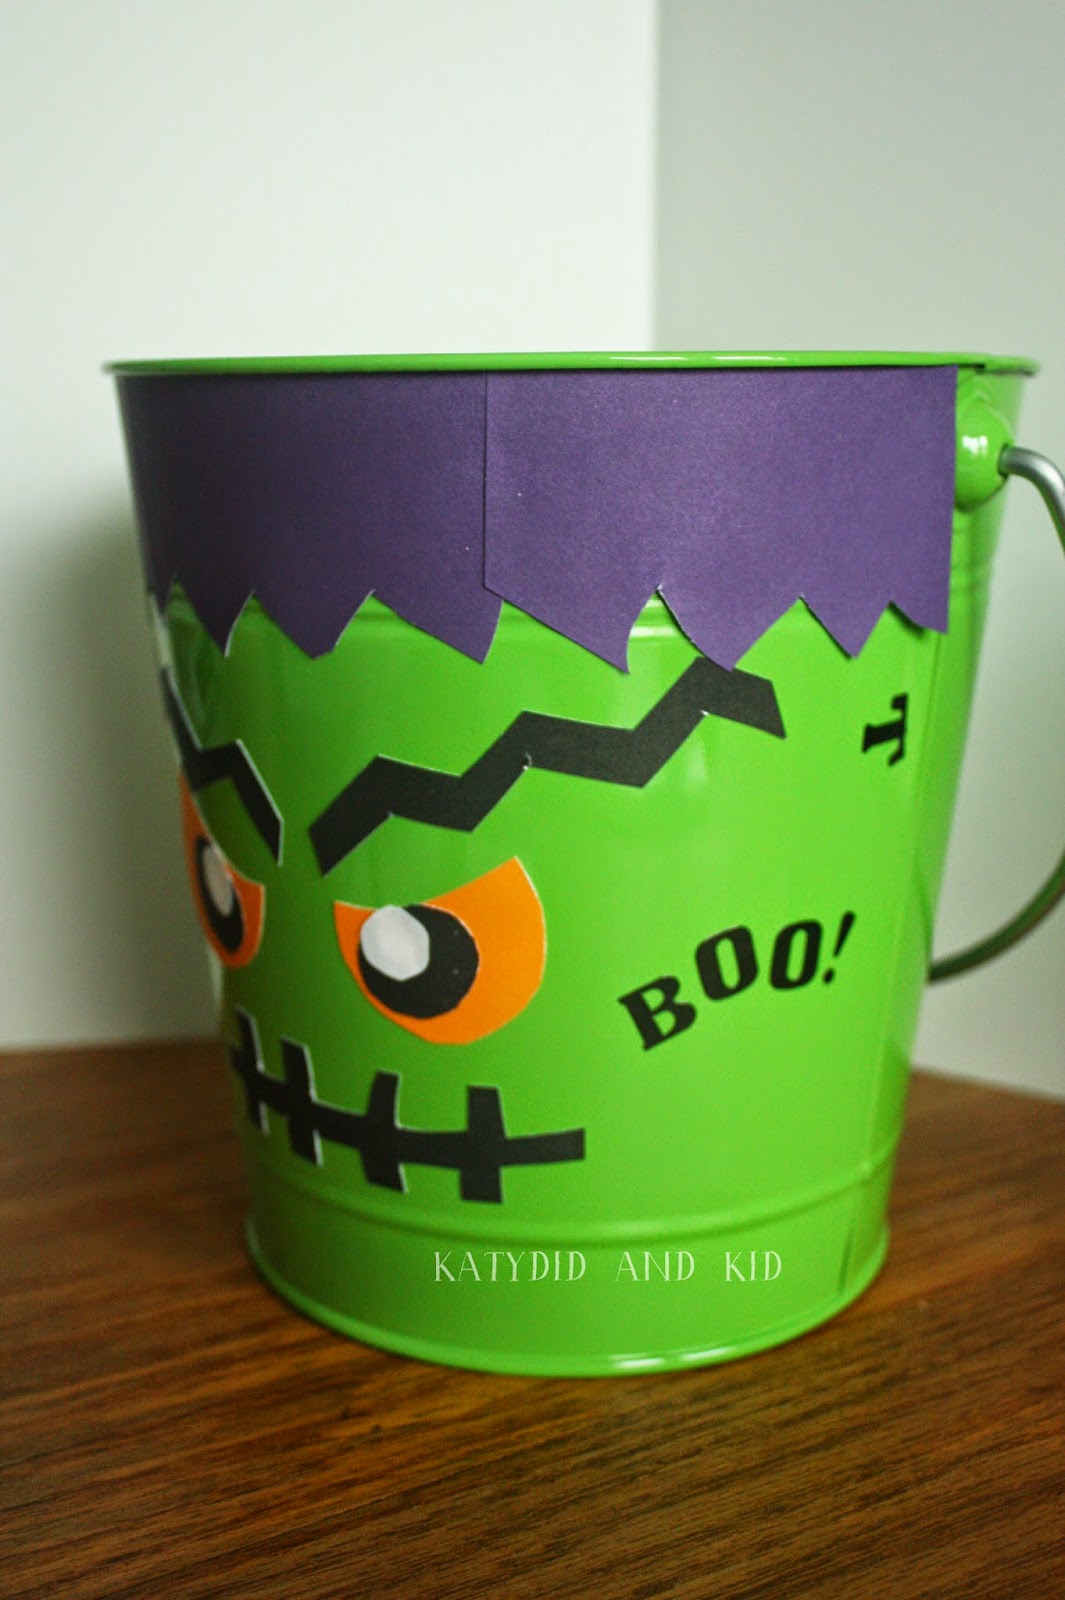
This was an easy craft to make, especially that you're essentially just creating a collage with the colored stickers. I started on the Frankenstein bucket and made some jagged purple hair for my monster using the purple Jam Gift Label Stickers.
I determined that I'd need 4 to go across the front of the bucket horizontally, and then I make a jagged "hair line" along the bottom edge of the stickers.
It was as simple as peeling off the back of the sticker and lining the stickers up along the bucket rim to create Frank's hair.
You actually don't notice the seam in person; it's just noticeable here due to where the light was hitting it.
Continue making Frankenstein's face in the same manner, cutting some zigzag black pieces for the eyebrows and mouth, maybe orange and black for the eyes.
Then I stuck on the face. In the case of this monster, I think the simpler the better when it comes to designing the face.
I did put a few spooky words like "boo!" and "eek!" along the sides of the head, and some letter "t's" made nice Frankenstein bolts.
I added my son's name on the back too, by cutting out a tombstone shaped sticker and adding RIP plus his name under it.
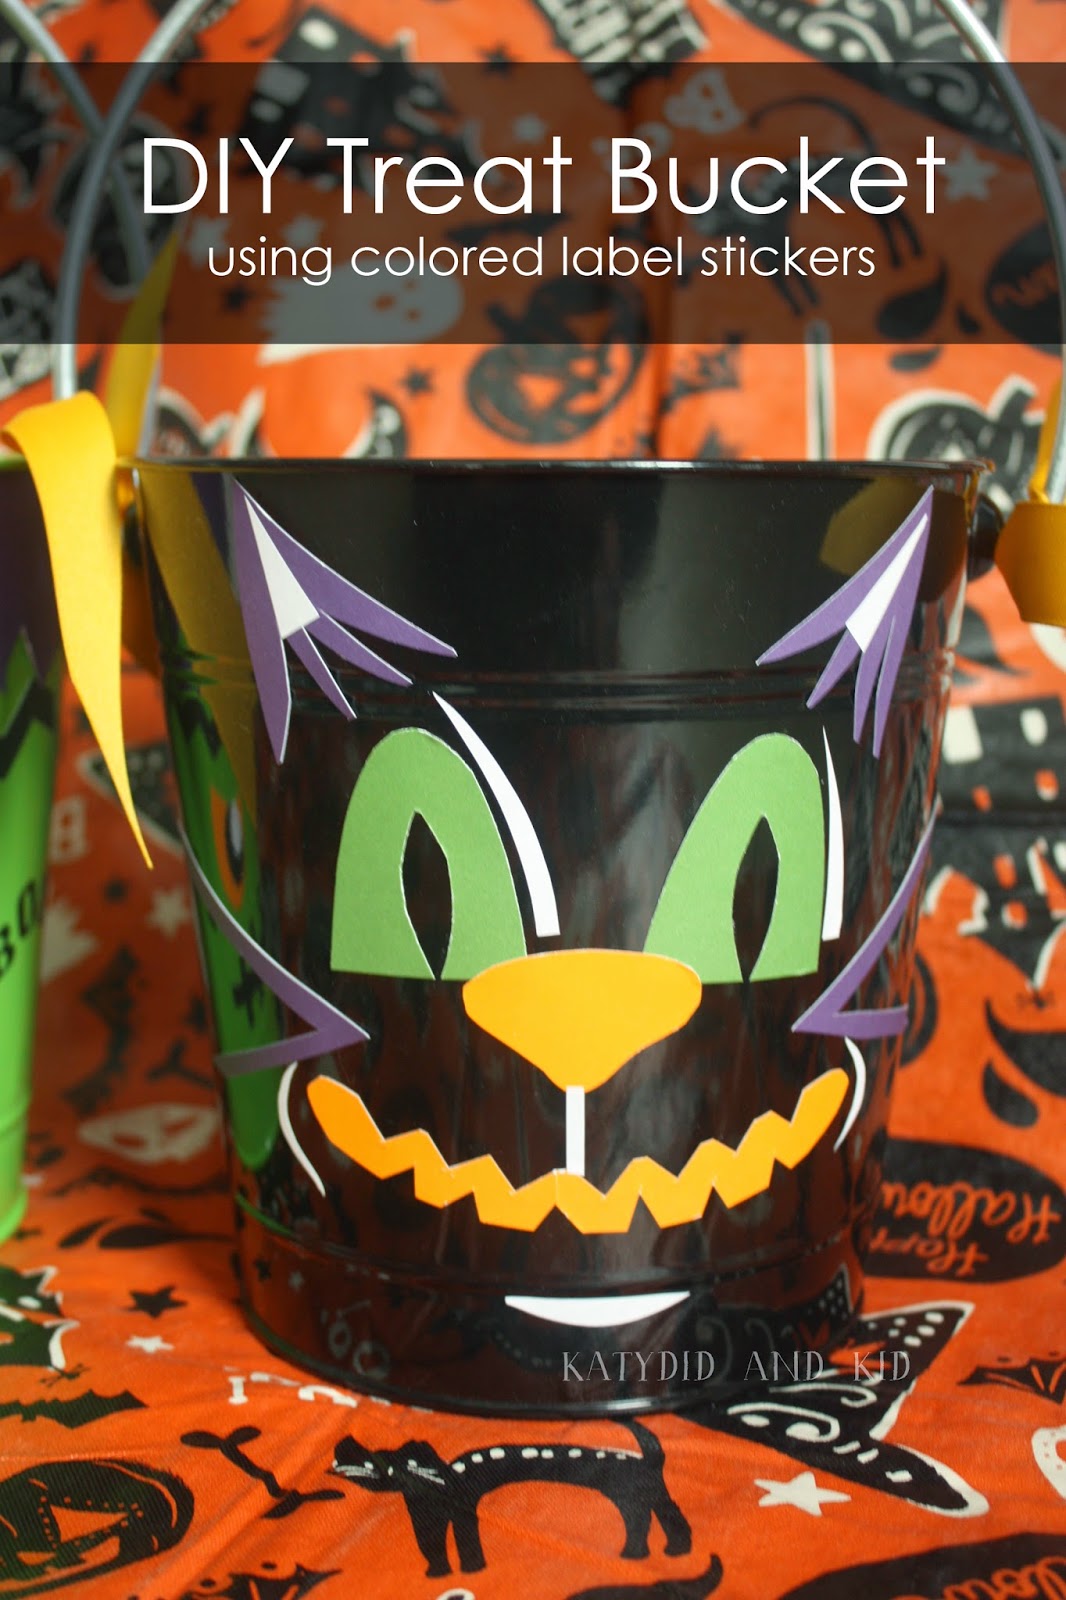
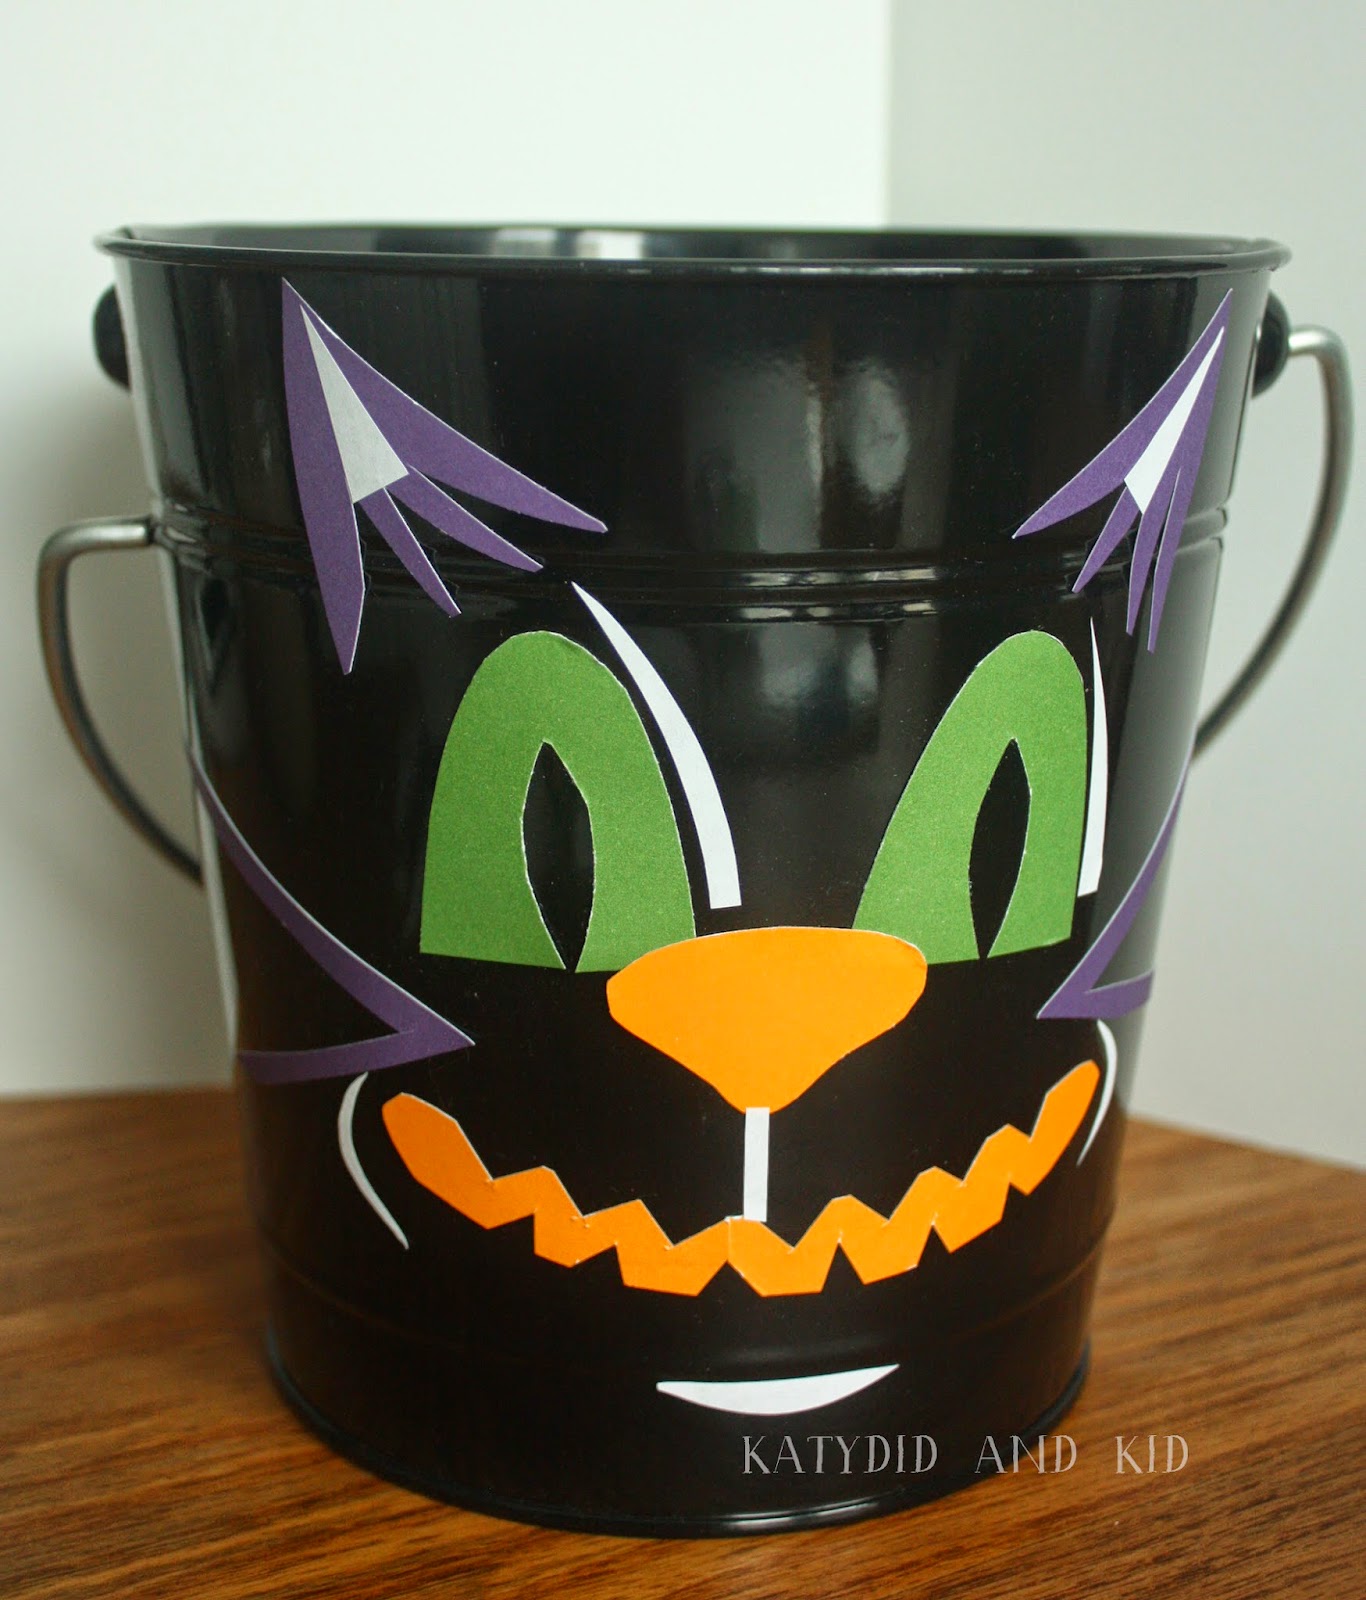
For the black bucket, I wanted to make it resemble one of those vintage black cat designs. I used the same technique of cutting out pieces to create a cat face.
Green eyes,
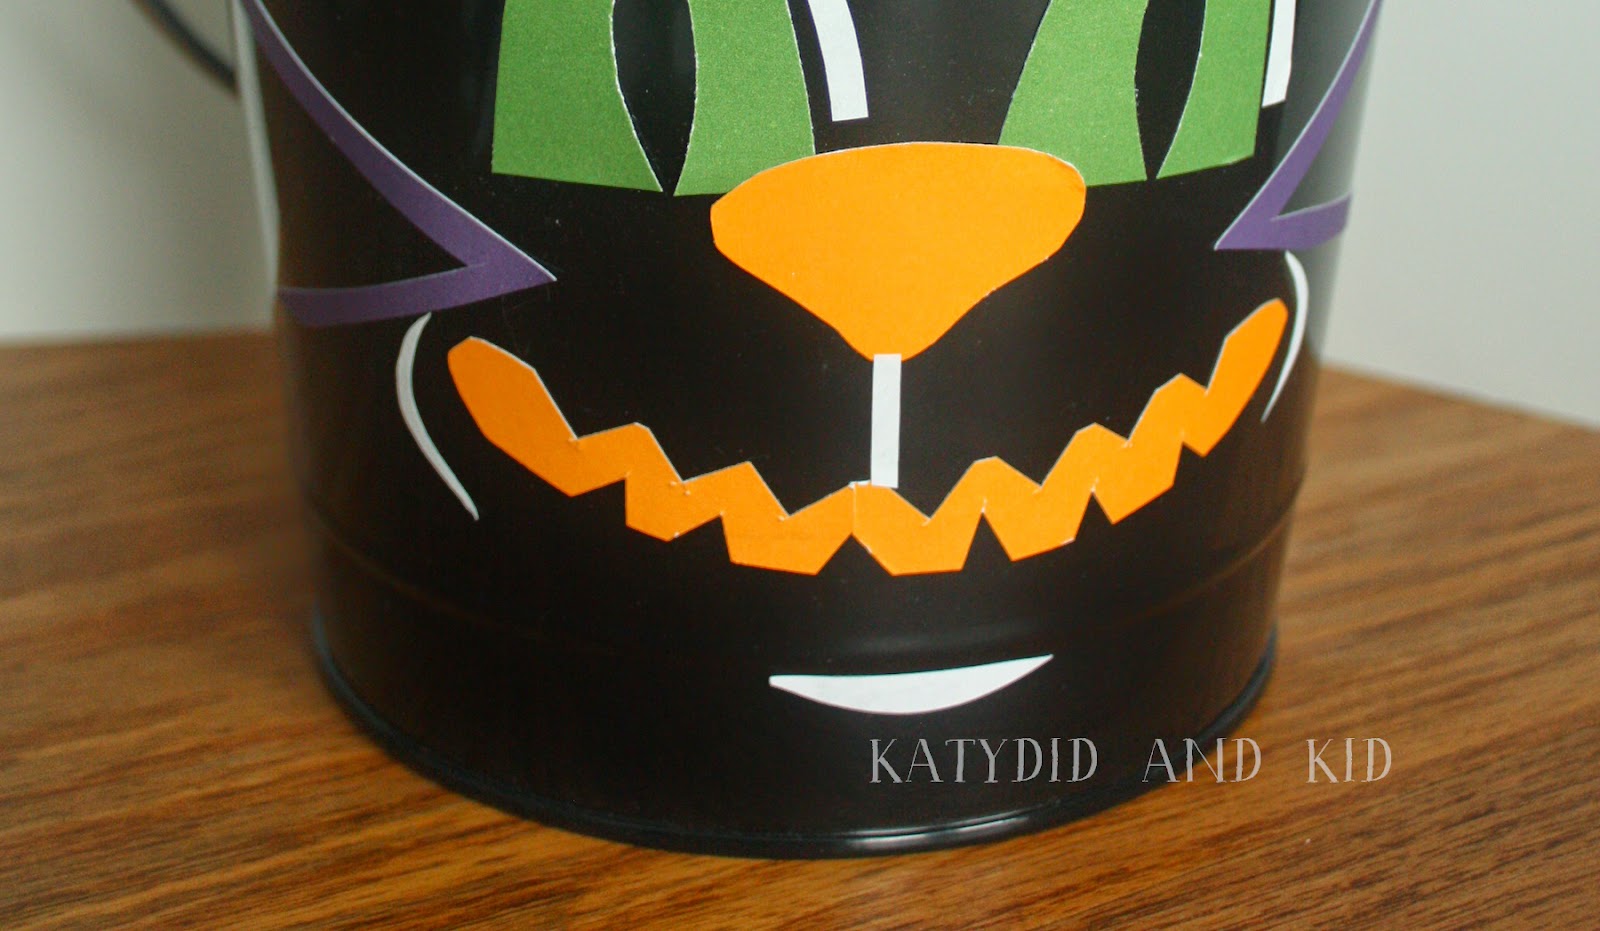
an orange nose and a jagged orange mouth (made from two long strips of sticker pieced together)
and some purple ears and whiskers. I added some white accents around the eyes, ears, and between the nose and mouth with white label stickers.
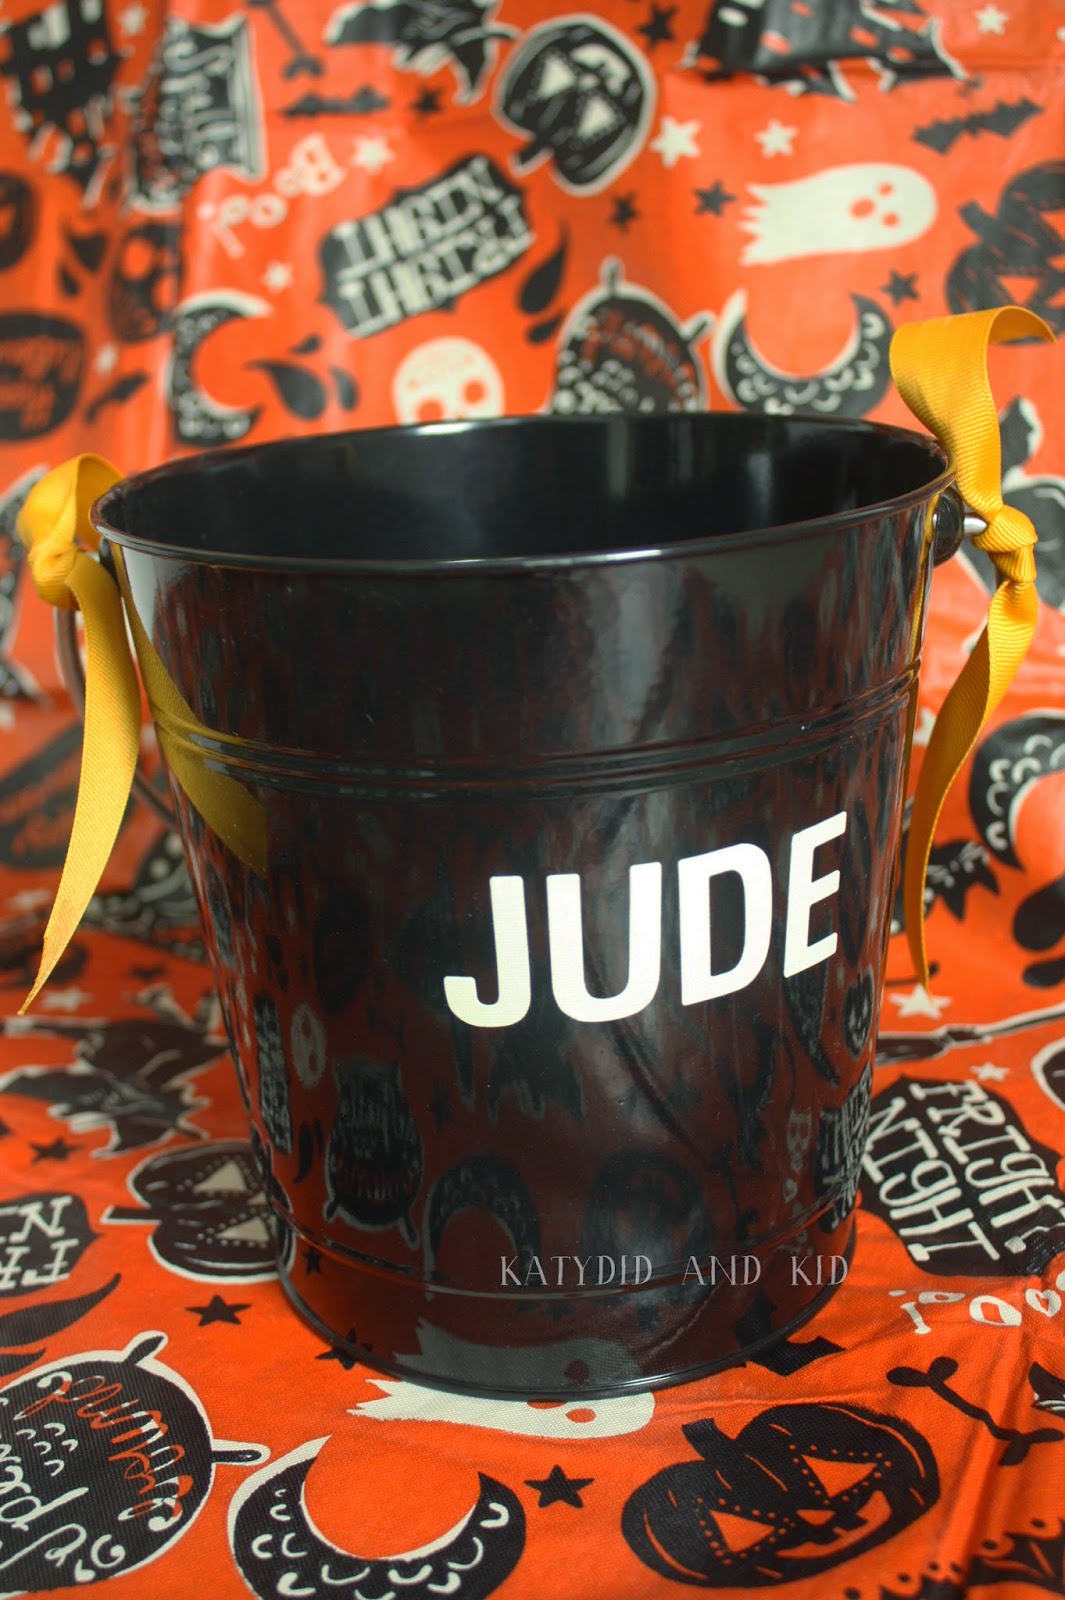
To add a bit more flair, I tied some strands of grosgrain ribbon on the bucket handles at each side.
I think they look adorable! They'll be a great way to hold treats on Halloween night.
I happened to have some extra large glow-in-the-dark stickers lying around, so I used them to add my younger son's name on the back of his bucket.
The possibilities are endless for decorating these buckets, and because you can peel/wash off the stickers (they're sturdy, but still are removable) you could use this bucket throughout the year or change out the design each Halloween.
You can find more craft ideas on Jam Paper's blog, as well as on their Facebook and Pinterest pages.
Disclosure: I received sample products from Jam Paper and Envelope to facilitate the making of this project. All opinions and ideas here are my own.
October 14, 2023
September 4, 2023
Hippo Haven at Adventure Aquarium
A few weeks back, the boys and I met some friends at Adventure Aquarium, where they've just reopened the Hippo Haven exhibition.
We've been to Adventure Aquarium a few other times, and have always been impressed with the hands-on, family-friendly exhibits, and Hippo Haven was no exception.
When you walk in, you're greeted by a dramatic vista of the exhibit. The use of contrast in shadow and light makes for a memorable entrance, almost like waiting for a performance on stage. The atmosphere is enhanced by low-playing music as well, kind of a low hum that adds to the drama of the exhibit.
There's so much to take in and see as you enter the space. You have the option of going upstairs to Hippo Lookout for a wider view
or meandering along the path to see the two female hippos, Button and Genny, close up.
Genny was born 13 years ago in Disney's Animal Kingdom, while Button was born 17 years ago in Parque Zoological de Leon in Mexico.
They're amazing creatures that seem to tiptoe-dance along the bottom of their water habitat. It's so cool how graceful they appear, considering what large animals they are--they can actually outrun humans!
There are a few vantage points from which you can view the hippos, even being able to see them under water in the lower level.
The fish swimming about are an added bonus, making the hippo habitat a bit more authentic to their natural living conditions in an African river.
The kids were amused by the hippo gals' "toy", a torn up tractor tire.
As you make your way to the lower level of the exhibit, you can sit and watch Genny and Button or watch a video about hippos.
Sprinkled throughout the exhibit are interesting facts about these beautiful animals.
Having worked in museums, I'm impressed with the way this exhibition has been reworked. It entices visitors to enjoy and learn about these amazing animals in a unforgettable environment.
Of course we had to stop and see Lizzie before we left, along with the other amazing displays of aquatic life throughout Adventure Aquarium.
Adventure Aquarium is open year-round, and I'd imagine this time of year is a great one to take preschoolers and toddlers because school is back in session and field-trip season hasn't yet begun. And of course weekends are a great time to visit with older children. We've been to Adventure Aquarium multiple times over the last few years and always learn and see something new.
Disclosure: I received tickets to Adventure Aquarium to facilitate this post. All opinions are my own.
August 26, 2023
Begin Again
It's been a quiet summer--at least here on my blog. I'm sure many of you can relate, trying to keep that marathon of long summer days under control, not burning out too quickly. School has begun again for my first grader (what??? I know, I can't believe I'm typing that) so I thought I'd try to begin again with this old blog here.
Emotions were strong yesterday for S. Like his mother, he has trouble acclimating to new situations. A few tears were shed as he trudged up those bus steps, but I'm confident he'll settle in over the next week or so.
I've been busying myself (I know, it's only the second day) with canning and freezing stuff from our garden. The tomatoes were fabulous this year, so I want to be able to enjoy them in December, if they last.
Crock pot tomato sauce--freezer or canner? Haven't decided yet.
I messed up my pickles though; I forgot to add water to the brine so these will induce extra puckering of our mouths!
There's also been a lot of yarn on my knitting needles, which is so uncharacteristic of me in summertime.
This slouchy hat above was a lot of fun to knit. You can find the pattern, called "Minty" on Knitty (it's also on my Ravelry page).
This shawl got me through a long plane ride to and from San Francisco; I knit practically the entire trip. Soren and I flew to see my brother in July and had a blast. I miss that foggy city.
So that's what's been going on around here--boys getting bigger, seasons dissolving into the next. We're embracing beginnings here!
May 12, 2023
On Mother's Day
I learned this weekend that the key to having a nice Mother's Day is dropping any expectations. Isn't that the key to peaceful parenting in general? It seems like any time I have an expectation (the kids will just nap in the car, one diaper is enough for a quick trip out, we don't need an extra set of clothes) it just blows up in my face.
I went into Mother's Day with no expectations. True, I knew it was going to be a cloudless, beautiful day, but that's about it.
I was lucky to start the day at yoga with my bestie, then stop for a leisurely cup of coffee before heading home to pick up the kids and trek to my parents' house for a cookout and hanging around, reading the paper and even taking a quick nap.
Finally, we finished the day at an outdoor show, listening to music as the sun went down, watching the kids run around, dancing and tossing balls. It was the perfect day.
Despite how challenging being a mother is for me, I'm so grateful to have taken the plunge and experience what it is to be a parent. It's taught me so much about myself and given me a deeper connection to humanity. And it's made me appreciate my own mom so much more.
Hope you had a great day too!
I went into Mother's Day with no expectations. True, I knew it was going to be a cloudless, beautiful day, but that's about it.
 |
| Taken at The Rodale Institute on Saturday |
Finally, we finished the day at an outdoor show, listening to music as the sun went down, watching the kids run around, dancing and tossing balls. It was the perfect day.
Despite how challenging being a mother is for me, I'm so grateful to have taken the plunge and experience what it is to be a parent. It's taught me so much about myself and given me a deeper connection to humanity. And it's made me appreciate my own mom so much more.
Hope you had a great day too!
May 7, 2023
A Kids' Tinkering Kit
For Soren's birthday (over a month ago--this post is long overdue), I thought that turning six was a perfect time to give him his own tinkering kit, with "real" tools.
It would be a box of items that he will hopefully use for tinkering and building, especially that he is so drawn to that kind of creative play (um, Legos anyone?).
Here he is above, working in his "construction site." Though you can't see them (they're buried or out of frame), he's repurposed a lot of old bricks, pipes and wood scraps to build tunnels and other things. I had all intentions on taking him to the Maker Faire when it came to town last month, but unfortunately we had family obligations.
Speaking of family, I have fond memories of my Pap Pap and his barn/woodshop filled with all kinds of interesting and odd items that he used in carpentry and other projects. It was always fascinating imagining what some of those items might be used for. An old bicycle seat? It could have make a fantastic head for a garden sculpture.
Though we don't have an extensive collection of oddities like my Pap Pap, I wanted to make a little tinkering kit that Soren would hopefully use for his own projects and creations.
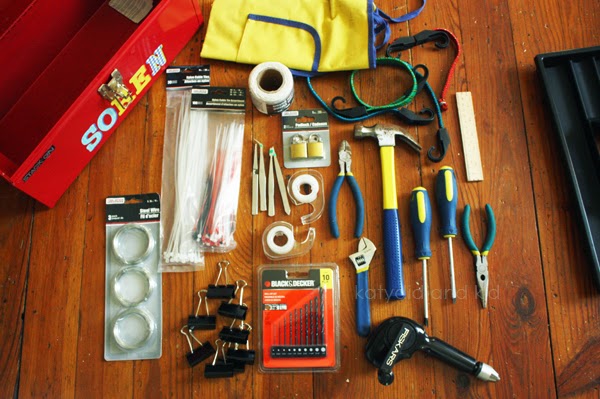
We already had a set of kids tools, purchased at Home Depot a few years ago, so all we needed was a place to store them as well as some odds and ends to encourage tinkering.
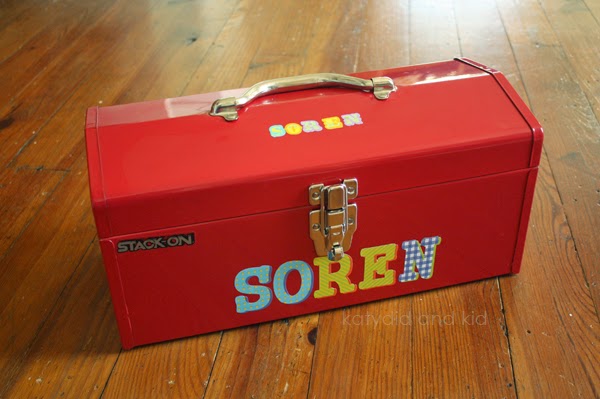
I bought a toolbox online and decorated it with stickers I picked up at the Dollar Tree.
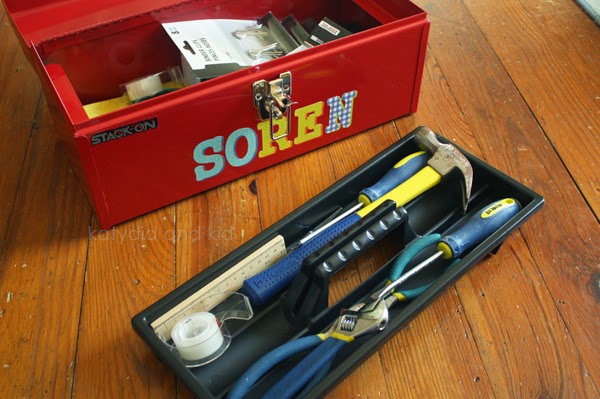
It's a roomy tool box, and sturdy too, as it's made of metal. The top tray isn't too big, but it holds enough.
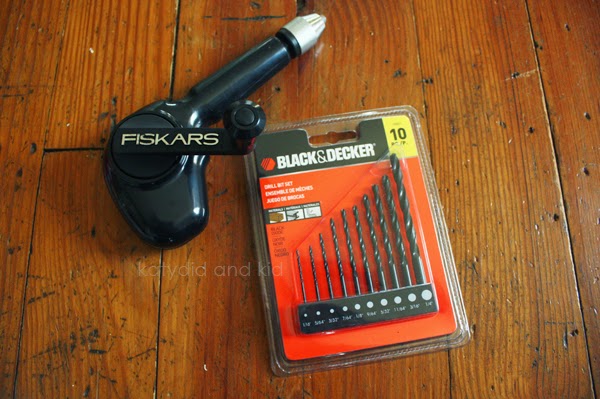
I also added a hand drill and drill bits, which is a safer way for him to make holes in wood and other materials (hopefully no furniture!).
I found a lot of other odds and ends at the dollar store, like zip ties, binder clips, and cotton string.
It's something that I'm sure we'll add to in the future, depending on things that interest him.
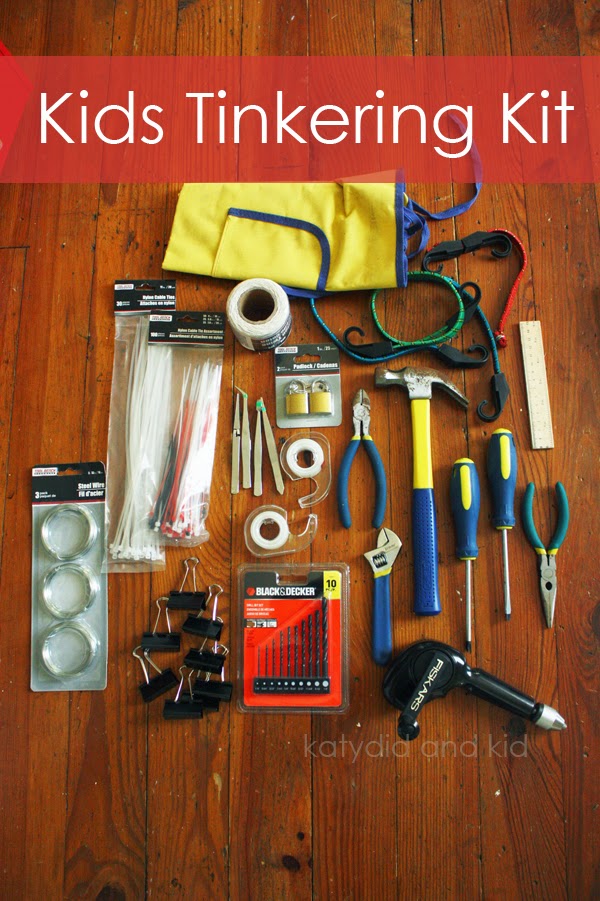
Here's a list of some of the items to get you started on putting together a tinkering box for kids
And as for the box, you could get a fancy, sturdy tool box or just use a plastic tote, canvas bag, shoe box or other storage container. The point is to have a go-to place for your child to find materials when inspiration calls. I have hope that this tinkering kit will help my son re-imagine and remake his world!
It would be a box of items that he will hopefully use for tinkering and building, especially that he is so drawn to that kind of creative play (um, Legos anyone?).
Here he is above, working in his "construction site." Though you can't see them (they're buried or out of frame), he's repurposed a lot of old bricks, pipes and wood scraps to build tunnels and other things. I had all intentions on taking him to the Maker Faire when it came to town last month, but unfortunately we had family obligations.
Speaking of family, I have fond memories of my Pap Pap and his barn/woodshop filled with all kinds of interesting and odd items that he used in carpentry and other projects. It was always fascinating imagining what some of those items might be used for. An old bicycle seat? It could have make a fantastic head for a garden sculpture.
Though we don't have an extensive collection of oddities like my Pap Pap, I wanted to make a little tinkering kit that Soren would hopefully use for his own projects and creations.
We already had a set of kids tools, purchased at Home Depot a few years ago, so all we needed was a place to store them as well as some odds and ends to encourage tinkering.
I bought a toolbox online and decorated it with stickers I picked up at the Dollar Tree.
It's a roomy tool box, and sturdy too, as it's made of metal. The top tray isn't too big, but it holds enough.
I also added a hand drill and drill bits, which is a safer way for him to make holes in wood and other materials (hopefully no furniture!).
I found a lot of other odds and ends at the dollar store, like zip ties, binder clips, and cotton string.
It's something that I'm sure we'll add to in the future, depending on things that interest him.
Here's a list of some of the items to get you started on putting together a tinkering box for kids
- twine, jute or other strings with a variety of thicknesses
- zip ties
- wire
- binder clips
- tweezers
- padlocks
- hammer
- wrench
- screwdrivers
- pliers
- hand drill and bits
- tape measure
- scissors
- bungee cords
- apron
- tapes of various weights and sizes (masking, invisible tape, duct tape)
- ruler
- sandpaper
- plastic caps from bottles
- balsa wood pieces
And as for the box, you could get a fancy, sturdy tool box or just use a plastic tote, canvas bag, shoe box or other storage container. The point is to have a go-to place for your child to find materials when inspiration calls. I have hope that this tinkering kit will help my son re-imagine and remake his world!
Subscribe to:
Posts (Atom)
