


Showing posts with label Making. Show all posts
Showing posts with label Making. Show all posts
March 13, 2024
Sandpaper Printed Shamrock T-Shirt
Hey all! Today I'm over at my friend Sheena's blog Sophistishe sharing an easy sandpaper printing craft for St. Patrick's Day.
Hope you enjoy it and make it with your kids (or for yourself!).
February 7, 2024
Winter Boredom Buster: Unfinished Basement Playroom
Chris and I have spent some time, effort and a bit of money transforming our mostly unused basement into a functional and fun area for the boys to burn off some energy this winter. I neglected to take "before" photos because 1.) the space was a bit frightening and 2.) I had my doubts whether we'd be able to transform it into something photographable anyway.
 But we did our best, starting with relocating two large wheeled shelving units to the other end of the basement. We focused on moving all of the tools to one end, where our furnace is, so that the largest area of the basement could be utilized. It's an odd layout, with our furnace placed in the middle of the floor, rather than against a wall, so it was challenging to work around.
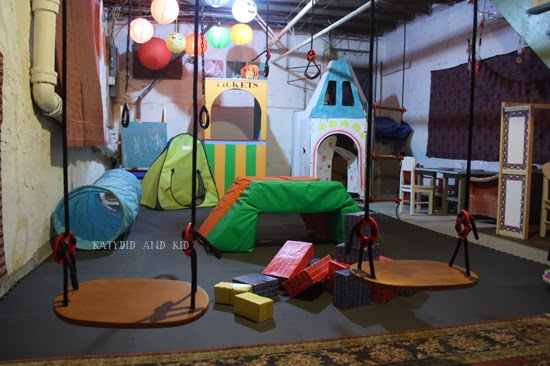
And while these photos may not look like much, to us, this space is a great addition to our little old house. It's fostered a lot of physical and imaginative play in our kids, as well as their friends.
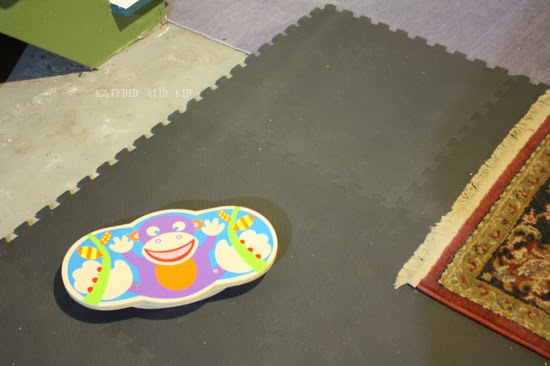
 The concrete floor got some puzzle mats, the kind used in gyms. That was probably the most expensive part of the makeover, but we're confident that they'll be used in some manner beyond the childhood years, especially that we went with a neutral color.
 The steps got a fresh coat of paint. I really regret not taking a before shot of these hideous things; they were brown, dirty, with missing tread mats.
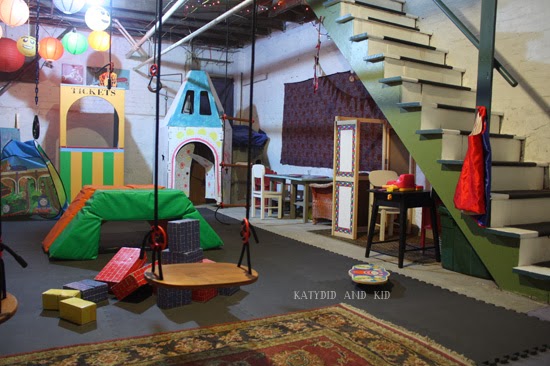
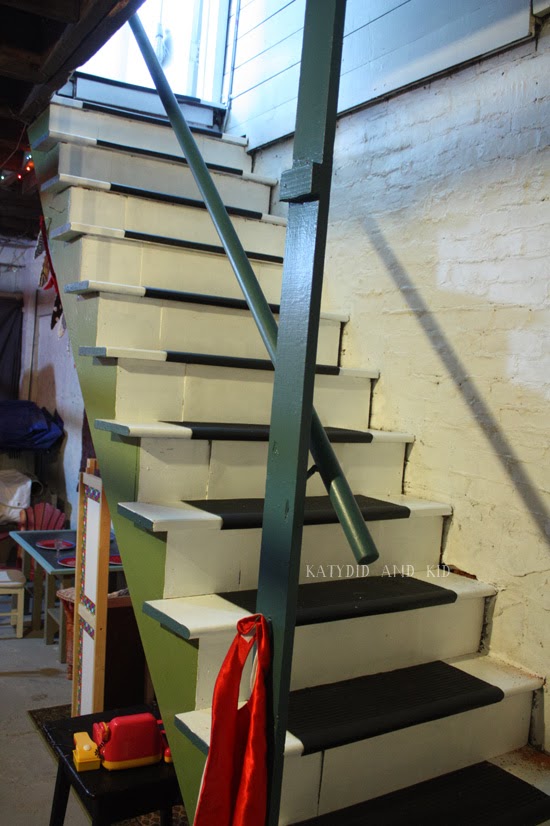 They are SO much more inviting now, painted white with teal and green accents. And the new tread mats are so much nicer, and safer. We still need to add a second handrail below the one that's already there, just for peace of mind that no kids will fall or purposefully jump under the railing.
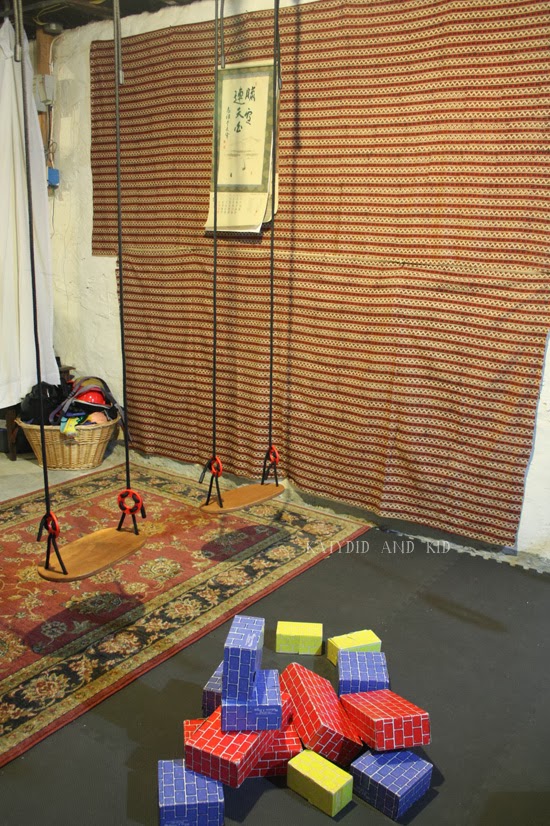
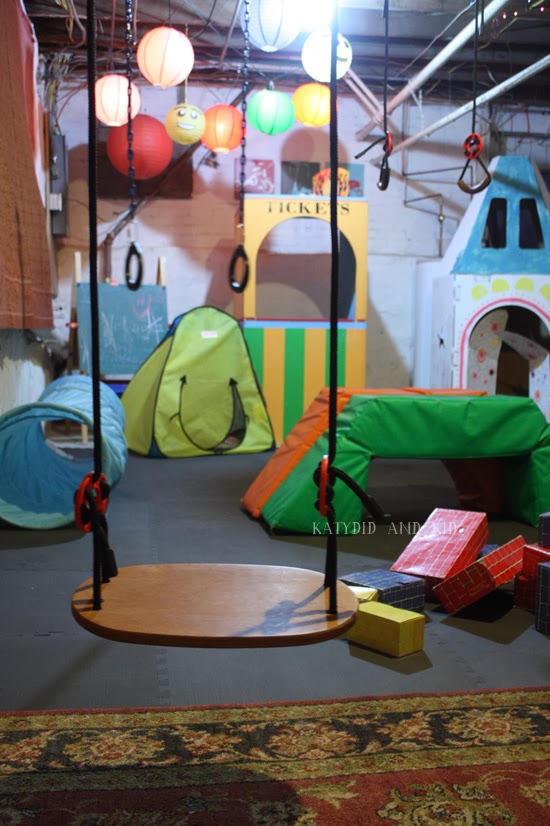
Most of the items in the play space were things I had in storage; the swings (from IKEA) were birthday gifts from a few years back that never were installed, the cardboard rocket was stored in the attic (with an occasional appearance in our small living room) the ticket booth, and the ticket booth was a cast-off from the days when I worked at an art museum. It had been stored in our garage since I was pregnant with Soren, but finally got screwed back together to be played with.
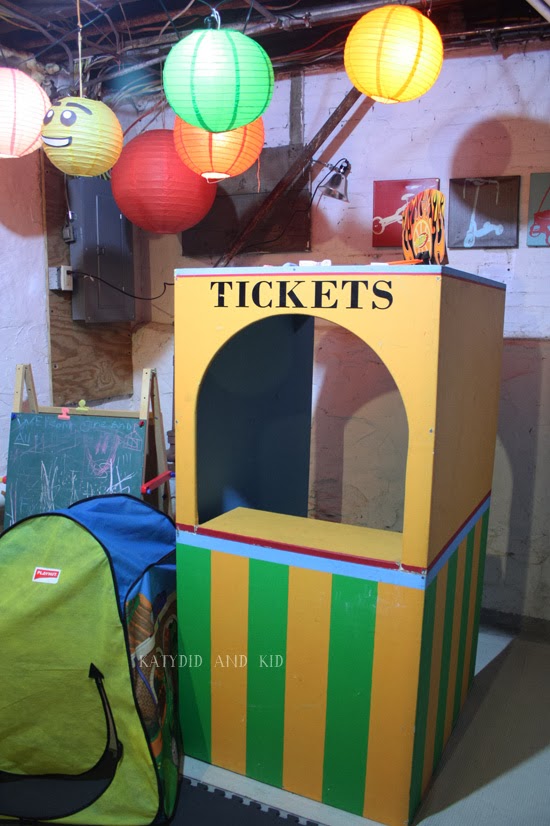 The paper lantern lights were also in storage; I had saved them from my wedding and use them at birthday parties and other festivities.
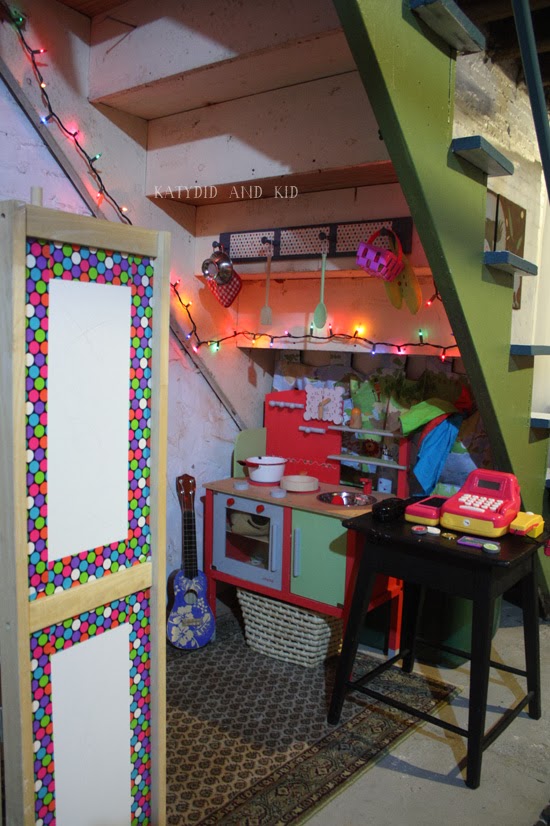
Under the steps, I set up a pretend area with the play kitchen, puppet theater, cash register and a table and chairs.
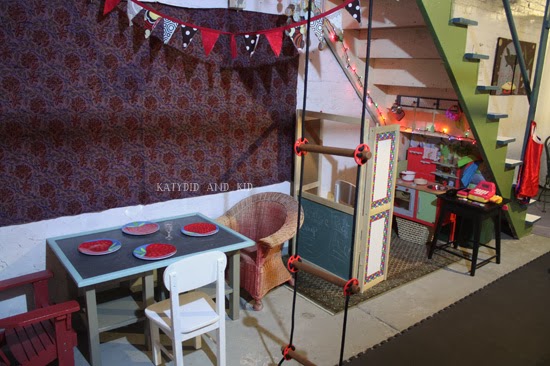 Christmas lights brighten up the space a little, but we could use some more substantial lighting under there.
 It's hard to believe, but many of these items were either found in the trash, thrifted, or hand made by me. The wall hangings were things I acquired throughout my 20s (hippie chick, that was me) so it's nice seeing these funky things displayed again.
 We brought in two lawn chairs that spend their summers outside; they make great seating for adults. I've been known to knit and drink coffee while the boys play.
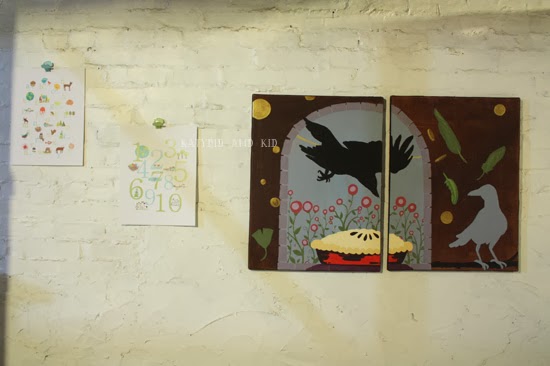
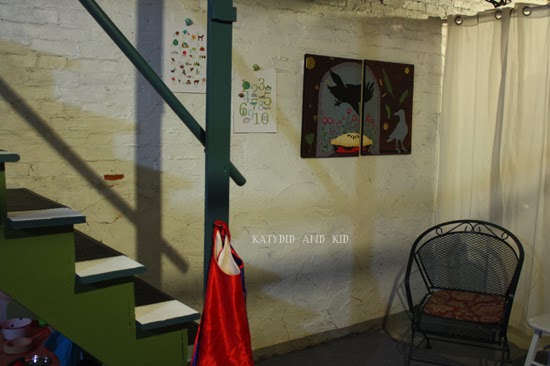 I added one of my old paintings too, which was just in storage in our attic. Can you guess which nursery rhyme I was referencing?
 This space will certainly evolve as the seasons change, and as the boys grow. But for now, it is being enjoyed just as it is. It's a great way to burn off energy after dinner and before bed, especially that the icy, snowy conditions outside have kept us indoors more than we'd like to be this year.
 I encourage you to look again at any unused areas of your home; you just might find a playful refuge hiding within it!
And while these photos may not look like much, to us, this space is a great addition to our little old house. It's fostered a lot of physical and imaginative play in our kids, as well as their friends.
Most of the items in the play space were things I had in storage; the swings (from IKEA) were birthday gifts from a few years back that never were installed, the cardboard rocket was stored in the attic (with an occasional appearance in our small living room) the ticket booth, and the ticket booth was a cast-off from the days when I worked at an art museum. It had been stored in our garage since I was pregnant with Soren, but finally got screwed back together to be played with.
Under the steps, I set up a pretend area with the play kitchen, puppet theater, cash register and a table and chairs.
February 6, 2024
Never Been Stitched {Giveaway}
This time of year, housebound with kids underfoot, I often look for a project that is quick and satisfying. Sometimes that involves a sewing machine, but often it does not, since even sitting down at mine, uninterrupted takes effort.
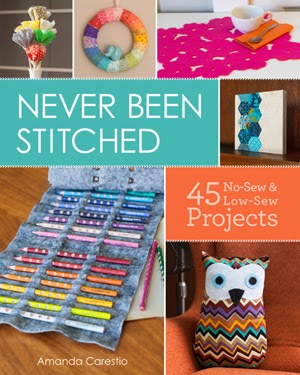
Thankfully, Never Been Stitched by Amanda Carestio showed up at my door. This book, filled with 45 no or low-sew projects is a great way to chip away at the winter doldrums.
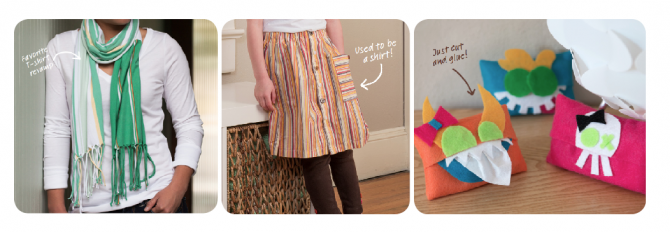
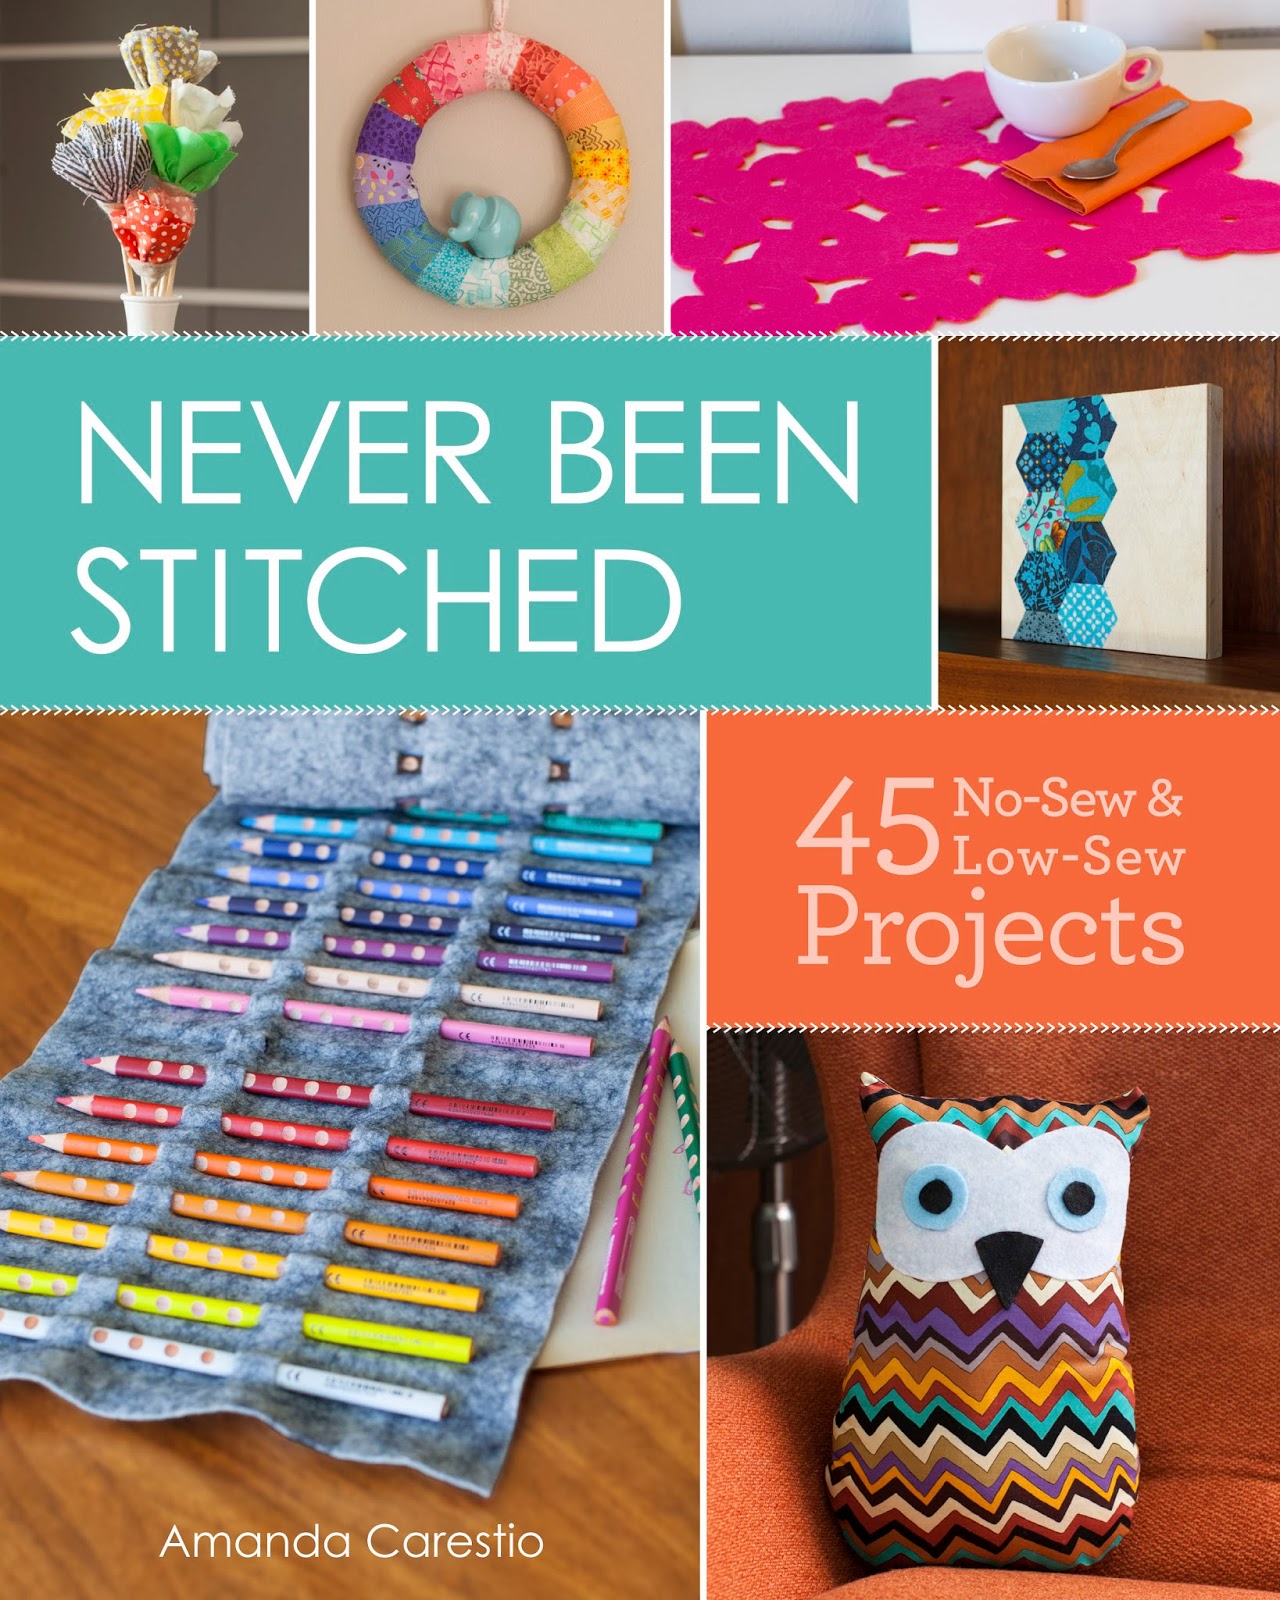 There are instructions for home decor items like pillows, pictures and as well as clothing and accessories, like socks and scarves. One of the simplest projects is the Map Bunting, which uses just scissors and glue to cut a map into a festive decoration.
Some of the other projects use items like fusible webbing, grommets, and wood embroidery hoops. There are a few projects geared toward kids, like the Fleece Octopus and Felt Pencil Roll, which would be great for making with my son on a weekend afternoon.
I like that this book is a collaborative effort which includes projects from bloggers; it's interesting to see different styles and approaches to crafts within the same book. The best part about Never Been Stitched is that it's a great way to quench my artistic craving when I'm bored and looking for a quick fix.
BONUS: Lark Crafts is generously sharing three downloadable projects for free via their website,
 Click on over and get started on one of these creative projects.
 Comment below with your favorite book from Lark Crafts. Winner will be chosen on February 22nd, and I'll email the winner. Share the giveaway via Twitter tagging @LarkCrafts for an extra entry, and leave me the link to your tweet.
UPDATE: WINNER is #2, Linda.
Disclosure: I received a copy of this book for review. All opinions are my own.
Thankfully, Never Been Stitched by Amanda Carestio showed up at my door. This book, filled with 45 no or low-sew projects is a great way to chip away at the winter doldrums.
Some of the other projects use items like fusible webbing, grommets, and wood embroidery hoops. There are a few projects geared toward kids, like the Fleece Octopus and Felt Pencil Roll, which would be great for making with my son on a weekend afternoon.
I like that this book is a collaborative effort which includes projects from bloggers; it's interesting to see different styles and approaches to crafts within the same book. The best part about Never Been Stitched is that it's a great way to quench my artistic craving when I'm bored and looking for a quick fix.
BONUS: Lark Crafts is generously sharing three downloadable projects for free via their website,
WIN IT!
One lucky reader will win a copy of Never Been Stitched!
UPDATE: WINNER is #2, Linda.
Disclosure: I received a copy of this book for review. All opinions are my own.
December 12, 2023
Just Another Craft from the Medicine Cabinet
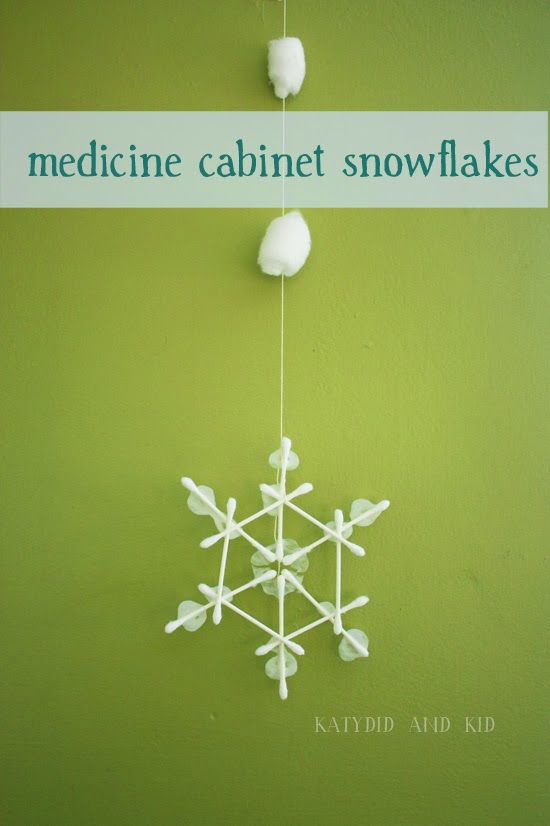
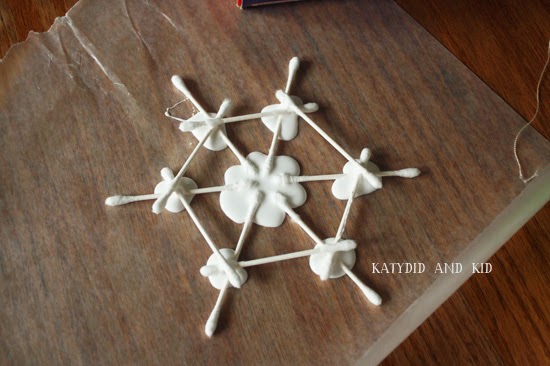
I love craft projects that use the simplest of materials, ones that you already have in your home. This one was an easy, inexpensive one that Soren and I made a few weeks back which has been decorating our kitchen for some time now--snowflakes made from cotton balls and cotton swabs.
 I imagine this will stay up long into February, as it is more of a seasonal decoration than a Christmas one. And it certainly doesn't take much in way of materials or artistic ability to make it.
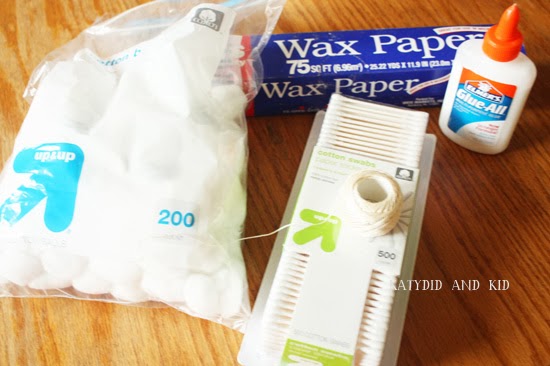
You'll need:
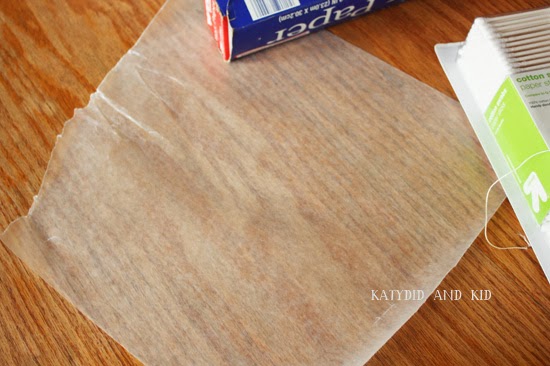
Tear off a piece of wax paper.
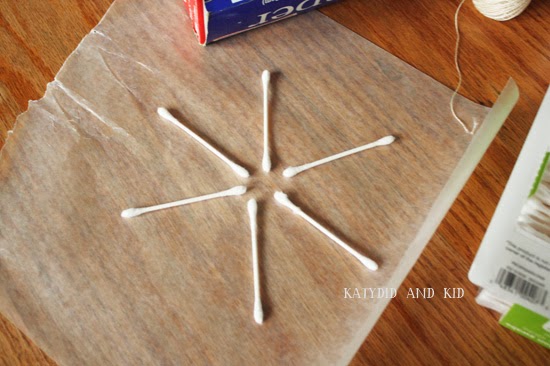
 Arrange 6 cotton swabs into a star formation.
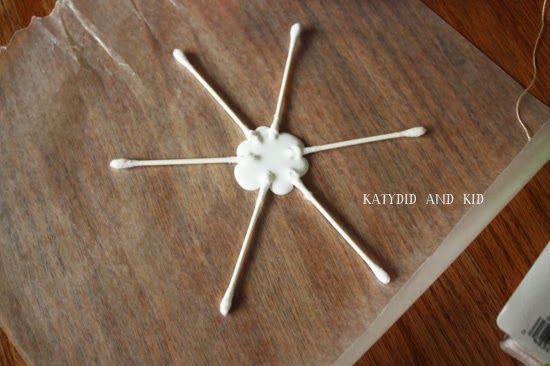
 Add a large puddle of glue into the center, making sure the tips of the swabs are all stuck into the glue.
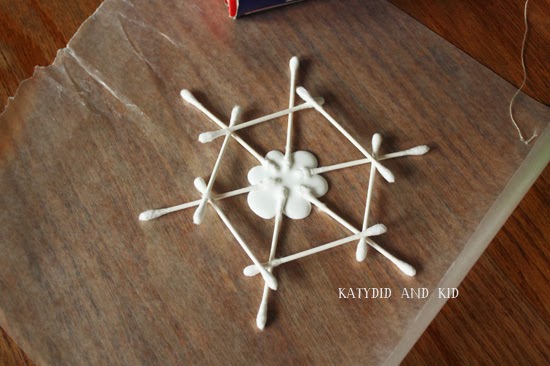
 Add some more swabs, crossing them in any way you'd like or extending the "arms" of the original 6 swabs.
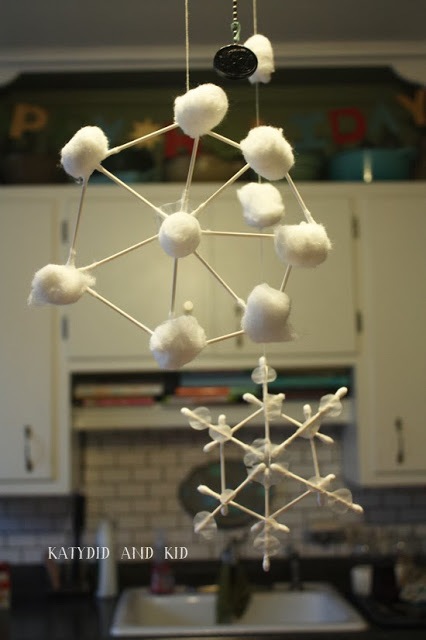
 You could add the cotton balls at this point too, if you'd like.
Generously add more glue on top of the areas that are overlapped. Don't worry if a lot of it spills out underneath. Just be sure the joints are saturated.
 Allow to dry, usually overnight is enough. Then gently peel off of the wax paper, tie on a string or ribbon, and hang. With a needle, I "sewed" on some more cotton balls on the end of the string I used (see the first photo at the top).
 Super simple craft with lots of possibilities for using as home decorations or even tying onto a present.
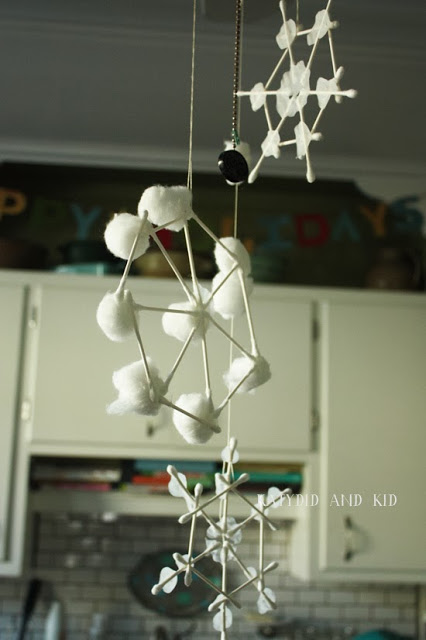 Enjoy creating with your little ones!
You'll need:
- Wax paper
- White glue
- cotton swabs
- cotton balls
- string for hanging
Tear off a piece of wax paper.
Generously add more glue on top of the areas that are overlapped. Don't worry if a lot of it spills out underneath. Just be sure the joints are saturated.
December 11, 2023
Give the Gift of Essential Oils {Giveaway}
As much as I like the smells of the holidays (baking, evergreen, citrus) I prefer natural scents to perfume-y candles and air fresheners. I use eco-friendly cleaners in my home, so I am drawn to products made from all-natural ingredients.
I keep an assortment of essential oils on hand to use in everything from personal skin care to massage to cleaning. When Puritan's Pride, an online provider of supplements, vitamins, natural beauty products, healthy snacks and more, contacted me about trying out some of their essential oil products, I thought it would be the perfect opportunity to create some all-natural, handmade gifts for the holidays.
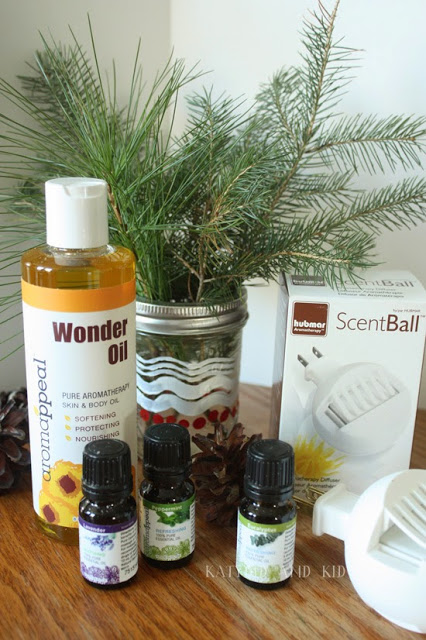 Aromatherapy is a way to manage stress during this often-stressful season, so I was delighted to try their aromatherapy products. I was sent a bottle of their Wonder Oil (an amazing citrus-y fusion of oils, herbs and fruits for the body, including Olive, Sunflower Seed, Wheat Germ, Sweet Almond, Sesame and Jojoba Oils, a ScentBall plug-in aromatherapy diffuser, and three 100% essential oils in lavender, peppermint, and eucalyptus.
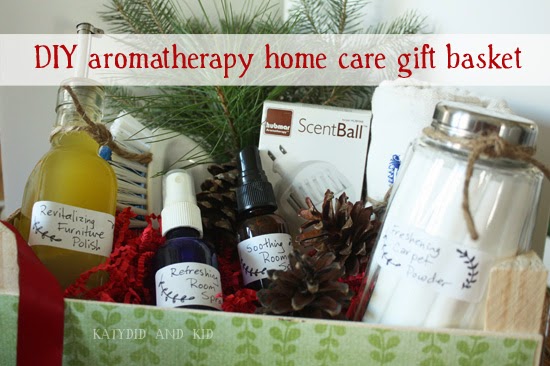 Packaged in a decorated clementine box, this gift basket is both inexpensive and easy to make, and is a handmade, thoughtful gesture.
You just need a few plain or fancy jars to put the items in, as well as a spray bottle for the room spray. Here are the recipes I created.
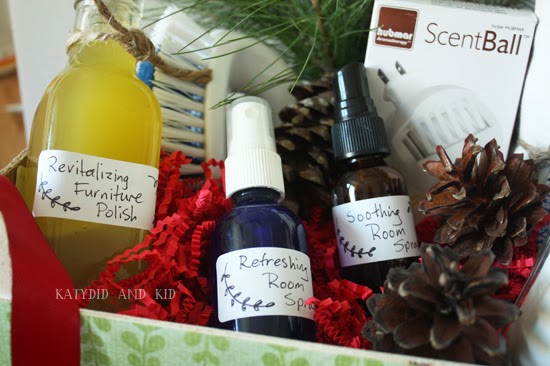
FRESHENING CARPET POWDER
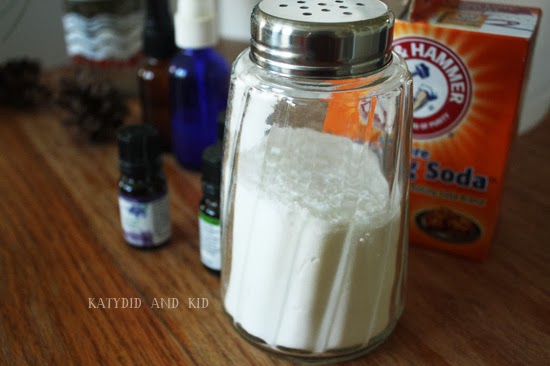 Fill the rest of the way with baking soda and shake again to combine. Add a pretty label, as well as an instruction one on the back that says something like "sprinkle on your carpet, wait 5 minutes, and vacuum as usual."
REVITALIZING FURNITURE OIL
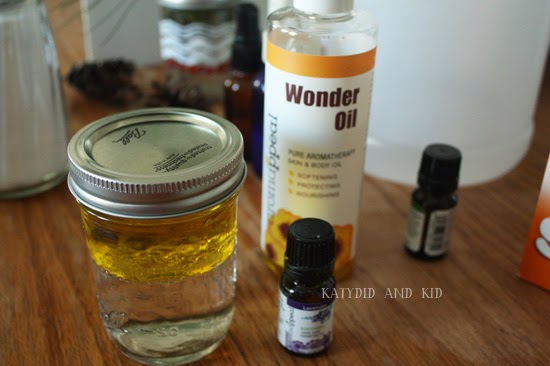 Cover and shake well.
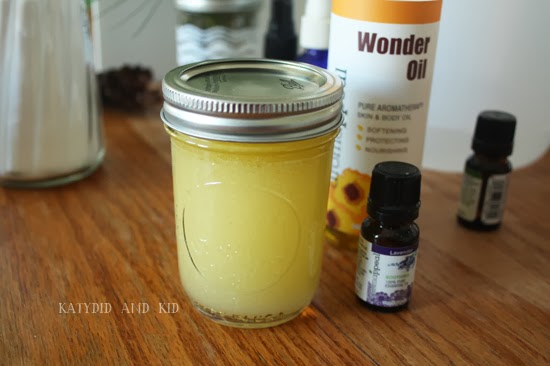 Add a pretty label as well as instructions to "Shake well. Pour one tablespoon onto a clean, soft cloth and wipe onto wood. Buff with a dry cloth. Repeat process monthly."
SOOTHING ROOM SPRAY AND REFRESHING ROOM SPRAY
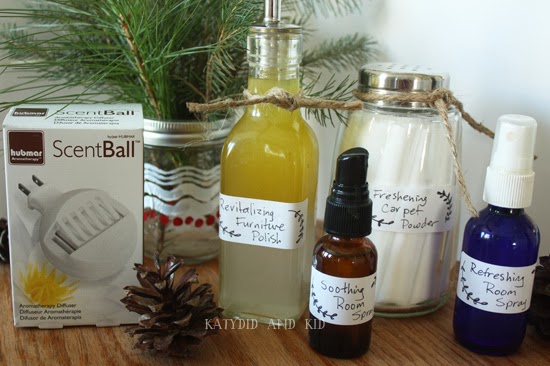 The addition of a diffuser into this gift basket is a really nice touch. The ScentBall diffuser plugs into the wall and comes with reusable pads that you add 5 drops of essential oil onto.
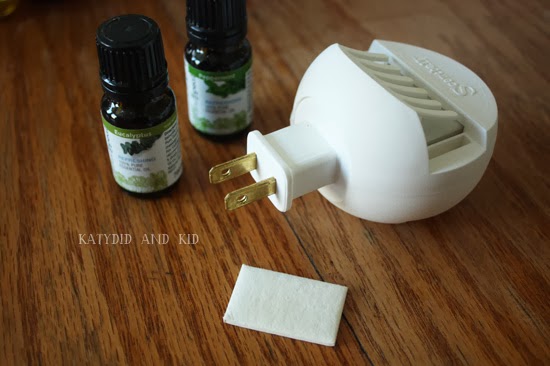 It plugs into an outlet and gently warms the pad, releasing a subtle, pleasant scent. I have mine in our bathroom, where it works to mask unappealing odors without the chemical cloud that typical air fresheners use.
I packaged all these home care items in a clementine box that I had decoupaged with scrapbooking paper, and added a scrub brush and a cloth diaper (for cleaning, they make the best reusable rags).
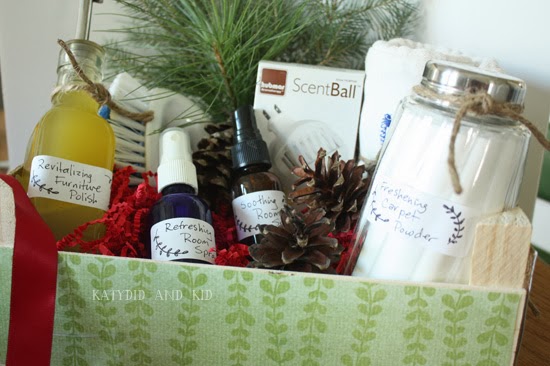 Tuck in a few evergreen branches, some pine cones and tie on a pretty ribbon, and you have a lovely seasonal gift that will make the recipient's home smell fresh and clean.
 Puritan's Pride has so many other delightful essential oils to choose from, as well as other products to create a holistically healthy lifestyle.
You can learn more about Puritan's Pride via the Puritan's Pride Facebook page as well on Twitter @PuritansPride.
One lucky reader will win an assortment of aromatherapy products from Puritan's Pride. Please enter via the Rafflecopter widget below.
a Rafflecopter giveaway
Disclosure: I received sample products from Puritan's Pride for review purposes. All opinions are my own.
I keep an assortment of essential oils on hand to use in everything from personal skin care to massage to cleaning. When Puritan's Pride, an online provider of supplements, vitamins, natural beauty products, healthy snacks and more, contacted me about trying out some of their essential oil products, I thought it would be the perfect opportunity to create some all-natural, handmade gifts for the holidays.
Puritan's Pride began over 40 years ago, with the mission of making the finest quality nutritional supplements available at the best value to their customers. Today, the company remains true to its original commitment and serves millions of loyal customers. Puritan’s Pride manufactures thousands of vitamins, minerals, herbs and other nutritional supplements in their state-of-the art facilities located throughout the U.S. As part of the company’s commitment to quality, Puritan’s Pride only uses ingredients from suppliers worldwide that meet their Quality Assurance Standards, as well as Good Manufacturing Practices food quality standards.I love all three of these scents, and thought that used alone or combined could make a wonderful gift set for a teacher, friend, or neighbor.
You just need a few plain or fancy jars to put the items in, as well as a spray bottle for the room spray. Here are the recipes I created.
FRESHENING CARPET POWDER
- baking soda
- 100% essential oils (I used peppermint, eucalyptus and tea tree oil, which I had on hand)
- Parmesan cheese jar, or just save the cap from a plastic Parmesan container and screw it onto a mason jar (it works!)
REVITALIZING FURNITURE OIL
- 1/4 cup Wonder Oil (a blend of olive oil and other great-smelling essential oils) or plain Olive oil
- 1/4 cup white vinegar
- 5 drops of eucalyptus oil
SOOTHING ROOM SPRAY AND REFRESHING ROOM SPRAY
- Distilled water
- Lavender essential oil for soothing spray and peppermint and eucalyptus for refreshing spray
I packaged all these home care items in a clementine box that I had decoupaged with scrapbooking paper, and added a scrub brush and a cloth diaper (for cleaning, they make the best reusable rags).
You can learn more about Puritan's Pride via the Puritan's Pride Facebook page as well on Twitter @PuritansPride.
One lucky reader will win an assortment of aromatherapy products from Puritan's Pride. Please enter via the Rafflecopter widget below.
a Rafflecopter giveaway
Disclosure: I received sample products from Puritan's Pride for review purposes. All opinions are my own.
December 10, 2023
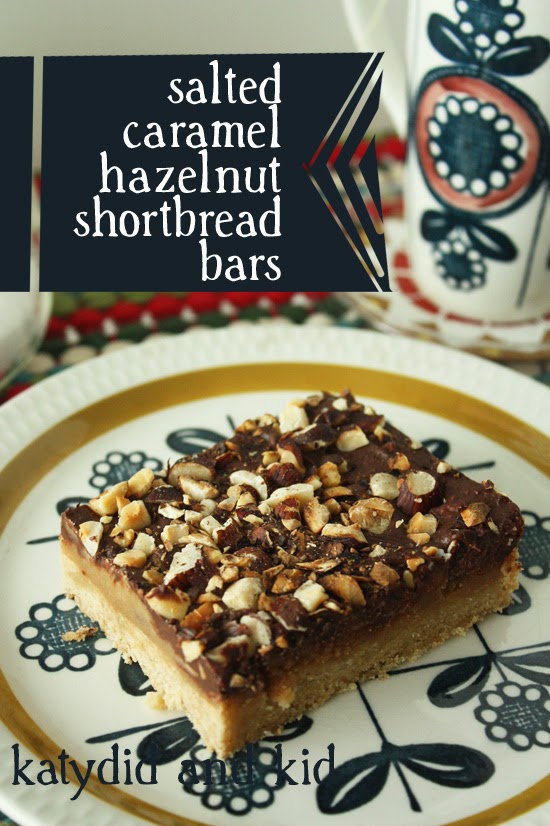
Salted Caramel Hazelnut Shortbread Bars {Hodgson Mill Giveaway}
Caramel. Salt. Savory/sweet goodness. My all-time favorite dessert flavor is caramel. Since I was a kid I was always drawn to caramel--Twix bars, caramel sundaes, turtle candies. To add another layer to my love of caramel is my love of savory flavors. Actually, my salt tooth is more intense than my sweet one, so I've really become enamored of the salted caramel trend--I hope it sticks around for a while.
Thus, while experimenting in the kitchen with some products from Hodgson Mill as part of their Have a Grain Holiday campaign and contest (you should enter, you can win great prizes every day until Christmas), I came up with these Salted Caramel Hazelnut Shortbread Bars.
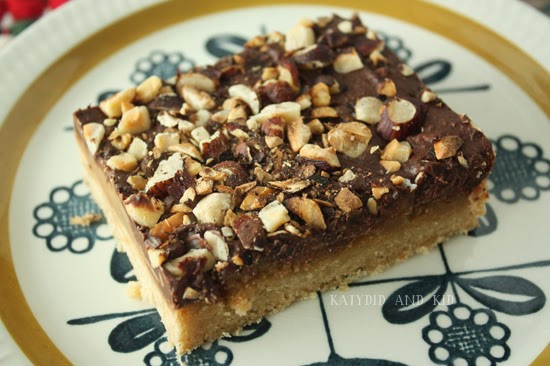
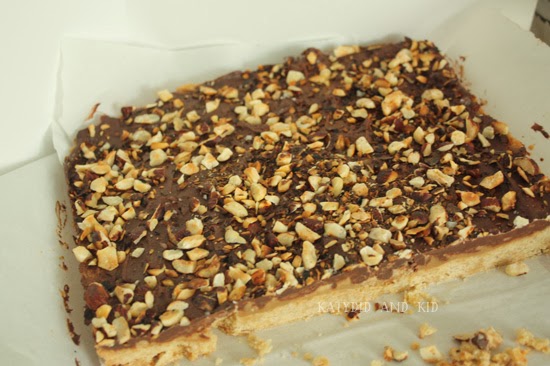
 They're a blend of one of my favorite cookies, shortbread, and my friend Shana's obsessively delicious Saltine Toffee recipe. Topped off with hazelnuts, they make a lovely cookie/bar that would be stellar at a cookie exchange, as a gift, or simply to devour at your own table.
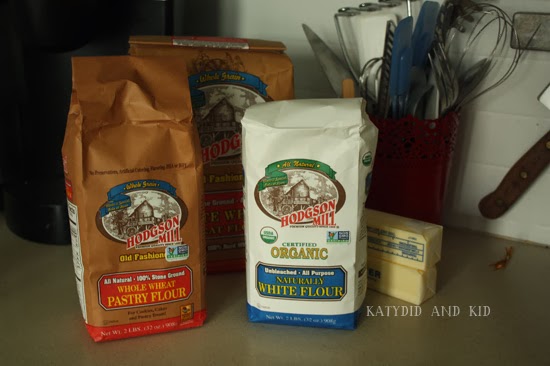
 It's a recipe of few ingredients, lots of butter, and a bit of finesse in the kitchen. Here's what you'll need:
For the Shortbread:
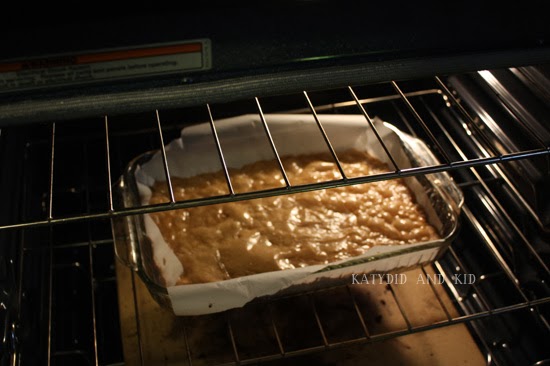
 Preheat oven to 375 degrees. Line a 9x13" pan with parchment paper with about a 2" overhang on each side.
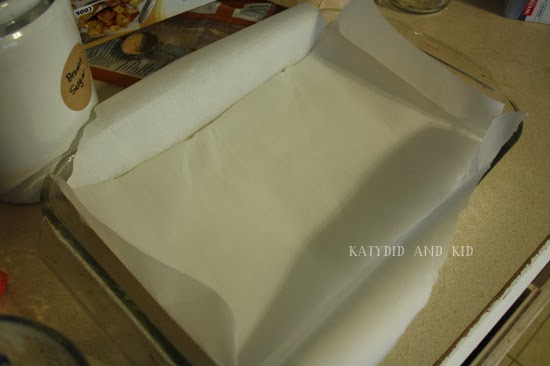 I used two pieces, layered. This will make it easier to remove and cut the bars when they're done.
In a food processor or with a pastry blender, combine the flours, sugar and salt and blend well.
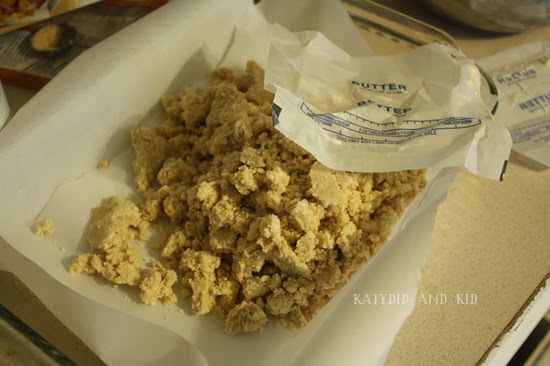
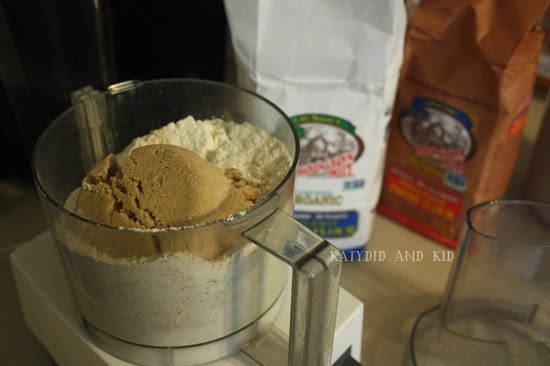 Add the 2 sticks (!) of softened butter along with the teaspoon of vanilla and process until crumbs form.
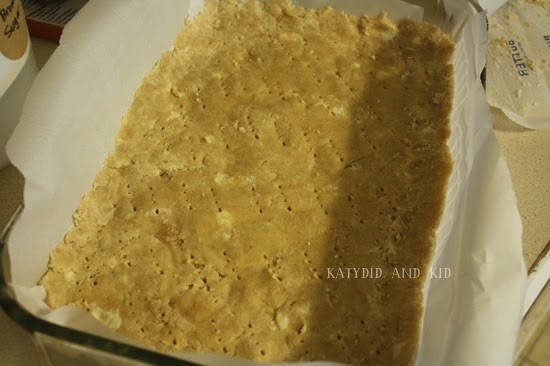
Press the crumb mixture into the pan. I use the butter wrapper to keep my hands clean.
 Once it's evenly spread in the pan, prick the surface with a fork to enable even baking.
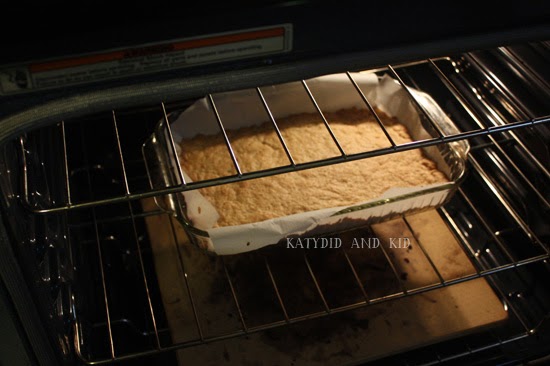
 Pop into the oven for 20-25 minutes or until browned.
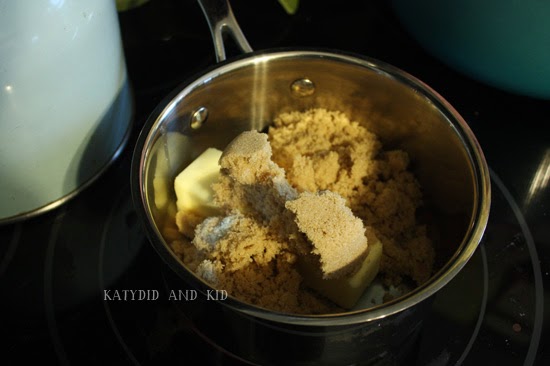
 About halfway through the baking, heat the last stick of butter, the half and half and the cup of brown sugar in a sauce pan over medium high heat.
 If you really want to multi-task, toast the hazelnuts while you're making the caramel.
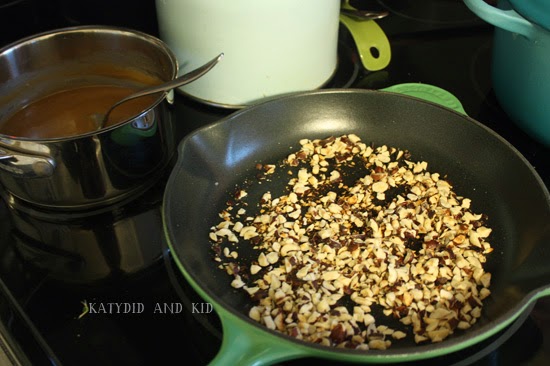 They're fine raw, but toasting them for a few minutes adds so much more flavor.
Back to the caramel: bring to a rolling boil and cook for one minute.
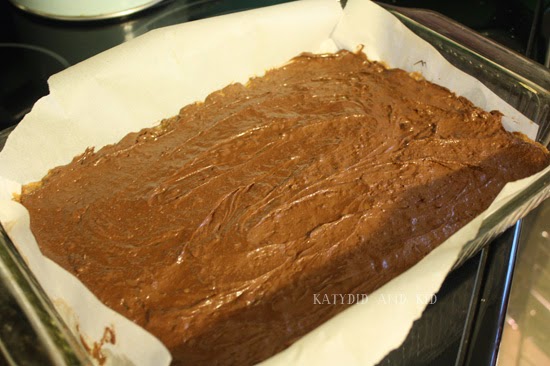
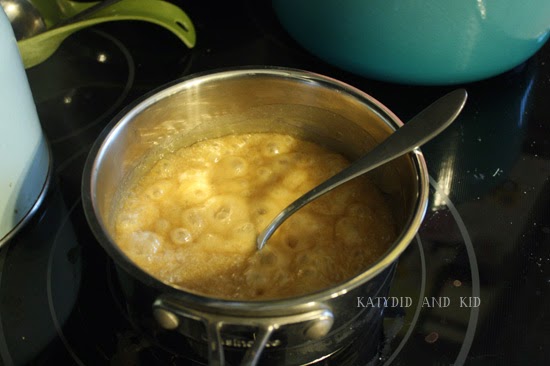 Add the vanilla and stir well. Spread this mixture evenly over the shortbread, and stick it back into the oven until the caramel bubbles (about a minute or two).
 Remove from the oven and pour the bag of chocolate chips over the hot caramel.
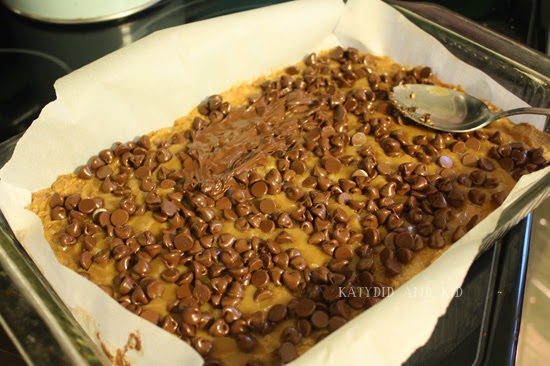 Spread with a spoon or spatula to evenly cover the caramel layer.
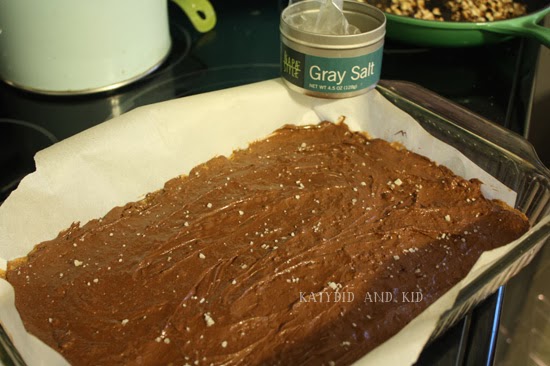
 Sprinkle the sea salt over the melted chocolate.
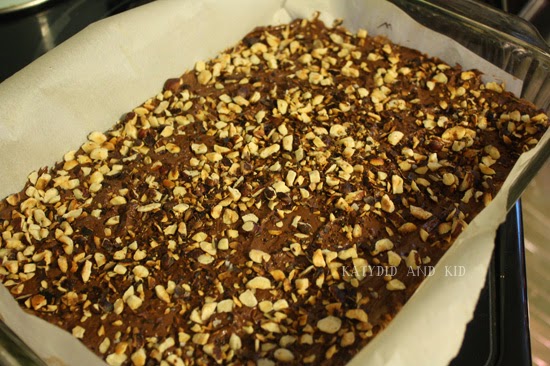
 Finally, top it with the toasted hazelnuts. I press them into the warm chocolate so they'll stick better.
 Allow to cool completely (or even stick them in the freezer, since they're easier to cut when cold). Remove from the pan and cut into squares, rectangles, triangles, whatever you'd like.
 These are addictingly good. Watch that you don't eat too many, though a small square goes a long way.

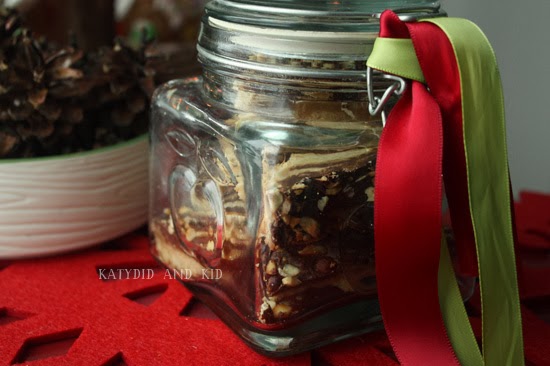
 They'd make a great gift, stacked in a jar and tied with a ribbon, if you're willing to part with them. Tis the season to be giving though.
 You can print a coupon for $1 off Hodgson Mill products by visiting this page on their website. And don't forget to enter their Have a Grain Holiday daily contest, where you can win Hodgson Mill prizes every day until Christmas.
Want to win $25 worth of great products from Hodgson Mill? You can choose either a whole grain or gluten-free package. To enter, simply leave a comment here about what item you'd like to try from Hodgson Mill. Extra entries for sharing this giveaway in some way (Twitter, Facebook, Pinterest--just leave me the link in your comment). I'll randomly choose the winner next Wednesday December 18th. Good luck!
Disclosure: I received samples of Hodgson Mill flours to create this recipe, which I am entering into the blogger Have a Grain Holiday contest.
Thus, while experimenting in the kitchen with some products from Hodgson Mill as part of their Have a Grain Holiday campaign and contest (you should enter, you can win great prizes every day until Christmas), I came up with these Salted Caramel Hazelnut Shortbread Bars.
SALTED CARAMEL HAZELNUT SHORTBREAD BARS
(makes roughly 18 bars)For the Shortbread:
- 1/2 cup Hodgson Mill Organic Unbleached All Purpose White Flour
- 1/2 cup Hodgson Mill Whole Wheat Flour
- 1/2 cup Hodgson Mill Whole Wheat Pastry Flour
- 2 sticks of unsalted butter, softened
- 1/2 cup packed light brown sugar
- 1/2 tsp salt
- 1 tsp vanilla
- 1 stick butter
- 1 cup packed dark brown sugar
- 1/4 cup half and half (you can omit this if you'd like, but I think it adds a creamier texture)
- 1 tsp vanilla
- 1 bag chocolate chips (whatever kind you like; I prefer dark chocolate)
- 2 oz. chopped hazelnuts pinch of good quality, flaky sea salt (like Maldon)
In a food processor or with a pastry blender, combine the flours, sugar and salt and blend well.
Press the crumb mixture into the pan. I use the butter wrapper to keep my hands clean.
Back to the caramel: bring to a rolling boil and cook for one minute.
Want to win $25 worth of great products from Hodgson Mill? You can choose either a whole grain or gluten-free package. To enter, simply leave a comment here about what item you'd like to try from Hodgson Mill. Extra entries for sharing this giveaway in some way (Twitter, Facebook, Pinterest--just leave me the link in your comment). I'll randomly choose the winner next Wednesday December 18th. Good luck!
Disclosure: I received samples of Hodgson Mill flours to create this recipe, which I am entering into the blogger Have a Grain Holiday contest.
Subscribe to:
Posts (Atom)

