Showing posts with label Home Cookin'. Show all posts

October 15, 2023

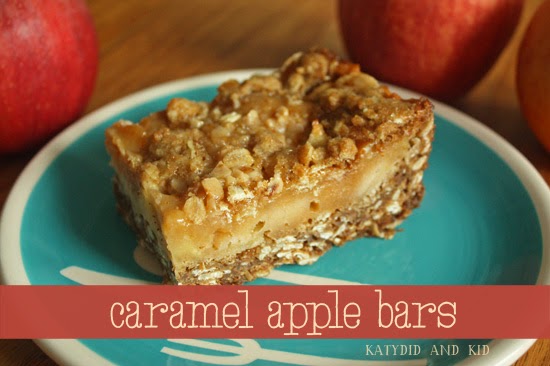
Caramel Apple Bars

I'm not sure where the time goes each day, but I have been busy with projects around the house as well as a lot of cooking and baking.  The autumn weather and earlier nights have made me want to fill the house with good smells and residual oven heat (we're really trying to not turn the heat on until absolutely necessary).

One treat I made recently for a bake sale was deliciously seasonal--Caramel Apple Bars.
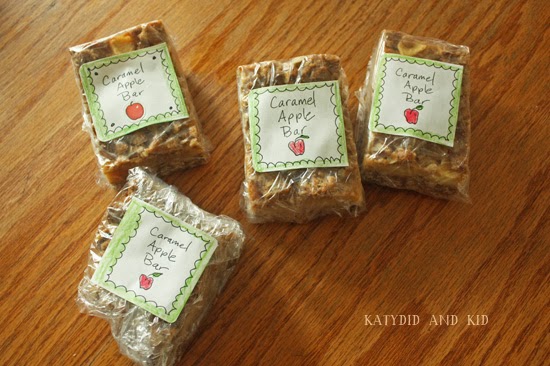
They combine the flavors of caramel and apple without having to make a big mess in the kitchen from dipping your own apples.  These bars wrap up well for a bake sale or for giving to friends.
CARAMEL APPLE BARS (adapted from AllRecipes.com) (makes 48 bars)
Ingredients
  • 2 cups all-purpose flour
  • 2 cups oats
  • 1 1/2 cups packed light brown sugar
  • 1 tsp baking soda
  • 1 1/4 cups butter, melted
  • 2 cups peeled, cored and diced apples
  • 1 1/2 cups jarred or homemade caramel sauce
  • 1/2 cup flour
  • 1/2 cup chopped walnuts (optional)
Directions
Preheat oven to 350 degrees F (175 degrees C). Grease a 15x10 inch baking dish or jellyroll pan.

In a large bowl, combine the flour, quick cooking oats, brown sugar, and baking soda. Stir in the melted butter. Mix until crumbly. Press 1/2 of this mixture into the prepared baking pan to make the crust. Bake for 8 minutes in preheated oven.

Spread apple slices evenly over the baked crust. Sprinkle on the nuts.  Set aside.

In a small pan over medium heat, combine the caramel topping and the remaining 1/2 cup of flour. Stirring constantly, bring to a boil, and simmer for 3 to 5 minutes.

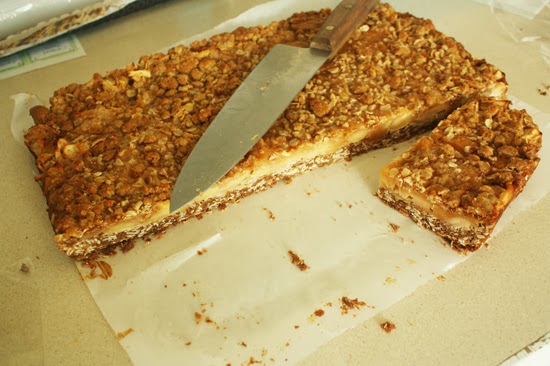
Pour the caramel filling over the apple layer. (You could sprinkle on a little sea salt to make them into salted caramel apple bars).  Crumble the remaining crust mixture over the top of everything. Bake again for 20 to 25 minutes or until golden brown. Cool before cutting into bars.
 They'd be delicious with vanilla ice cream.  Not that I would know anything about that.

September 25, 2023

Autumn in the Kitchen #MaytagMoms

Disclosure: I participated in a campaign on behalf of Mom Central Consulting for Maytag. I received a promotional item as a thank you for participating.
The cooler months are always the busiest in my kitchen.  When air turns chilly, I'm more than eager to use the oven again for baking bread, roasting vegetables and even making apple butter in a dutch oven.
Nearly one year has passed since my Maytag Kitchen Makeover, and I can honestly say the Maytag appliances have made cooking and working in the kitchen so much more convenient that it used to be.  The dishwasher has been shouldering a lot of the burden.  It was the one appliance we didn't have in the kitchen, and now I'm wondering how we got by without one.

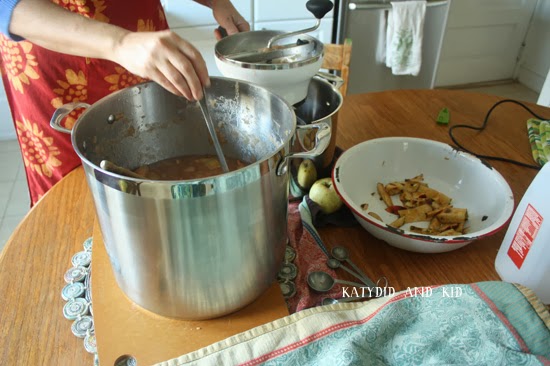
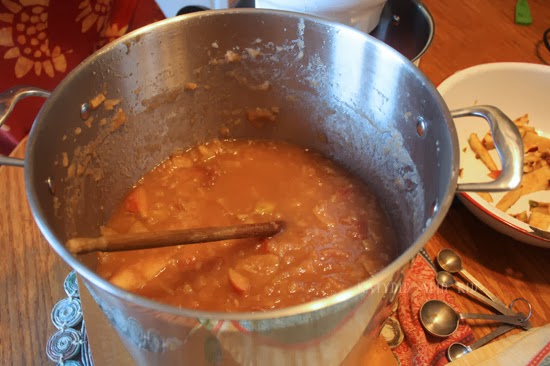
This weekend my best friend and I undertook our annual applesauce canning session, and the appliances were critical in helping us meet our goal of cooking, canning and cleaning up two bushels of apples.
First off, we sterilized the jars in the dishwasher, which was SO much easier than washing the jars and then boiling them on the stove.

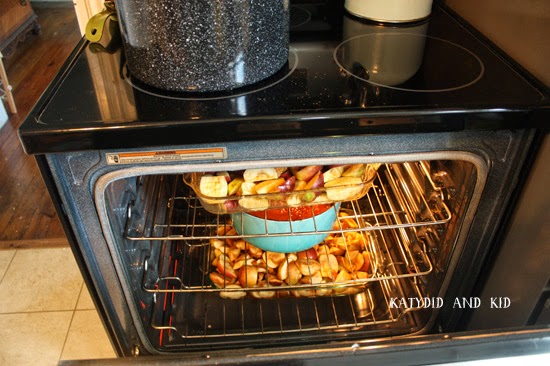
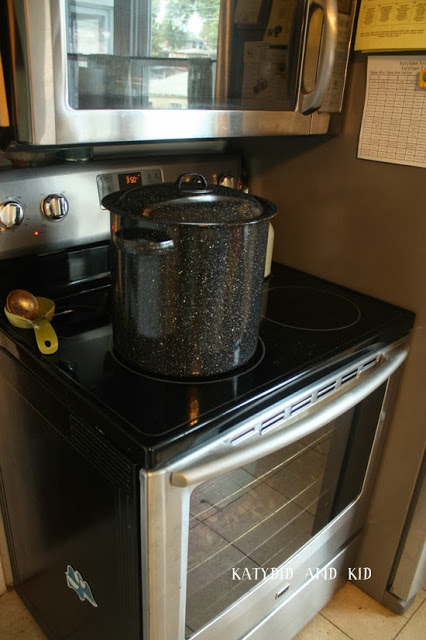
Both the stovetop and oven were used in our canning.  The oven slowly cooked our apple butter to a dark, caramelized sauce, which left us to focus on the applesauce on the stovetop rather than having to constantly stir the butter over many hours.

The stovetop was great at keeping the canning pot boiling on the large burner as I was cooking the sauce on the second large burner.
At one point as the stovetop got too hot and steamy (I'll admit to burning the bottom of a pot of sauce at some point because I had the heat on too high #usererror), the exhaust fan automatically sensed the excess heat and automatically went on, taking some of the heat away from the stovetop.  That was a surprise, that it could sense trouble and react.
Clean up afterwards was easier than last year too.  We still had to wash the largest items by hand, but all those tasting spoons, canning accessories and cutting boards could be put in the dishwasher, unlike last fall.
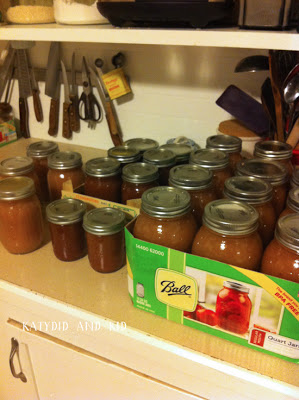
More than two dozen quarts of applesauce, 16 pints of apple butter, and one clean kitchen before 9pm, which I believe breaks last year's record.
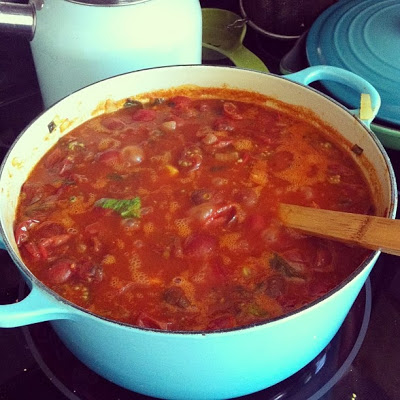
Beyond canning, I've also used the range for making a large batch of tomato sauce, as well as the usual parade of soups that simmer on my stovetop during the cooler months.
The refrigerator continues to be convenient and reliable, especially with allowing snacks and lunch items to be within reach via the refrigerator drawer.
And it's also a great canvas for those Kindergarten drawings.  While I still struggle with keeping the stainless steel looking shiny and fingerprint-free, I'm able to let that go.  With two young boys, everything stays clean only for a few minutes anyway.

You can learn more about Maytag via their Facebook page.  Thanks again to Mom Central and Maytag for this opportunity to test out these Maytag appliances over the last year. 

August 30, 2023

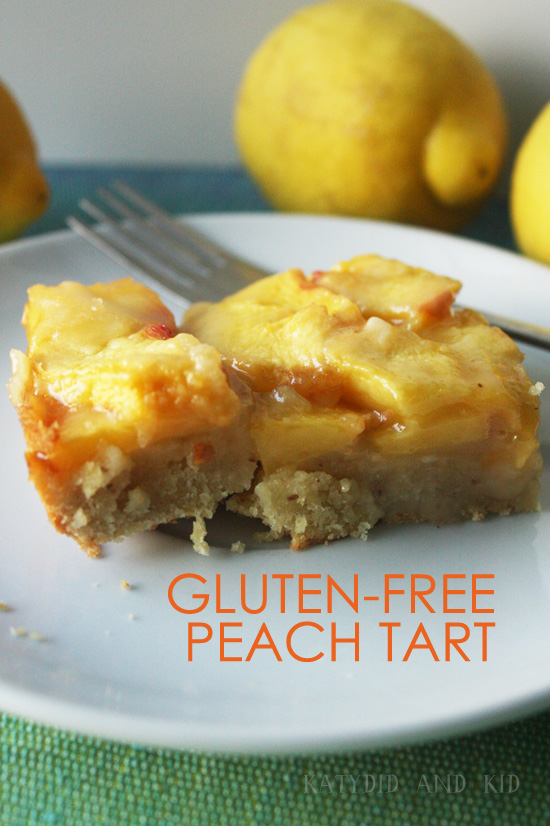
Gluten-Free Peach Tart

Are you ready for Labor Day?  I'm torn between wanting summer to last just a little longer and wanting to dive right into my favorite season, autumn.  Either way, I'm going to try and enjoy this last long weekend of summer by being outside, eating corn, peaches and tomatoes, and hanging out with my family.

Yesterday, with some of the first tasty peaches of the season (seriously, why do I buy peaches that are dry and mealy?  There must be a secret to buying them), I made a peach tart, which I'm sharing over at a local-to-me blog, Lots to Eat Without the Wheat.
While my diet is not gluten-free, I do enjoy creating dishes that don't use wheat.  And this tart came out pretty tasty, despite its lack of butter and white flour.  Stop by and check out my recipe, and of course have a great weekend!

August 12, 2023

Apple Cider Vinegar Zucchini Pickles

I participated in a campaign on behalf of Mom Central Consulting for Heinz Vinegar. I received a product sample to facilitate my review and as a thank you for participating.
There are a few basics in life that I can't live without.  I'm not talking about the big things like family, home, health, etc.  Instead, I'm referring to the often overlooked items I take for granted like soap, flushing toilets, running water and my eyeglasses.

Apple cider vinegar is on my list of essential ingredients for my daily life.  I use it a lot, whether in cooking, cleaning, or as a health and beauty aid.  It's part of my hair routine, and adds a bit of reddish highlights to my auburn locks.
It makes kickin' refrigerator pickles, and I've even been known to make tea out of it with lemon and honey that helps soothe an upset stomach.  I read somewhere that it soothes sunburn too, but I haven't tried that since it's been years since I had one.

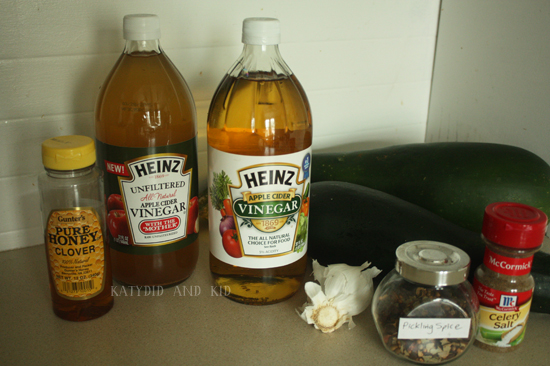
There's not much I don't use it for (it even works well in removing stickers!), and when I had the chance to try out Heinz Apple Cider vinegar and their new Unfiltered Apple Cider vinegar, I was eager to think of something to use it for.

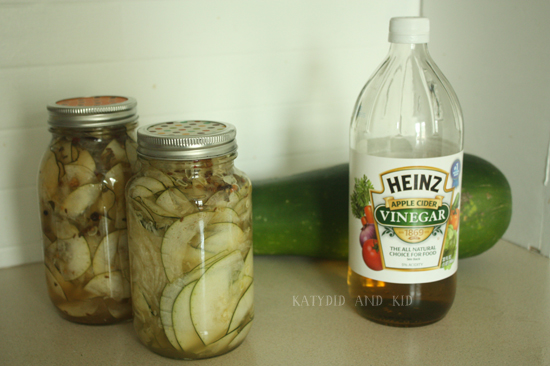
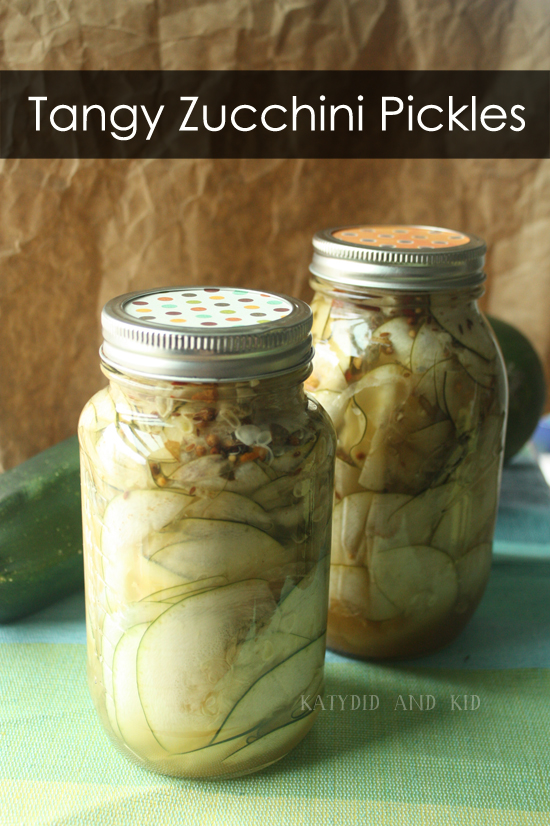
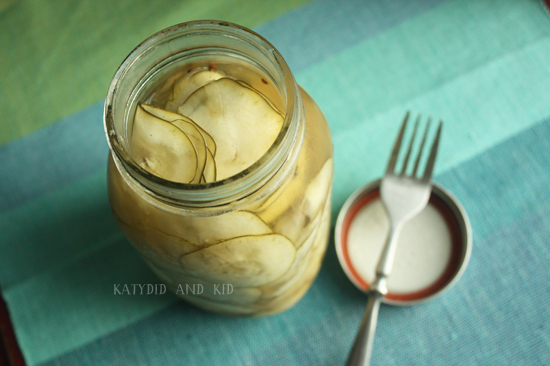
The kitchen is the most natural place to start, so I thought I'd make a batch of Zucchini Pickles, since there are overflowing in my kitchen.
These are similar to my refrigerator pickles, but with zucchini instead of cucumbers.  I chose to use Heinz Unfiltered Apple Cider Vinegar because I find it has a slightly stronger taste, which I like.  It's cloudier, as it contains the "mother" of the vinegar (a compound created naturally during the fermentation process) and also because it's unfiltered and unpasteurized. 

I also have used it in salad dressing (my usual recipe is 1/3 vinegar, 2/3 olive oil, 1 tbsp Dijon mustard, 1 tsp honey and salt and pepper) and it gives a tangier taste than red wine.  I'm eager to try it in other recipes, but for now, I'll share my refrigerator pickle recipe.

Tangy Zucchini Pickles with Apple Cider Vinegar

(makes 2 quarts)
INGREDIENTS
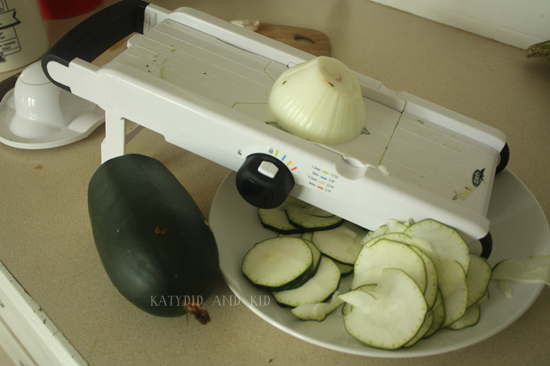
  • 1 pound of zucchini (1 large OR 2 medium), thinly sliced on a mandolin or by hand
  • 1 small Vidalia onion, thinly sliced on a mandolin or by hand
  • 6 cups Heinz Unfiltered Apple Cider Vinegar (or regular Apple Cider Vinegar)
  • 5 tbsp sea salt
  • 1 tbsp celery salt (if you don't have this on hand, you could substitute sea salt)
  • 3 tbsp honey
  • 1 cup sugar
  • 3 cloves of garlic, minced
  • 1 tsp pickling spice
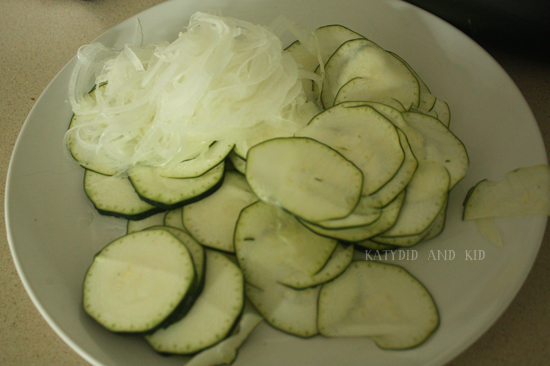
Slice the zucchini and onion very thinly.
I used the 1/16 setting, but you could make thicker slices. I wanted mine to be thin for piling onto burgers and salads.
With clean hands, pack the zucchini and onion neatly into 2 clean quart jars.

In a small saucepan, combine all the ingredients except for the zucchini and onion in a small saucepan, then bring to a boil for 2 minutes until the sugar dissolves. Allow to cool to room temperature, then pour over the zucchini in the jars, filling up to within 1/2" of the top.

I put mine in the fridge for 5 days, and then tried them.  Tangy and delicious!  They should keep for a few weeks in the fridge.
You can find more recipes using apple cider vinegar, both for eating and for living, at the Heinz Vinegar website as well as on their Pinterest page.

August 6, 2023

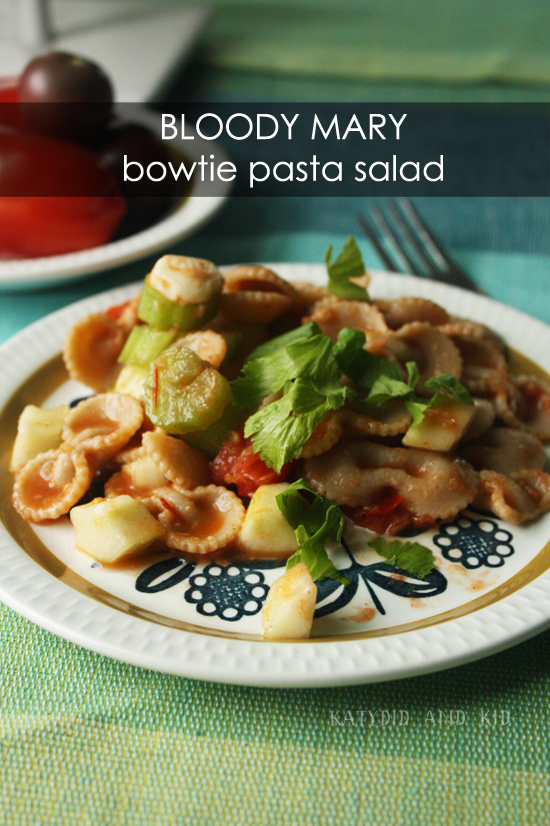
Bloody Mary Bowtie Salad {+Giveaway}

O humble tomato, how I adore thee.  This time of year is especially ripe (ha!) with possibilities for incorporating fresh tomatoes into my cooking.  But who wants to eat anything hot?  Not me.
Last summer, I participated in the Summer Pastabilities recipe contest sponsored by Hodgson Mill, where my Southwestern Pasta Salad won second prize.  This summer, I'm participating again, since I'm always up for a creative challenge in the kitchen.

When I was pondering ideas for pasta salad, of course I had to look to the tomato.  I always chop them for pasta salads, but the typical Caprese pasta salad was sounding a little tired from the recipe index in my brain.  Basil?  Mozzarella? Time for something different.

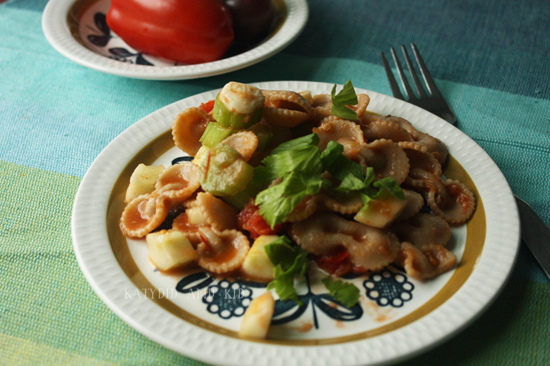
When flipping through a cooking magazine, I came across a recipe for a Bloody Mary, that tomato-y drink spiked with vodka, often served at (or for!) brunch.  The spicy, tangy drink could certainly translate to pasta salad, hence, this recipe was born.
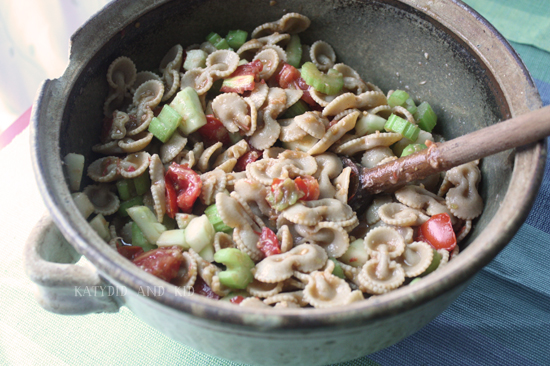
A gruesome name for a really tasty pasta salad.  Here's how you make it:

BLOODY MARY BOWTIE SALAD

serves 4-6

Ingredients

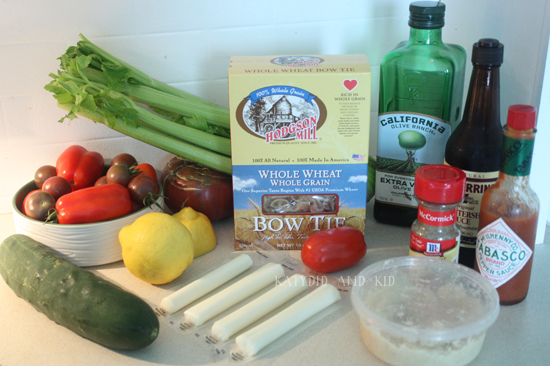
  • 10 oz. box of Hodgson Mill whole grain bowtie pasta
  • 3 ribs of celery, sliced
  • 1 cucumber, peeled and de-seeded, diced
  • 2 plum tomatoes, diced
  • 1/2 cup finely chopped vidalia onion (alternately, you could shred it on a grater)
  • 2 mozzarella cheese sticks, sliced into bite-sized pieces
  • chopped celery leaves, for garnish
Dressing
  • The juice of 1 lemon
  • 2 tbsp Worcester sauce
  • 1 small, ripe tomato, roughly chopped
  • 1 tsp Tabasco or hot sauce (or more or less, to your liking)
  • 1 1/2 tsp celery salt
  • 1 tbsp horseradish
  • 3 tbsp olive oil
  • 1/2 tsp of black pepper (or more or less, to your liking)
  • additional salt or celery salt, to your liking
Cook the pasta according to instructions.  Set aside to cool, slightly, then transfer to a large bowl.  Add the chopped celery, cucumbers, tomatoes and onion and gently toss to combine.

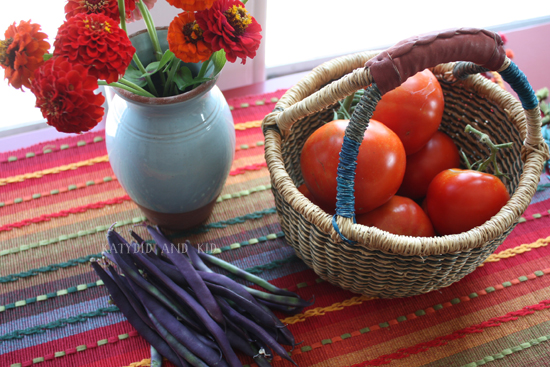
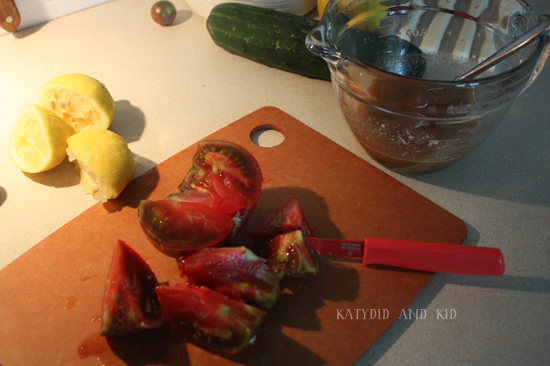
In another bowl, combine the ingredients for the dressing, adding the additional chopped tomato.  The riper the better!  This heavy purple one was nearly falling off the vine.
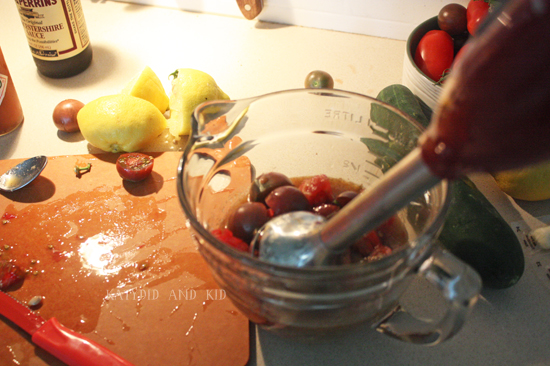
After you add it to the bowl, puree the dressing with a hand blender or in a food processor or blender to make the dressing.  If you don't have these items, you could mash it by hand and run it through a sieve.
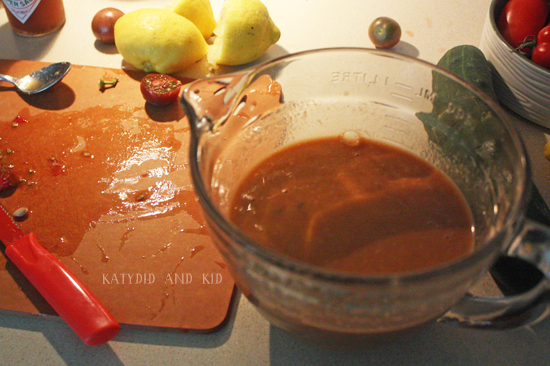
You'll get a nice, rich red dressing, which looks a lot like a Bloody Mary.
Pour this dressing over your bowtie mixture (maybe save a bit for a real Bloody Mary--just add the vodka to your glass), toss gently and chill for 30 minutes or until it's cold.  Then add in the sliced mozzarella sticks.
Feel free to add a splash more hot sauce or Worcester sauce if you'd like a stronger, more pungent taste.  Garnish with celery leaves and serve cold.  Enjoy!
SWEEPSTAKES
From now until 08/09, enter to win the Summer Pastabilities Gift Pack Give-a-way sweeps from Hodgson Mill! You could win a $50 prize pack filled with quality Hodgson Mill Whole Wheat pasta, a copy of the Hodgson Mill Whole Grain Baking Book, and more.

COUPON
This summer you can also take $1 off any variety of Hodgson Mill Whole Wheat pasta! Coupon available at: http://bit.ly/PASTA2013
STAY CONNECTED
  • Want to receive Hodgson Mill coupons, offers, giveaways, and new recipes before they’re unveiled to the public? Join the email newsletter!
  • Need dinner ideas? Check out the Hodgson Mill blog for healthy, seasonal, and delicious inspiration.
  • Join the community on the Hodgson Mill Facebook page.
  • For more foodie inspiration, follow Hodgson Mill on Pinterest!
WIN IT!
And for all of you lovely Katydid and Kid readers, Hodgson Mill is giving away $25 in their products.  To enter, just leave a comment on this post about your favorite item in their online store or what you'd like to make with their pasta.  Good luck!
Disclosure: I received samples of Hodgson Mill products to facilitate this recipe, and I'm participating in a chance to win a prize in this contest.


July 19, 2023

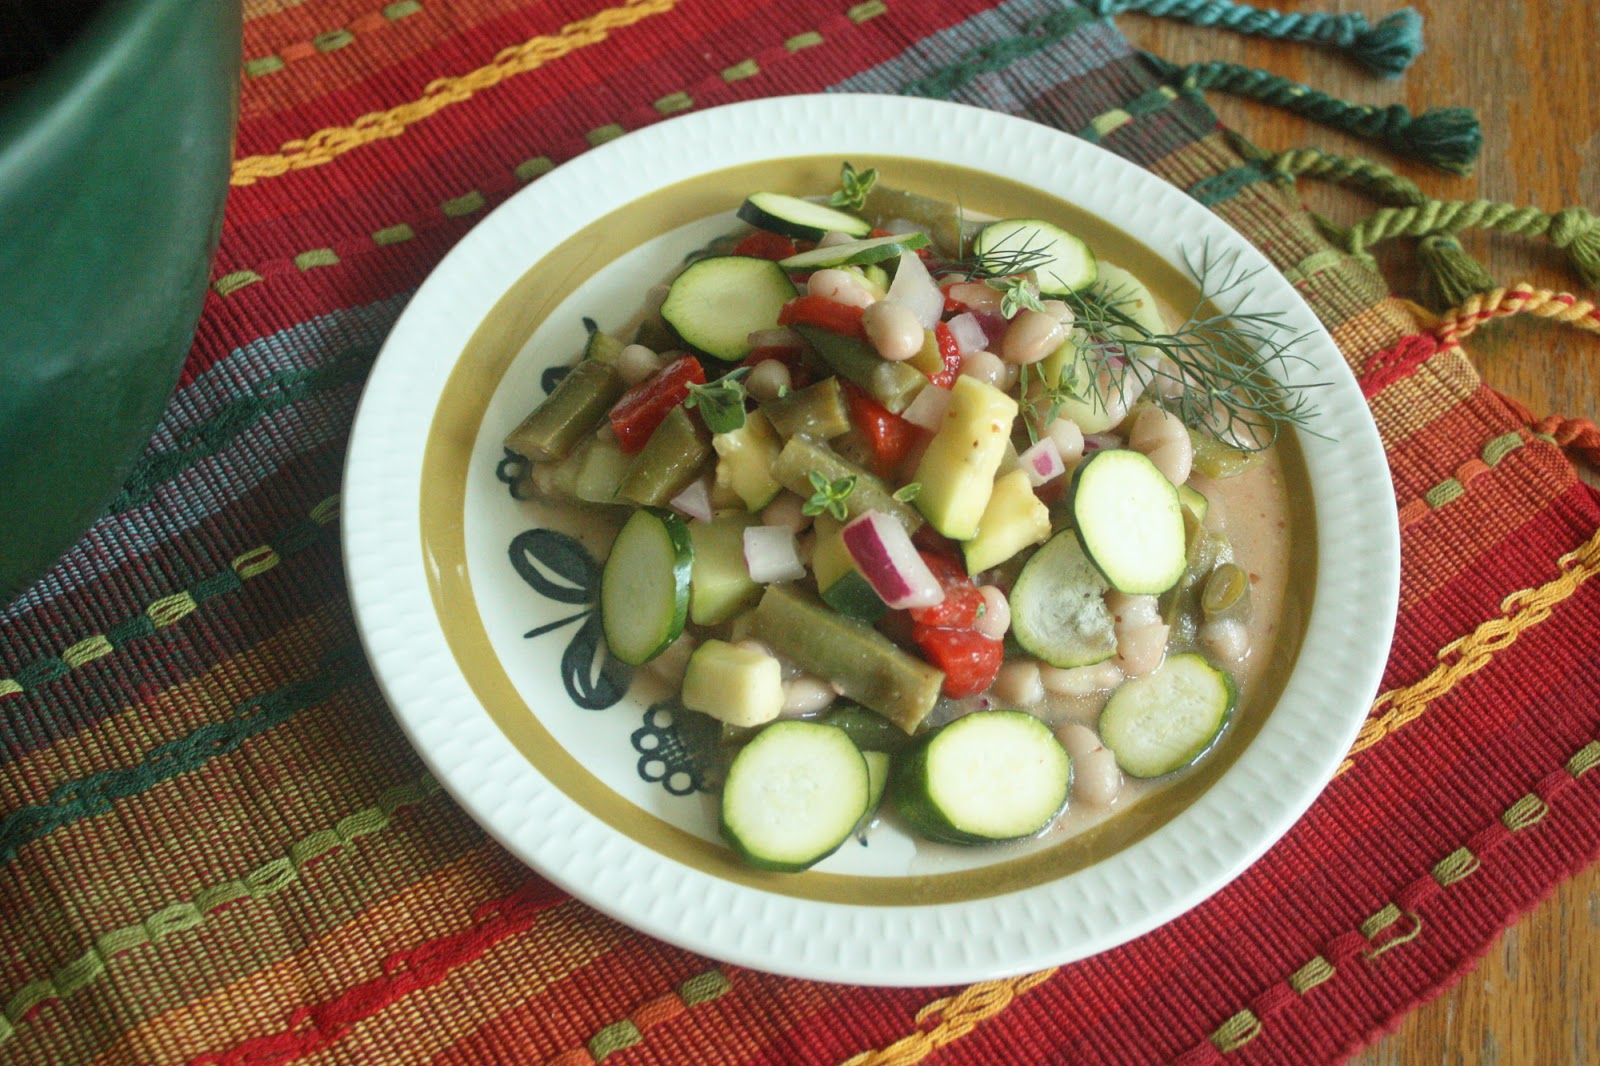
Simple Summer Green and Bean Salad

I'm over at a local-to-me blog today sharing a recipe for a gluten-free summer salad that is really easy to make and includes zucchini and cucumbers, which are probably going gangbusters in your garden or farmer's market right now.  Maybe this salad is in the cards for a weekend picnic?
I hope your weekend plans include some yummy food.  Have a good one!

April 21, 2023

Green Goodness for Your Belly

This weekend I posted a few recipes on a friend's blog, highlighting the tasty and nutritious greens that are making their way into our farm markets.  I'm going to repost here, hoping my readers will enjoy these dishes.

Because she's traveling, my friend shared her box of produce from a local co-op in exchange for using the items as inspiration for creativity in the kitchen and sharing what I made via the co-op's blog (if you're local to the Lehigh Valley, you must check them out--it's called Pure Sprouts and they deliver).

With the items, which featured lots of greens, I decided to make a smoothie, a frittata, and an Asian ramen noodle dish.

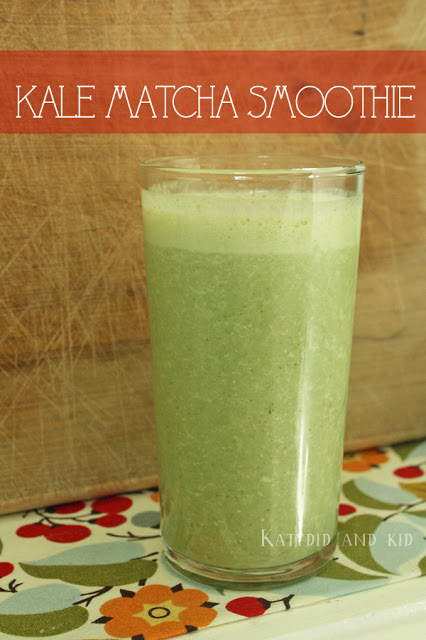
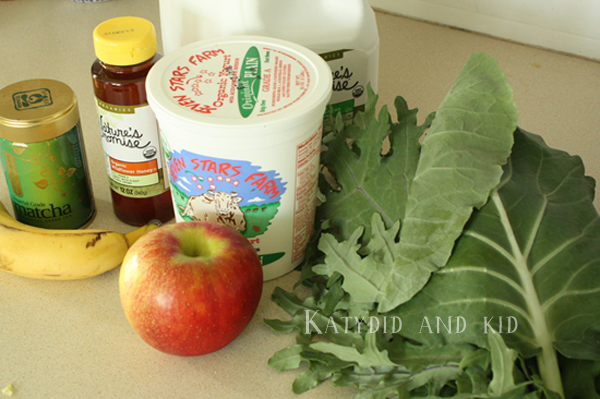
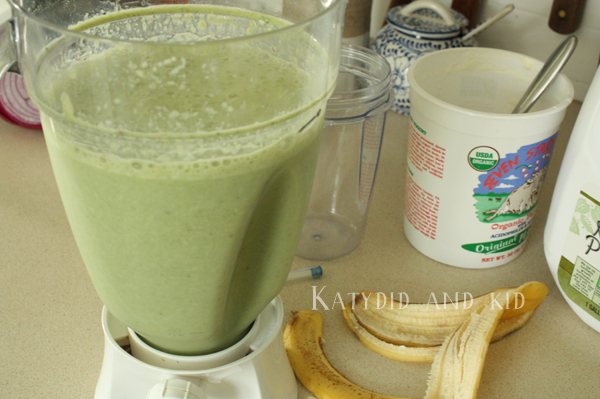
First up is a Kale Matcha Smoothie, one of my husband’s favorites.  In case you didn’t know, matcha is powdered green tea and is a bright green color that doesn’t compete with the kale.  You can use raw kale in this smoothie or lightly steam it to make it a little less “leafy.”

KALE MATCHA SMOOTHIE

(makes four 10 oz. servings) 

3 kale leaves, de-stemmed and roughly chopped
1 apple, diced
2 bananas, broken into chunks
1/2 c. plain yogurt
1/4 c. rolled oats
2 tbsp honey (add more or less per your taste)
1 1/2 c. milk (dairy, soy, almond, etc.)
1 tsp matcha green tea powder (or substitute 1/4 cup cooled, green tea and reduce milk by 1/4 c.)
1/2 c. ice (optional but recommended)
This is as simple as combining all ingredients in a blender and processing until thoroughly combined.
Enjoy this cold and frothy.  This smoothie can also be turned into tasty popsicles if you freeze them in molds.

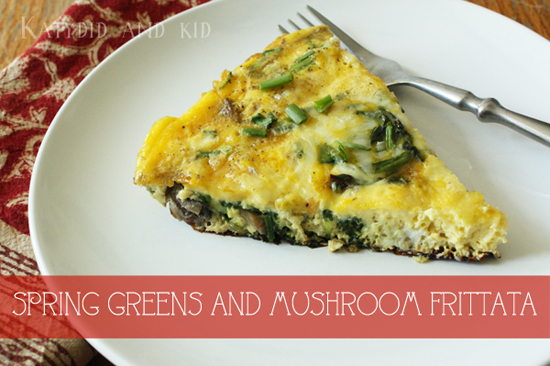
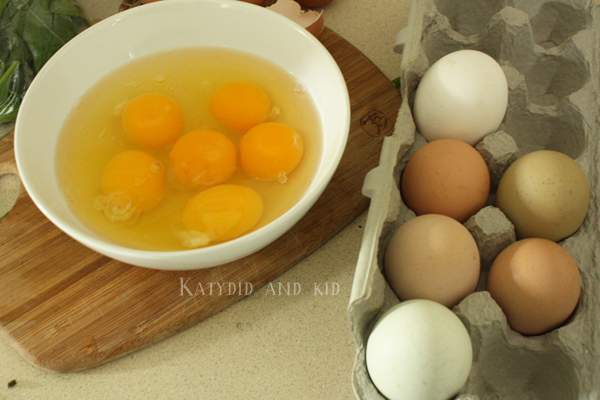
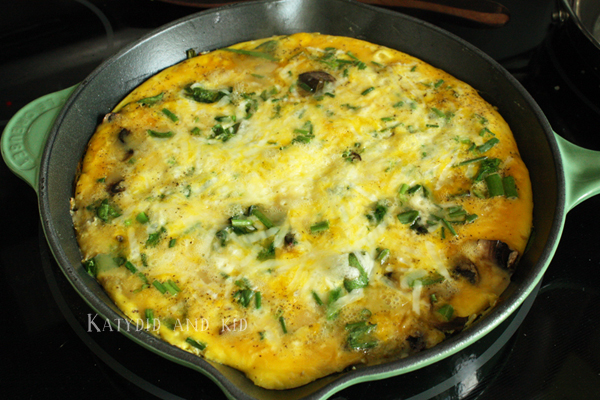
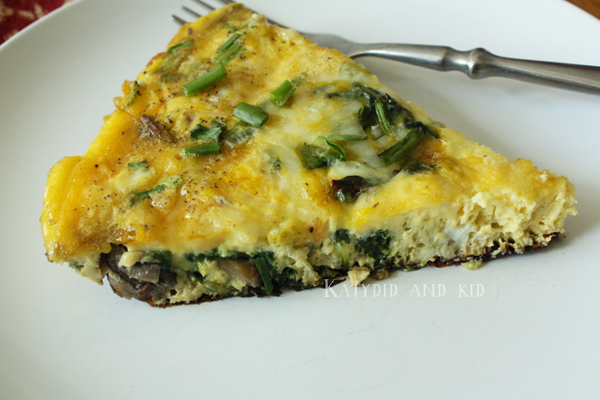
Another great way to use spring greens is in a frittata. My family enjoys one at least once a week, and you can certainly tailor the ingredients to whatever you have on hand, and can change up the greens to whatever is available.

SPRING GREENS AND MUSHROOM FRITTATA

(makes one 9″ frittata, serves 8) 

1/2 c. packed, chopped spinach leaves
1/2 c. packed, chopped rainbow chard (de-stemmed)
4 spring onions, thinly sliced both white and green parts (or substitute a red onion)
5 baby bella mushrooms, sliced
1/4 c. fresh minced chives
1/3 c. olive oil
8 large eggs
1/2 c. milk
1/4 c. cheddar cheese, shredded
salt and pepper to taste

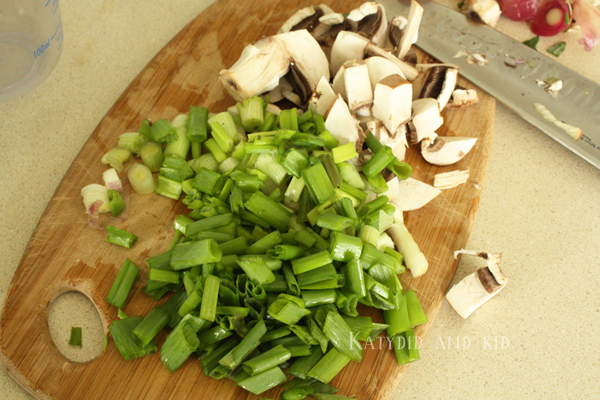
Warm a heavy 9″ or 12″ skillet on medium high, then add the olive oil to the pan.  Have your spring onions and mushrooms ready to go.
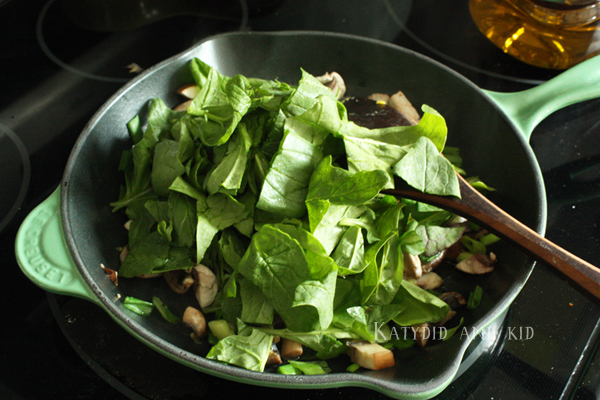
When glossy-looking, add the onion and mushrooms and saute until soft and browned.  Then add the chopped spinach and chard on top to wilt.
 Meanwhile, beat your eggs along with the milk and a pinch of salt and pepper.
Stir the vegetable and greens mixture in the pan, reduce heat to medium, and pour the eggs over top.  Top with shredded cheddar and chives, then cover and cook on the stove top until the eggs are set and begin to pull from the sides of the pan, usually about 5-10 minutes.  Alternately, you could put it in the oven under the broiler for 3-5 minutes to cook.
 Serve with a salad (more greens, yay!) or just on its own, for any meal of the day.
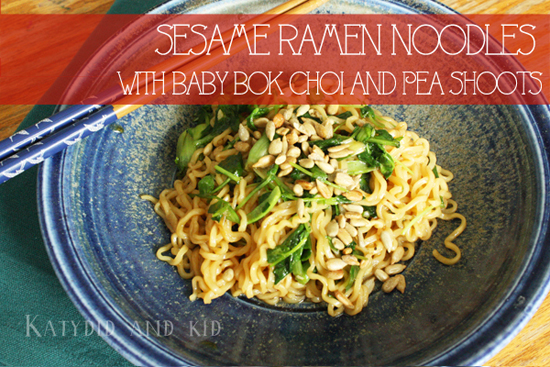
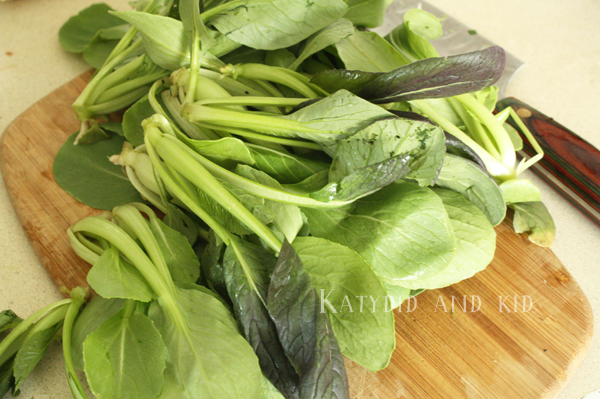
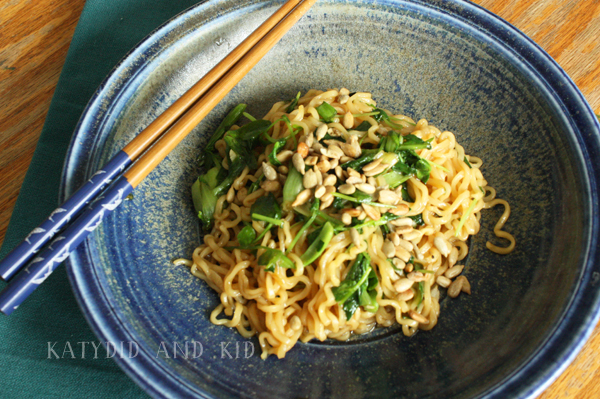
Also included in my local bin was baby bok choi, so I knew I’d have to make some type of sesame noodle dish; it’s so good with bok choi.  I often use soba noodles (made from buckwheat) but decided to use ramen since I had that on hand.

SESAME RAMEN NOODLES WITH BABY BOK CHOI AND PEA SHOOTS

(serves 4) 

2 tbsp canola or sunflower oil
2 cloves of garlic, finely minced
4 spring onions, whites and greens chopped.  Reserve a little of the green part for garnish.
2 cups baby pac choi (I used the entire amount from the bin)
2 cups chopped pea shoots
1/4 cup finely minced fresh chives
15 oz. dried ramen noodles (discard seasoning pouch, if contained in the package)
2 tsp rice vinegar
2 tsp honey
2 tsp toasted sesame oil
4 tsp tamari or soy sauce
1/4 cup sesame seeds or sunflower seeds for garnish
Cook ramen noodles according to the package.  Drain and set aside.  In a skillet, heat the oil and saute the garlic and onion until soft.  Add the baby bok choi and saute until wilted and soft, then remove from heat.

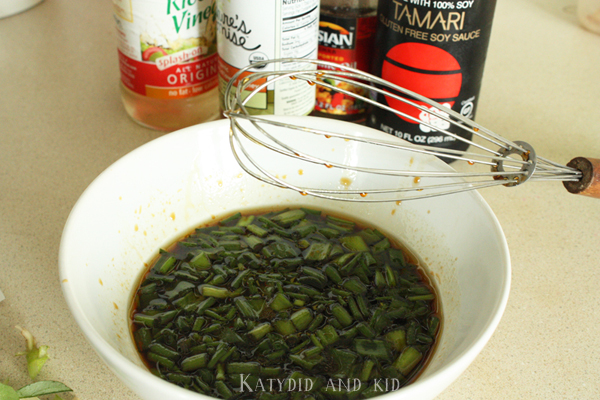
In a small bowl, combine the vinegar, sesame oil, honey and tamari/soy sauce, then add the chives and the remainder of the green onion.
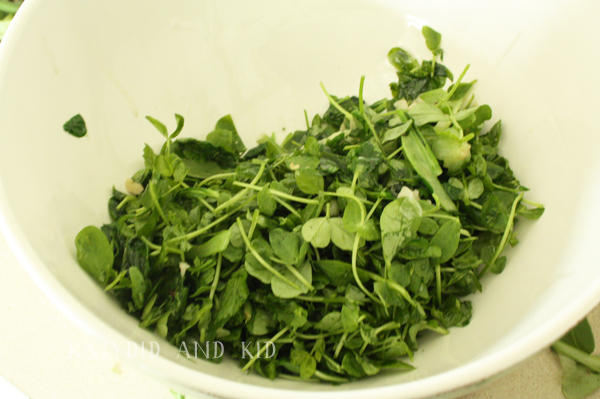
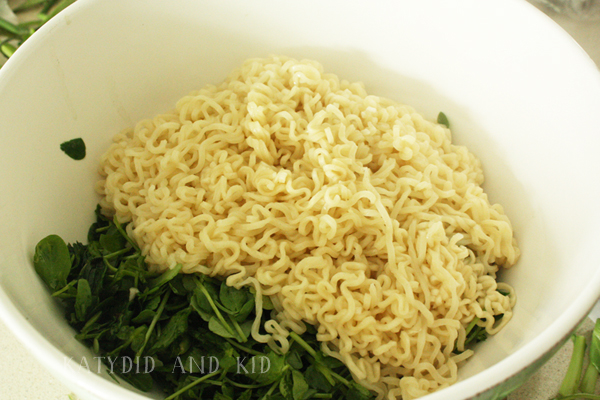
In a large serving bowl, combine the noodles, bok choi mixture, and pea shoots. Here's what pea shoots look like:
They have the flavor of peas but the benefit of not having to wait around all season until the peas are ready.  You can eat them raw or cooked.  I added the ramen noodles to the pea shoots, as well as the hot bok choi mixture, which nicely wilted the pea shoots.
Pour the sauce over the noodles and vegetables, then gently toss with tongs to coat.  Garnish with sesame seeds or sunflower seeds and serve warm or cold. My sons devoured this for lunch, so it was a hit with the pre-k and toddler crowd.  Hope you enjoy it too!

April 10, 2023

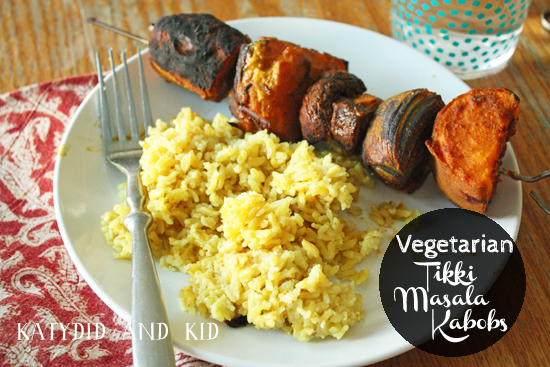
Grilled Vegetarian Tikki Masala Kabobs

It's been quite a while since I've shared a recipe here, but that's not for lack of cooking.  In fact, I've created so many tasty dishes in the past few months, but just haven't had much time to photograph or blog about them.  But I made a damn-good dinner last night that the Mister insisted I take time to photograph and write about--grilled tikki masala kabobs.
You may have heard me declare my love for Indian food.  I seriously could eat it every other day, I'm so enamored of the spices and flavors.  Give me a meal of chana masala, aloo gobi, raita, naan, basmati rice and darjeeling tea and I'll be your BFF.

While scouring the kitchen for some ideas for dinner (I'm so in need of a trip to the grocery store, but then again my best meals are often born out of a desperate pantry), I saw we had a bunch of sweet potatoes, red onions and mushrooms.  Flipping through a vegetarian grilling cookbook, I found a recipe for tikki masala that had most of the ingredients I already had on hand.  And given that we've finally entered grilling season here in the Northeast, I decided to try it.

Vegetarian Tikki Masala Kebobs (adapted from Cookouts Veggie Style by Jolinda Hackett).  Serves 4

Ingredients:

For the kabobs
  • 3 Sweet Potatoes or Yams, quartered
  • 2 red onions, quartered
  • 1 package of baby bella mushrooms
  • 1 lb. of extra firm tofu, cut into 1" pieces
  • 2 red peppers, quartered
  • water for boiling
  • skewers for making the kabobs
For the sauce
  • 1 1/2 cups plain yogurt
  • 2 tbsp lemon juice
  • 4 cloves garlic, minced
  • 3 tsp fresh ginger, minced
  • 2 tsp paprika
  • 2 tsp cury powder
  • 2 tsp turmeric
  • 2 tsp cumin
  • 1 tsp sugar
  • 1/2 tsp salt
Be sure to gve yourself time to marinate the veggies at least for an hour, preferably 2-3.

Simmer potatoes in boiling water for 3-4 minutes, but don't overcook.  Remove from water and allow to cool.  Place vegetables and tofu into a shallow container.

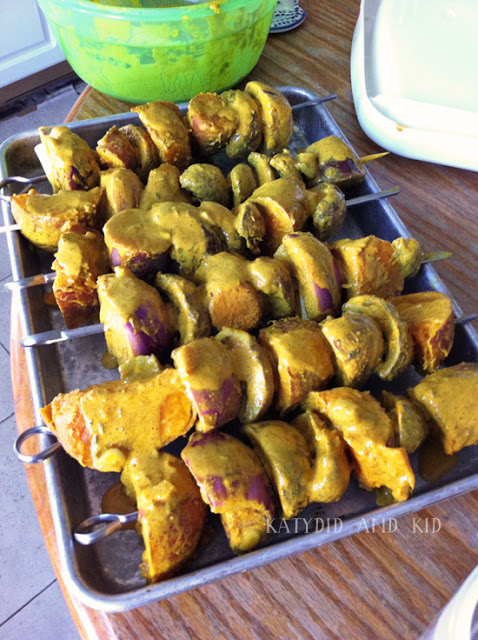
In another bowl, make the sauce.  Combine the spices, then add the yogurt and lemon juice and stir to combine.  Pour over the veggie/tofu mix and allow to marinate at least one hour.  Soak wooden skewers in water for grilling.
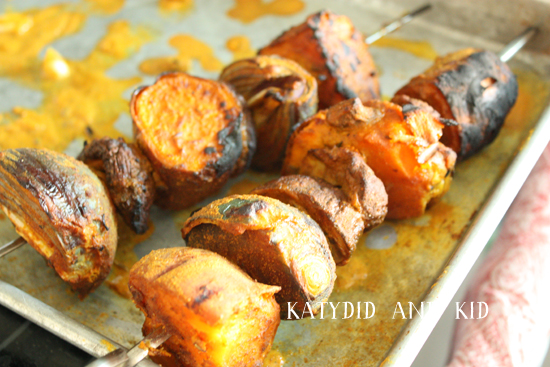
Fire up your grill, and while it's heating, place the veggies and tofu on wooden skewers.  Place skewers on a well-oiled grill for 8-10 minutes, rotating once or twice and basting with extra marinade.
Enjoy with naan or basmati rice.

February 1, 2024

Crust and Crumb

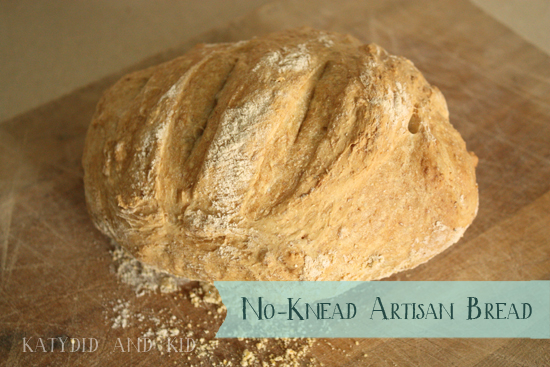
This year, I wanted to learn to make good artisan bread, the kind with a crunchy crust and a chewy crumb.  The kind one usually pays upwards of $7 for.  The kind one usually can't find in a small town like mine.
I jumped on the no-knead, 5 minute bread bandwagon (yes, this wagon has boule-shaped wheels) last year and bought a copy of this book.  It sat on my shelf, waiting to be used.  It took so long because I was being cheap about sinking so much dough into a baking stone and pizza paddle.  Thankfully, my brother gifted it to me for Christmas, giving me no more excuses for digging into the bread baking process.
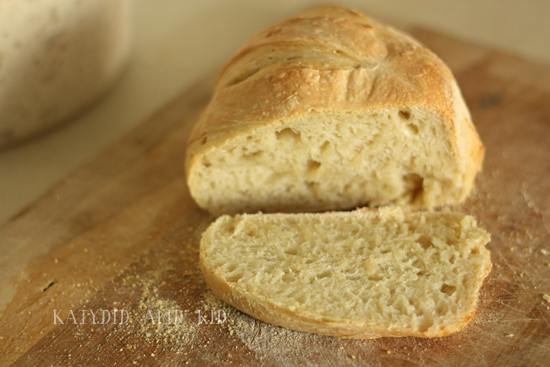
I've baked at least a dozen loaves last month and I'm pleasantly impressed with the results of this method.  It requires no kneading, no proofing yeast, no mess and very little work.  While it's not the very best bread I've ever had, it's a huge improvement over what comes out of the bread machine or what I can purchase at the grocery store.  And it makes the house smell delicious.

I'm going to share how make the Master Recipe, though I highly recommend buying the book, which contains so many more versions of the recipe, including how to make pastries, flatbreads, pizzas, bagels and other things.

No-Knead Artisan Bread  

(from Artisan Bread in Five Minutes a Day)
Ingredients
6 1/2 cups of all purpose flour (I use 1 cup of whole wheat and 5 1/2 cups all-purpose)
3 cups lukewarm water (just slightly higher than body temp)
1 tbsp salt (the book calls for 1 1/2 tbsp but I found it too salty)
1 1/2 tbsp yeast
cornmeal for dusting the paddle

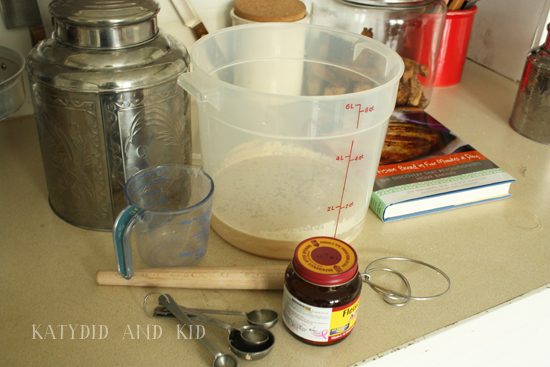
Tools
Large container (I use a 6 quart lidded food-grade bucket)
Mixing spoon or dough whisk  
Measuring spoons and measuring cup
Pizza paddle
baking stone (or a cast iron dutch oven or high-heat proof pot)
shallow pan for adding water to the oven for steam

STEP ONE

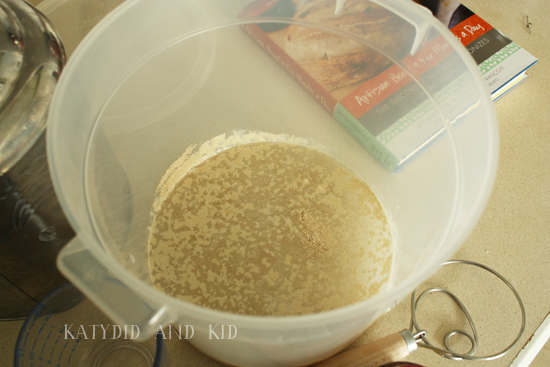
In a large container, pour the water and salt and swish around to combine.   Sprinkle the yeast on top and allow to rest for 5 minutes.
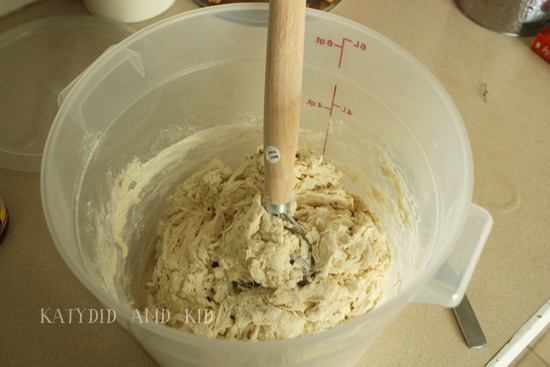
Next, measure and add the flour and mix until combined using the dough whisk or a large spoon.  Don't worry about getting a smooth dough.  Just make sure there aren't any dry spots.

STEP TWO

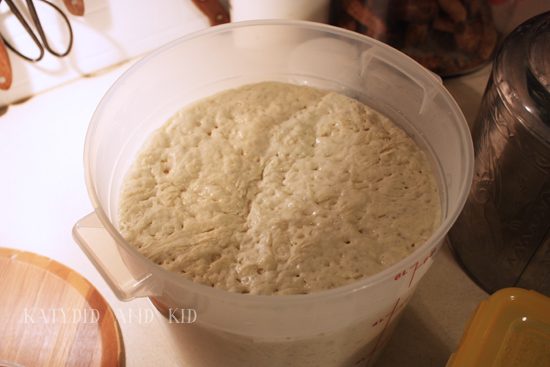
Cover with a damp cloth or loosely put on the lid (don't seal it).  Set aside and allow to rise for 3-4 hours at the least.  It should be doubled in size.

STEP THREE

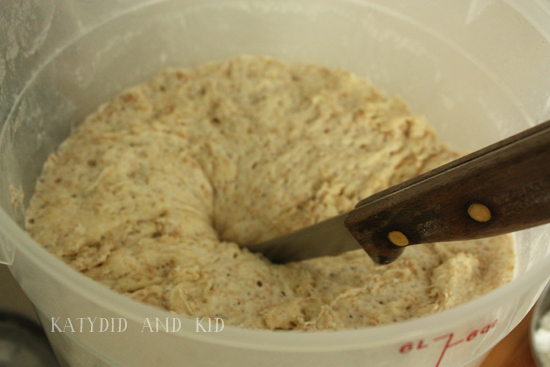
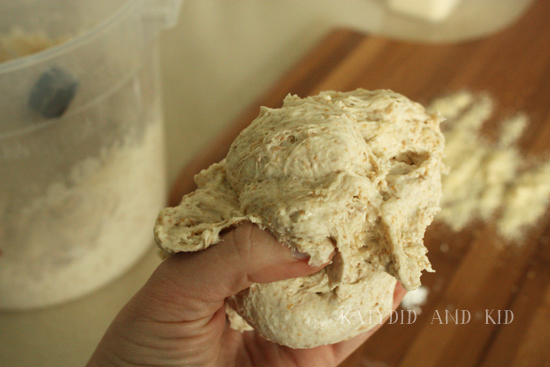
At this point, you can shape and bake the dough, or else stick it in the fridge to store for future use.  To bake, cut off a grapefruit-sized ball with a knife,
then dust with flour.
This next part is a little hard to describe (the book does a great job, with photos, which is hard for me to do while forming the dough), but you will make the dough into a ball by slightly stretching it over itself and tucking the ends underneath.  The bottom will have a pinched look but the top should be smooth like a ball.  This process should only take 30 seconds to a minute.

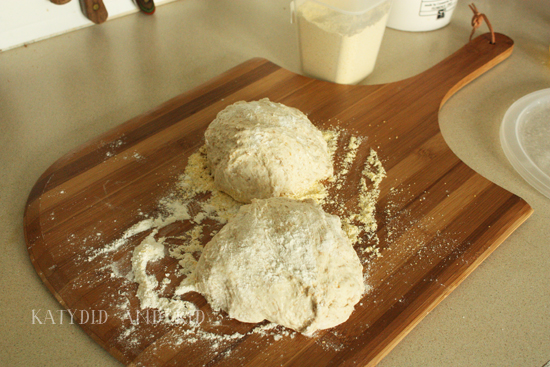
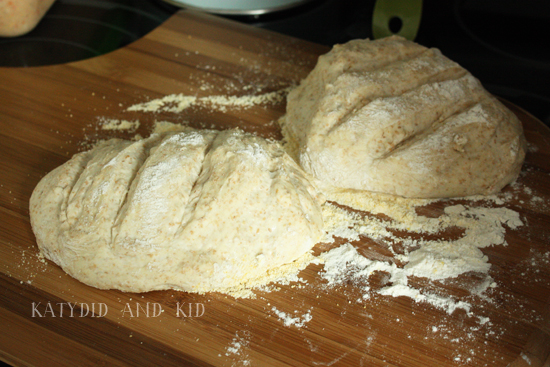
Sprinkle cornmeal on your pizza paddle, then sit the round ball on top.  I made two loaves for today, hence the two balls below.  It doesn't look like much, but it will make up for its looks in taste.
This is the part where people start getting anxious, knowing fresh bread is only about an hour away.
An alternative to the pizza paddle and baking stone is to bake this in a dutch oven.  I haven't tried it yet, but if you do an online search for "no-knead bread in a dutch oven" you'll find more specific info.

STEP FOUR

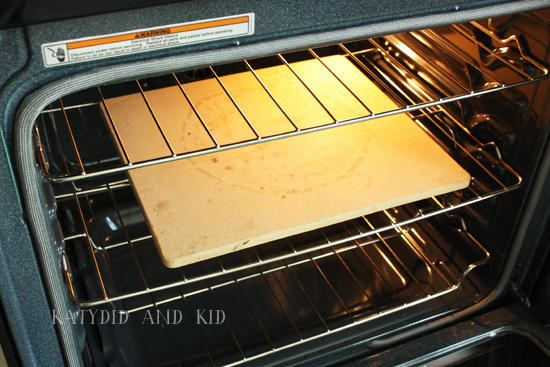
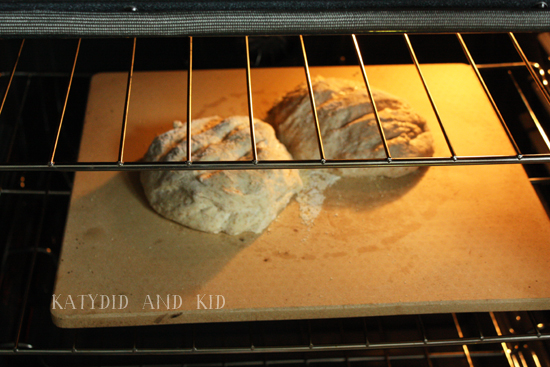
Allow to rise for at least another 45 minutes.   About 20 minutes before you want to bake the bread, sit the baking stone on a rack in the center of your oven, put the shallow pan on a lower shelf, and preheat your oven for baking to 450 degrees F.  Set aside one cup of water for the steam portion of the baking.
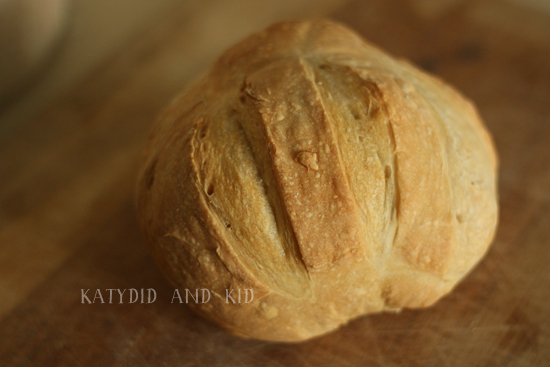
When the oven has come to temperature, slice the top of the loaf either in an "x" pattern or with a few long slits to allow steam to escape.
The loaf might not rise much, but will do so more in the oven.  If you're using dough from the refrigerator (like when you put the rest of the dough away for another day), you might barely see any rise at all, but don't fret. It will still come out tasty, though maybe not as large.

Slide the loaves into the oven.  The cornmeal should allow them to slide off the paddle.
Then pour the cup of water into the lower pan, and quickly shut the oven to trap the steam.  I'll admit, I've omitted this part sometimes, and the bread still comes out good.

Allow to bake for 30 minutes, until browned.  When done, the loaves should have a hollow sound if tapped on the bottom.  Sometimes they "sing" when they come out of the oven, as the room temperature air hits them.

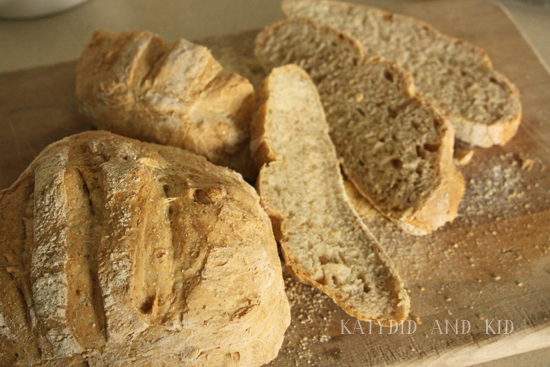
Cool before cutting, if you can resist. Usually I can't.
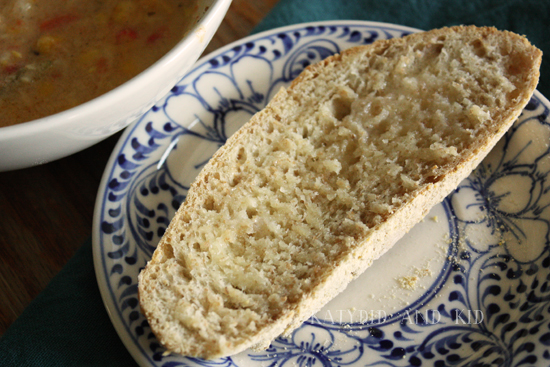
You'll get better slices if you can be patient.  Since this bread has a high water content, sometimes the crust isn't so crisp after a day or so, but you can always pop it in the oven a bit to crunch it up.  Good luck having a loaf that lasts more than a meal though.
The best part of this recipe is that you just pop the dough in the fridge once it's risen the first time, then just pull off a chunk to use for dinner.  You do need to set aside about an hour and 10 minutes before you want to eat it (to shape it, then let it rise for 40 minutes, then bake for 30 minutes), but it's so easy.  And the more let the dough sit and the more you add to the dough bucket (I don't rinse mine out), the better it tastes.  It takes on a sourdough quality.

I'm eager to try more of the recipes in the book, like the cinnamon buns.  I definitely recommend picking up a copy for yourself.  Happy baking!
Related Posts with Thumbnails