 What a week! I've had a record number of visitors to K&K, and I'm thrilled to have found some new blogging pals. This post is one that I was really looking forward to writing, however it kind of got stuck on the back burner due to a lot of chaos around the house. But Mr. Geek took the baby out tonight and let me have some time to work. They went looking at chop saws, tools, and other manly things.
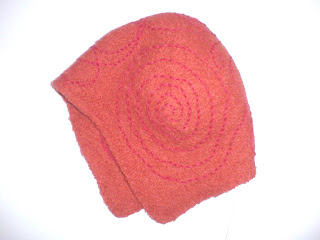
This is one of my primary crafts: FELTING! I take wool and turn it into objects like hats
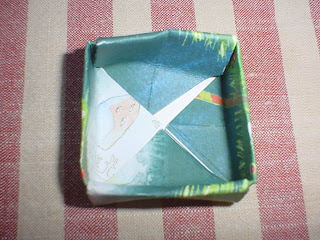
bowls
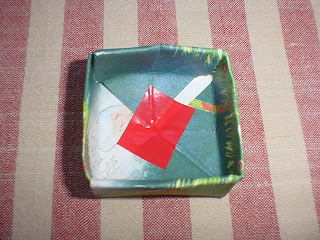
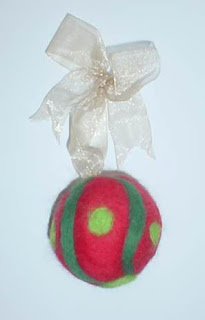
and ornaments
 I do a combo of wet felting (the Part One that I'll be sharing today) and needle felting which will be up tomorrow.
In wet felting, wool will felt when 3 things happen simultaneously. The wool must be wet, hot, and agitated, just like when you and your signficant other are.....wait, I won't go there! Seriously though, you need to have hot water and you need to be agitating the wool.
I start with wool that's already been cleaned, dyed, and carded (combed straight), because I just don't need to be dealing with poopy, dirty wool. Visit Lola to get the details on that.
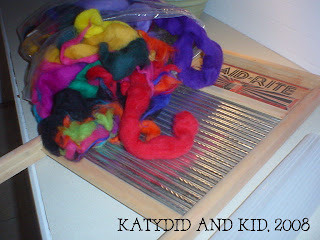 I buy my wool from Halcyon Yarn, where you can get a big bag for $36. This is generally sold in long, combed "ropes" called roving, which is mostly used by yarn spinners. I like that you get 19 different colors. And by the way, I found this place WAY before Martha Stewart's show did.
I also use a washboard and a plastic felting mat, which looks like a sushi roller. It has plastic ridges on it, which agitate the wool. I've used things like bamboo beach mats and cut-up mesh laundry baskets, but these are easier, and they cost about $3.
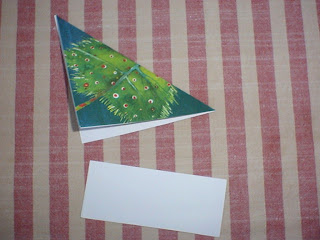
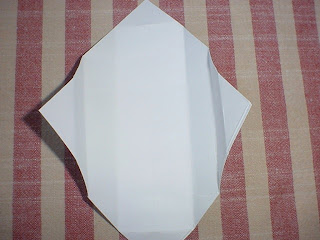
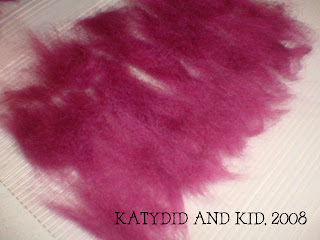
I start by laying out the wool on the nubby side of the plastic mat. I pull of pieces of the combed wool, making sure that the fibers all run in the same direction and are parallel to each other.
 You'll want to make the wool about 30-50% bigger than you want the final product, since it will shrink. You've probably experienced this when you've accidentally thrown a wool sweater in a hot dryer.
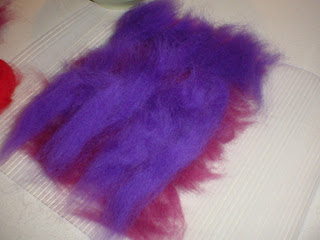
Next, add another layer of wool going perpendicular to the first layer. I chose purple.
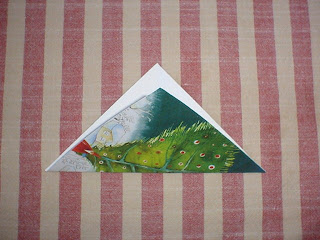
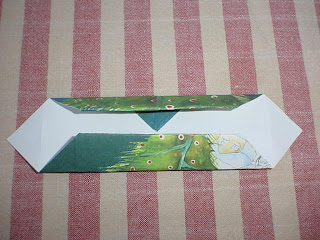
 Keep adding layers, making sure you have at least 4. My wool sandwich is below:
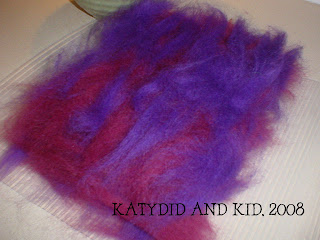
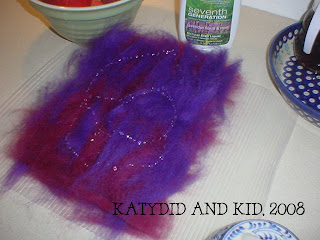
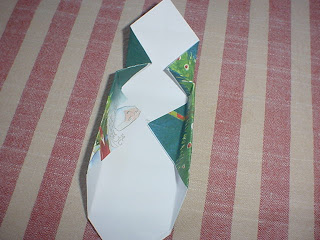
I take it over to the sink and add a sprinkling of hot water. Then I roll up the mat.
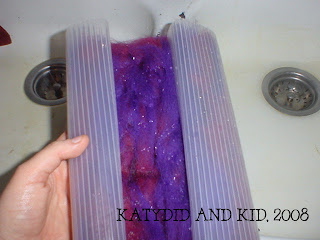
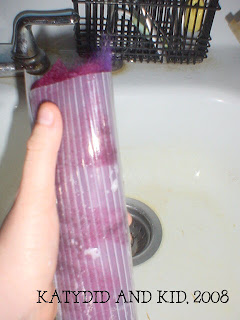 I've rolled it up and will start rolling it between my hands.
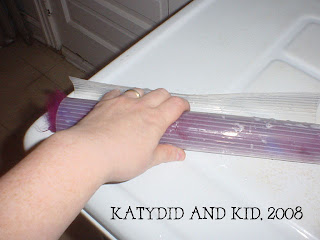
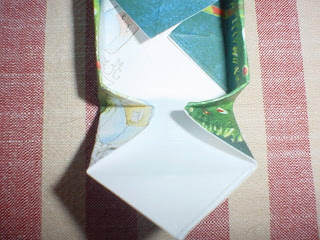
Here's a peek at what's going on inside, after about a minute.
I keep adding hot water, and periodically turn the felt before rolling it up again. Now it's starting to felt more and more, and getting smaller and smaller.
I open up the roll every so often and flip the felt so that both sides and all the edges are worked equally.
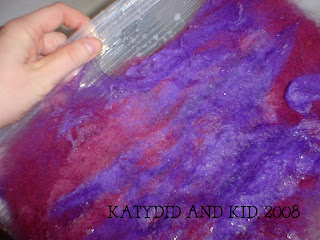
Once the fibers stick together and I can't pull them off the top, I transfer the felt to my washboard, for some old-fashioned elbow grease.
 I rub the felt on the board, turning it as I go to work all the sides. I flip it over too.
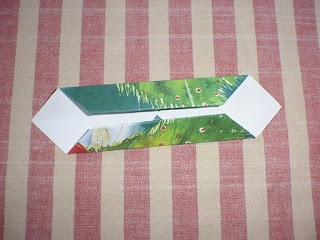
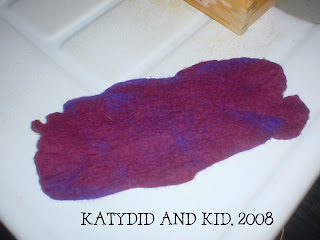
Finally! It's felted as much as I'd like, after about 10 minutes. You can't pull any of the fibers off and the felt feels thick and sturdy.
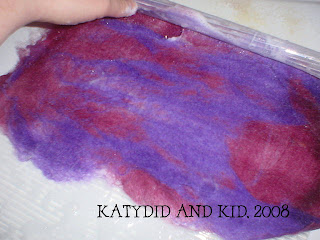
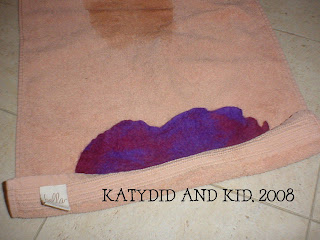
I like how the colors mingled together. It's always a surprise to see how it turns out.The final step is called "fulling". I roll the felt in a towel
 and roll it back and forth, pressing as I go. This removes excess water, and also tightens the fibers.
I flip the felt over, and give it a 90 degree turn and do it again.
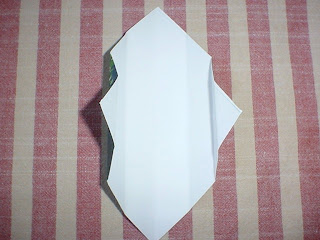
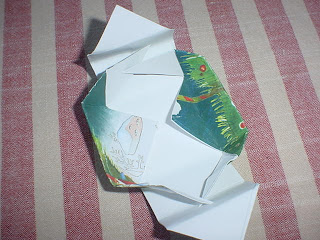
And voila! A piece of handmade felt!
 How does this relate to tea? Well, you'll just have to tune in tomorrow to see. I'll be demonstrating needle felting then. I'll give you a hint...it helps protect your hands from a hot beverage.