


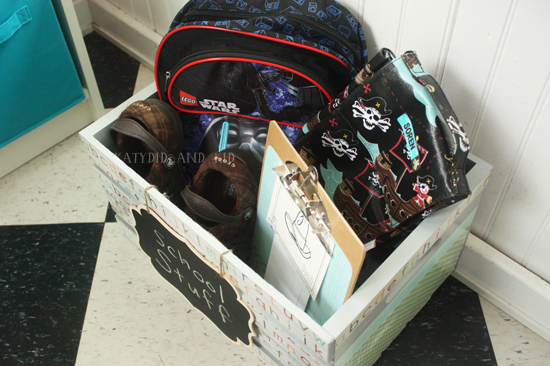
While Kindergarten doesn't require too much preparation or organization on my part, I remembered that when Soren was in pre-K last year, it was sometimes hard for him to keep track of where his school stuff was. That made for some stressful mornings, when he couldn't find his shoes, hat, or show-and-tell item.
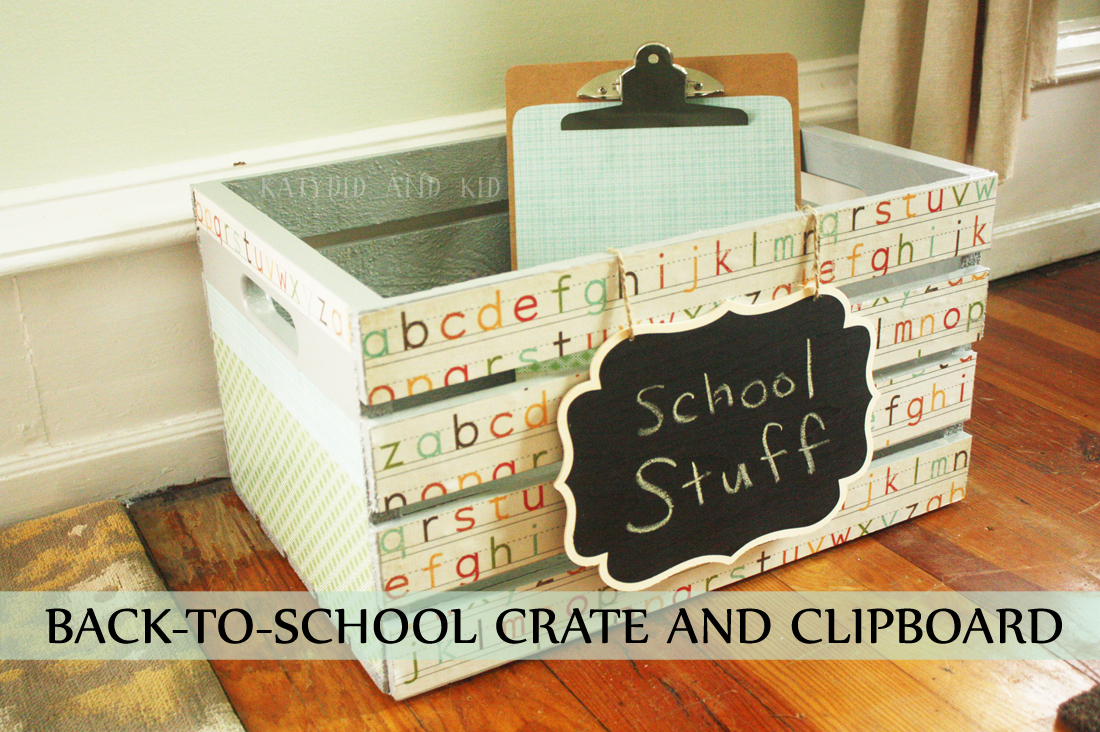
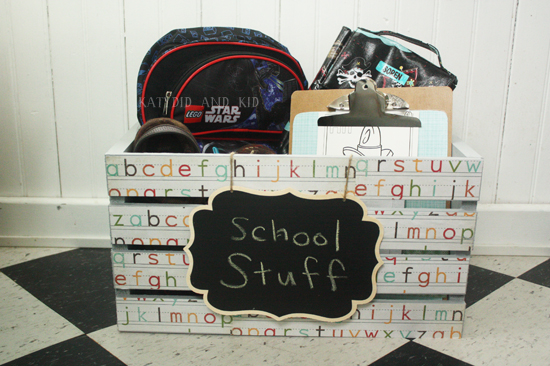
This year, I decided to change all that and eliminate some of my school-morning stress by creating a place to corral his stuff. When Michael's challenged me to create a Back-to-School craft, I eagerly signed on.

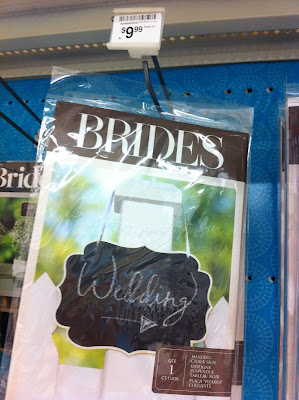
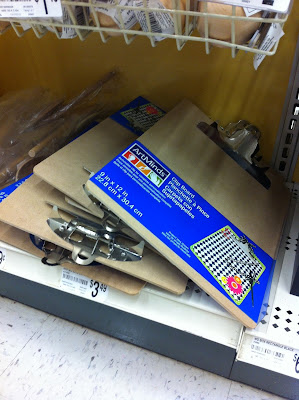
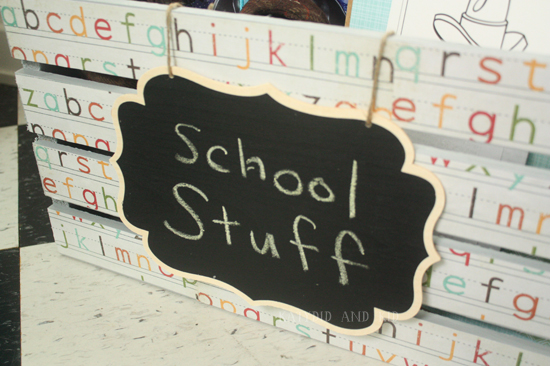
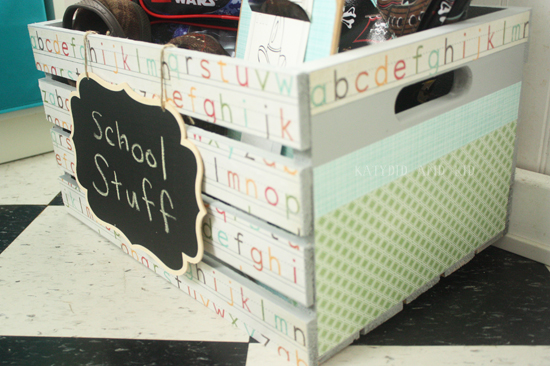
While wandering the store, I came across a cute wooden chalkboard sign in the bridal aisle that would look great on my crate, so I picked that up too.
While I tend to get a lot of the 40% off coupons from Michael's in the newspaper, I always seem to forget them when shopping. However, Michael's has a great app that you can use to get coupons that the cashier can scan from your phone. I scored one that was 20% off my entire order, which made this entire project less than $30 for me. It took me about 2 hours to complete, not counting the time it took for the crate to dry.
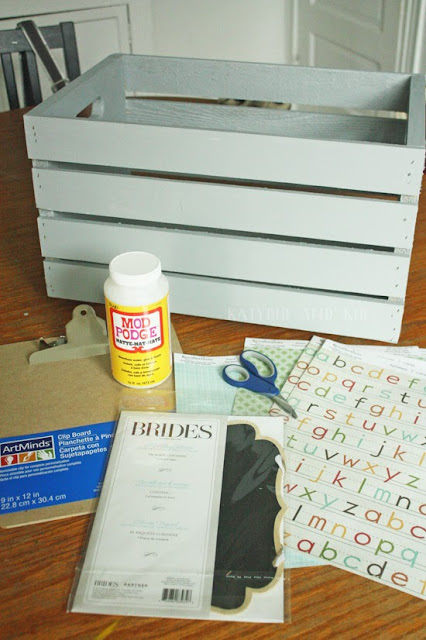
Here are my SUPPLIES:
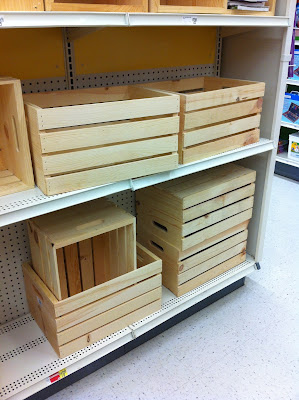
- 1 wooden crate
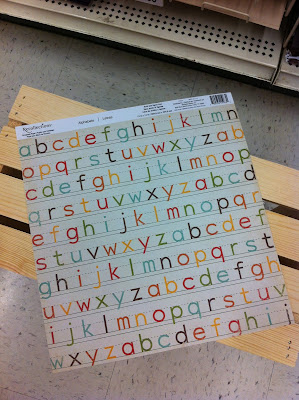
- 4 sheets of 12x12" alphabet scrapbook paper
- 2 sheets coordinating scrapbook paper
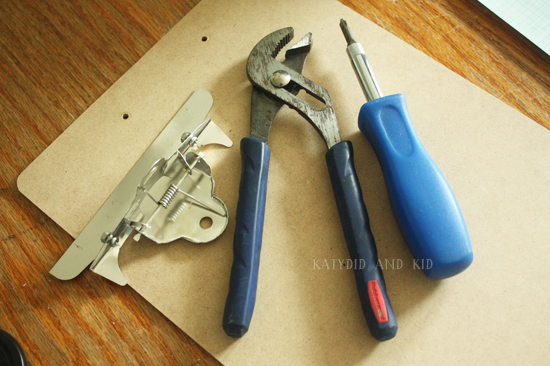
- 1 fiberboard clipboard
- 4 2oz. containers of Folk Art paint in Dove Gray
- Scissors/paper cutter
- 1 wood chalkboard sign
- Polyurethane for sealing (optional)
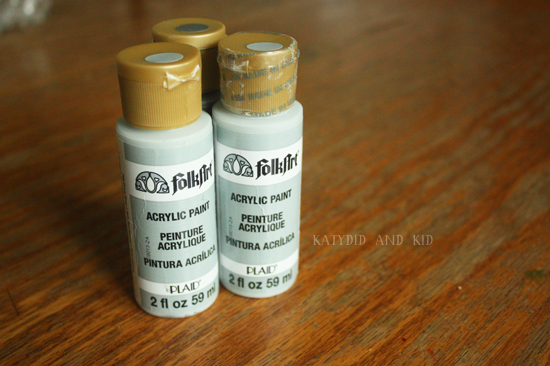
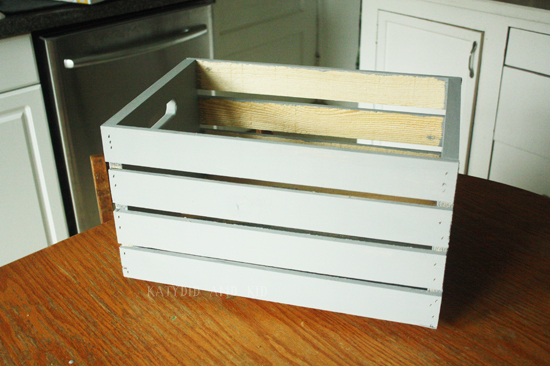
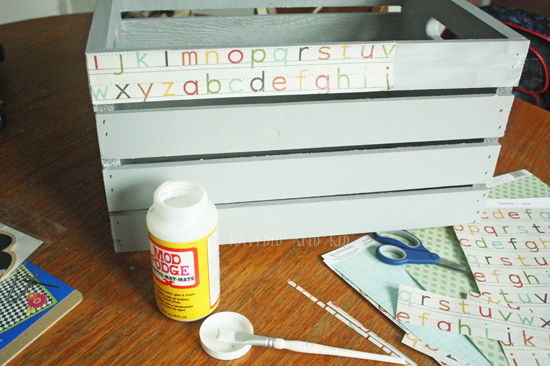
Paint your crate, inside and out with the Folk Art paint. Allow to dry according to instructions on the paint tube. If you're particularly fussy, you could sand and wipe down the crate before painting. I'm just lazy and pressed for time, so I didn't do that.
STEP TWO
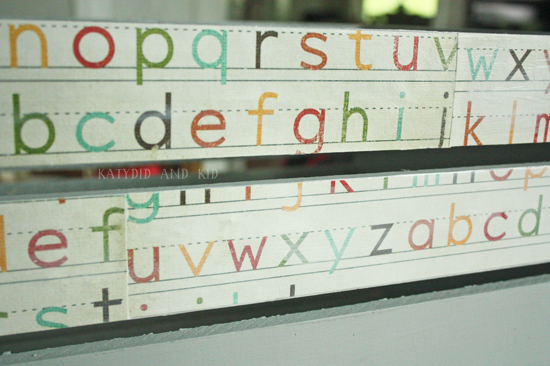
Cut your alphabet paper into 2" strips to fit onto the crate's slats. The paper is only 12" long, so you'll need some 2"x6" strips too, to finish off each slat.
Using Mod Podge, adhere the paper to the slats. I painted the Mod Podge on the crate, then painted some more on the backsides of the paper. When adhered, I painted a layer of Mod Podge over the surface of the paper (just check the back of the Mod Podge bottle for clearer instructions)
STEP THREE
On the shorter ends of the crate, I adhered some of the coordinating papers in the same way.
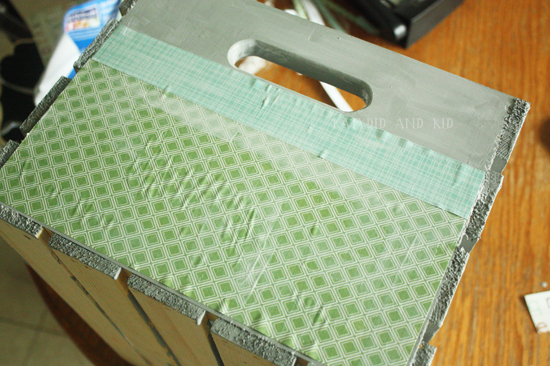
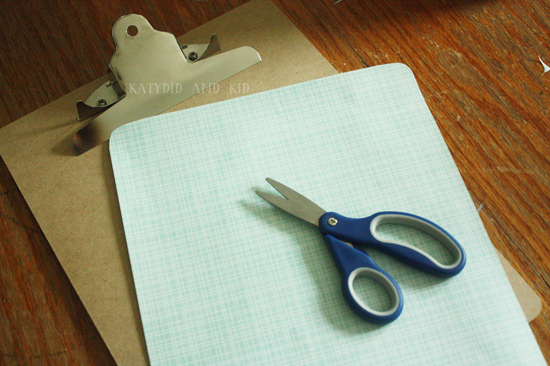
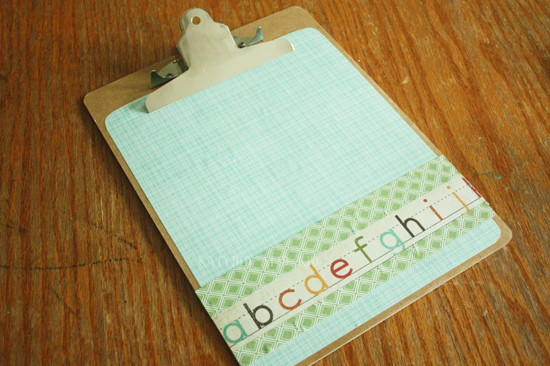
STEP FOUR
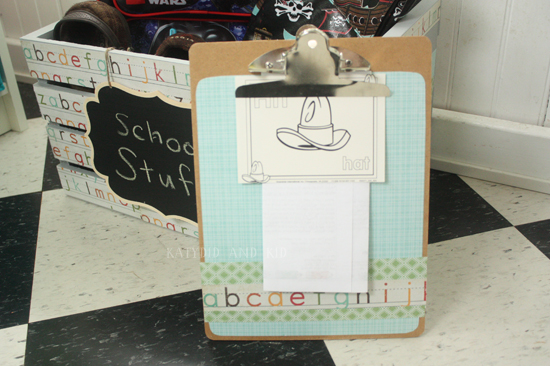
While the crate was drying, I moved onto the clipboard. First, I measured the paper so it would fit. I wanted to leave a gap of brown around the edges and round the corners of the paper too, so I traced the corners of the clipboard onto it.
When the crate was dry, I sprayed the entire thing with a few coats of Polyurethane so it would hold up well. A few layers of Mod Podge would work too.
I attached the chalkboard sign with two pieces of twine,
Here are a few helpful things you might not know about Michael's:
- Michael's offers a 15 percent discount for teachers every day. Talk to a store associate during your next trip to learn more.
- If you need a large quantity of one back to school item but don’t see enough on the shelves, Michael's offers a bulk ordering program. You can order as many supplies as you need and save up to 20 percent.
- Michaels has an app. Download the Michaels app so you have the latest deals and coupons at your fingertips in case you need last minute school supplies.


I love it! And anything that encourages men (of any age!) to stay organized is a win in my book!
ReplyDelete