Kitchen Table Crafts is back, baby! This tutorial is for a festive banner, perfect for birthday and other special occasions. This one is for my son's first birthday next week, but you can really make these for any occasion.
Today I'm sharing with you a tutorial on making one of those cute banners that you see frequently on Etsy and other blogs. This was really easy to make, albeit a little time consuming with all the cutting, pasting and tying. I like that it can be saved and reused every year, so it was worth all of the trouble.
 Materials
:
~Scrapbook papers in coordinating colors (at least half as many sheets as you have letters)~Cardstock or stiff paper~Scissors~Glue stick or adhesive tape (acid free is best if you want to keep this for a few years)~A few rolls of ribbon~
Hole Punch~Pencil~Computer/printerProcess:
1. If you're looking for some great, FREE fonts, go to the
Scraptivity website (a great online scrapbooking resource) and go to the section for Fonts and find a font that you like. I used "Circus" but unfortunately, that one is not on that site. You can get it
HERE, which isn't where I got it, but it should work just fine.
2. Download your font, and save it to your desktop.
3. Move the file (.ttf) into the font folder of your control panel. This will ensure that the font appears in Word.
4. Open Microsoft Word, type the phrase (in capital letters if using Circus, since lowercase ones don't show up) that you want to put on your banner, such as "Happy Birthday", "Happy First Day of School", "Happy Halloween", etc. Then select it and change the size until the letters are big enough for you.
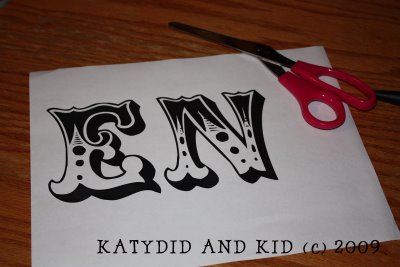
I was able to fit 2 letters per page on the "landscape" setting (horizontal paper). I believe my font size was 350.
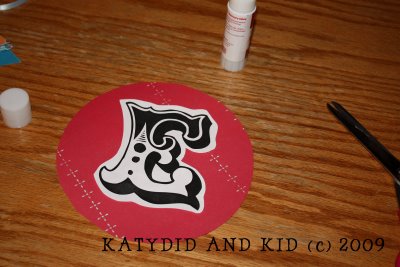
5. Cut out your letters and set aside.
6. Now you'll be cutting the background circles from your scrapbook papers. You should be able to get 2 circles per sheet, plus 4 triangles from the leftover corners that can be used to make a little banner.
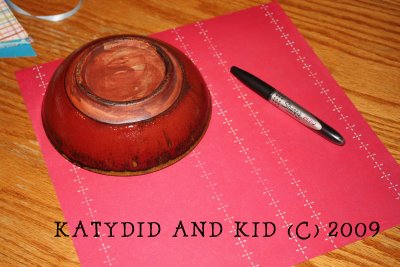
I used a bowl to trace the circles on the paper, then cut them out, saving the scraps for later.
7. Glue your letter to the circle, using a glue stick or adhesive strips. Elmer's glue is too wet and will create bubbles in the paper.
I also cut out some extra circles to serve as "spacers" between the letters, so it wouldn't read "happybirthday".
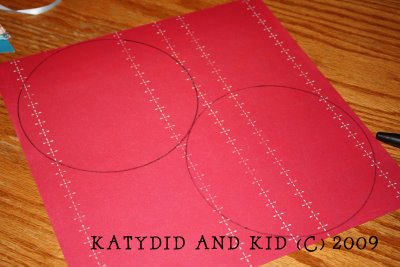
8. Since scrapbooking paper is so thin, I wanted to stiffen it up so it wouldn't sag when I hung the banner. I had some cardstock (you can get it at an office supply store--it's just a little stiffer than copy paper), that I decided to paste onto the back. I took another high tech circle maker, in this case the lid to a jar
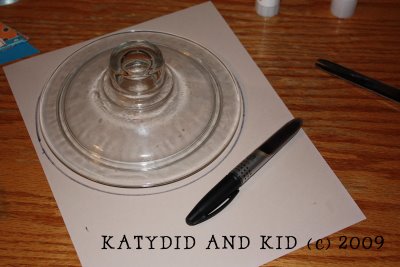
and traced another, slightly larger circle. You can make it the same size as the decorative circle, but I wanted a bit of a border around my circles. Just cut it out, then glue it to the backs of the scrapbook paper circles.
9. Once you've assembled all of your circles, it's time to punch holes in the sides to tie them together. I started with one and eyeballed the center of the circle, making sure the letter was lined up how I wanted. After I made the first one, I used it as a template to punch the holes in the other circles.
10. On to the ribbon! A high chair tray serves as a wonderful ribbon corral, that is, when a certain little boy is not sitting in it.
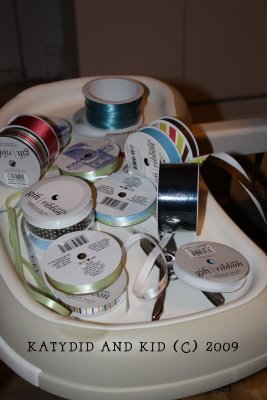
It's easier to cut all your ribbon at once, rather than doing it as you go along. But do you think I did that? Of course not!
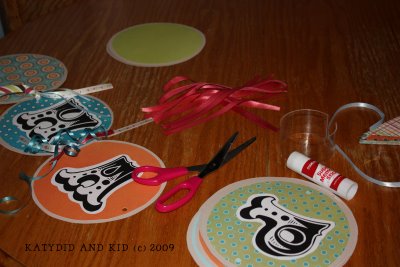
I used 3 pieces of different colored ribbon per loop. I like how that it looks more festive and fuller that way. The pieces were roughly 8 inches, and some of them I trimmed shorter after they were tied. Be careful not to knot them too tightly or you might rip the paper.
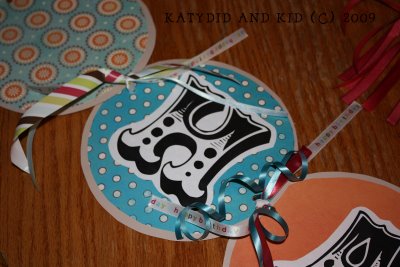
I found some really sweet coordinating ribbons, including one that said Happy Birthday. They were only $1 at AC Moore. Once you've tied them all together, you're done! Just add some ties on the ends to hang it up.
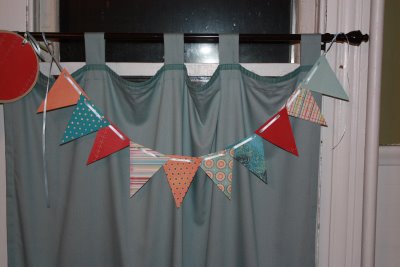
11. Before I show you the final result, I want to jump back to those leftover scraps. As I mentioned, you can get at least 4 triangles out of them to make some mini banners.
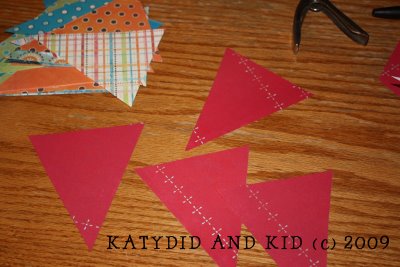
Just punch two holes on the top, and thread a ribbon through. They would be great party accents, and would carry the color theme throughout your home.
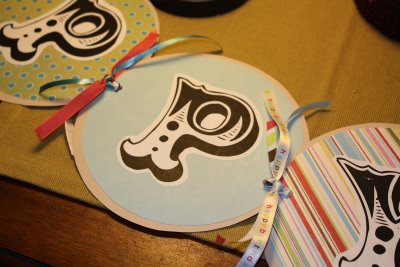
Here it is! I decided to break up the words into a few separate banners, rather than just having one really long banner. You can do whatever you'd like.
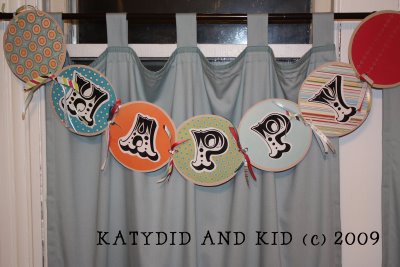
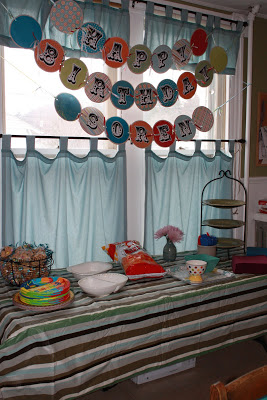
Update: the completed banner hanging at the party.
Enjoy! And Happy First Day of Spring! You need a banner for that now, don't you?


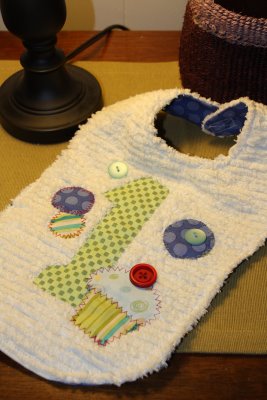
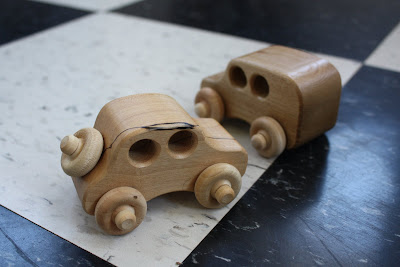 She works with my husband and she and another co-worker often come over for lunch with us. I felt bad that SoJo was napping when they came, since she wanted to give them to him herself.
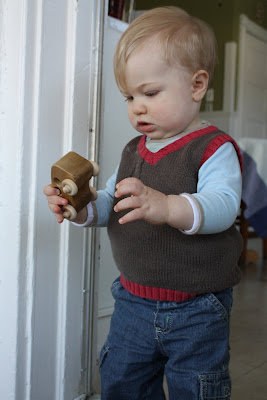 I wanted to post the photos so she could see his reaction (next best thing). He's checking them out in the doorway between the kitchen and laundry room (his favorite spot of the moment...I think it's the checkerboard floor).
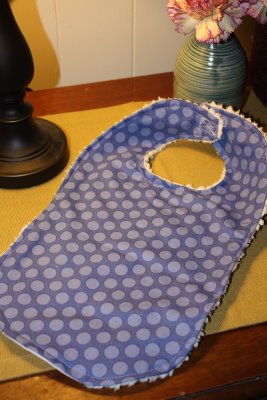
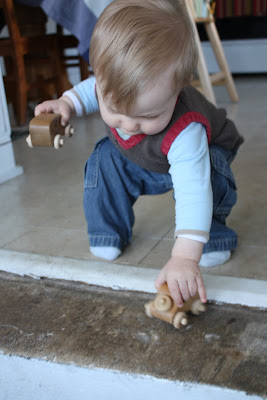 They're a hit! Especially since he just brought both of them to me moments ago while doing this post. And if he ever gets bored of them, they'd make nice back massagers for us! Thank you Kelly!
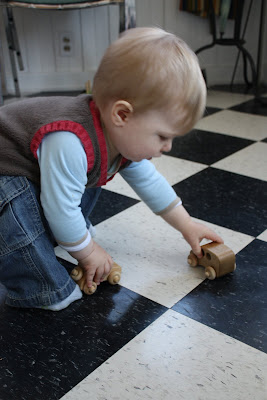
-007.JPG)